Skip to content
Easy meals, zero stress.
Get my best recipes—straight to your inbox!
Easy recipes
straight to your inbox!
About
Contact
Recipe Index
Expand
5 Ingredient Recipes
30 Minute Meals
Copycat Recipes
Mug Cake Recipes
Holiday
Expand
4th of July
Christmas
Easter
Halloween
New Years
Thanksgiving Recipes
Valentine’s Day
Breakfast
Expand
Muffins and Pastries
Eggs
Jelly and Jam
Pancakes, Waffles, and French toast
Oats
Smoothies
Easy Dinners
Expand
Air Fryer
Main Dishes
Pastas
Salads
Slow Cooker Meals
Side Dishes
Condiments and Sauces
Desserts
Expand
Brownies and Bars
Cakes and Cupcakes
Cookies
Frozen Desserts
Mug Cake Recipes
Pies
Drinks
Expand
Cocktails
Coffee
Non Alcoholic Drinks
search
Search
Search for:
Search
Menu
search
Search
Recipe Index
5 Ingredient Recipes
30 Minute Meals
Copycat Recipes
Mug Cake Recipes
Holiday
4th of July
Christmas
Easter
Halloween
New Years
Thanksgiving Recipes
Valentine’s Day
Breakfast
Muffins and Pastries
Eggs
Jelly and Jam
Pancakes, Waffles, and French toast
Oats
Smoothies
Easy Dinners
Air Fryer
Main Dishes
Pastas
Salads
Slow Cooker Meals
Side Dishes
Condiments and Sauces
Desserts
Brownies and Bars
Cakes and Cupcakes
Cookies
Frozen Desserts
Mug Cake Recipes
Pies
Drinks
Cocktails
Coffee
Non Alcoholic Drinks
Search for:
Search
Search for:
Search
Home
/
strawberry
strawberry
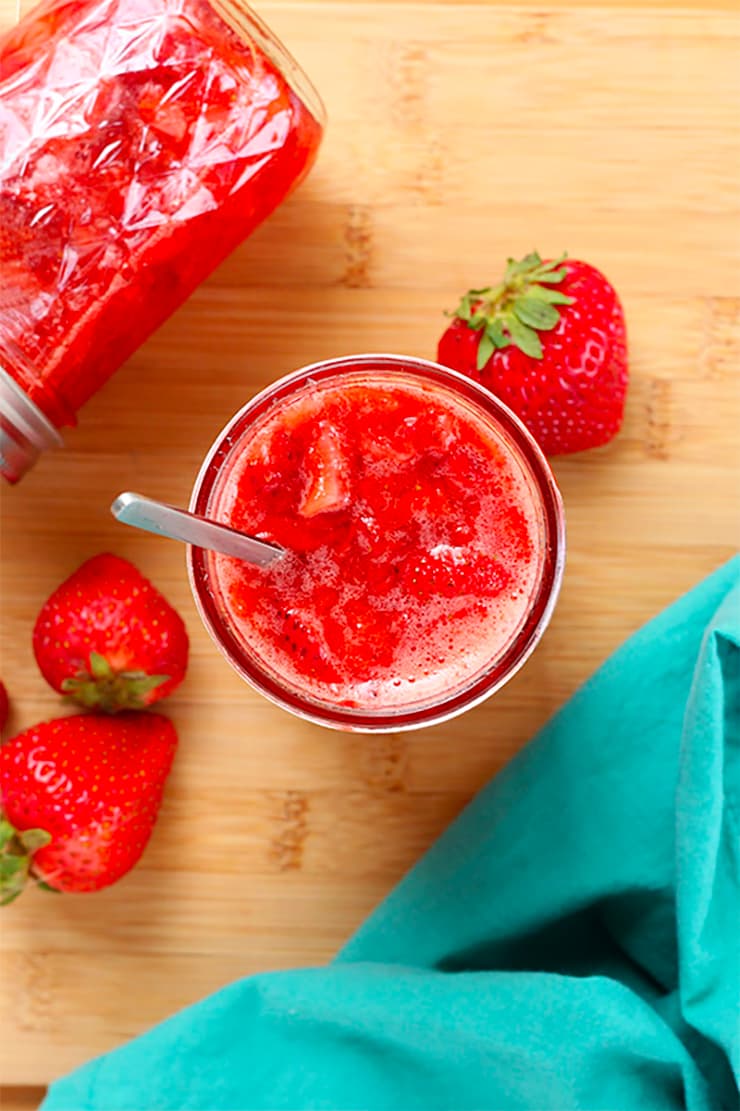
Strawberry Freezer Jam Recipe
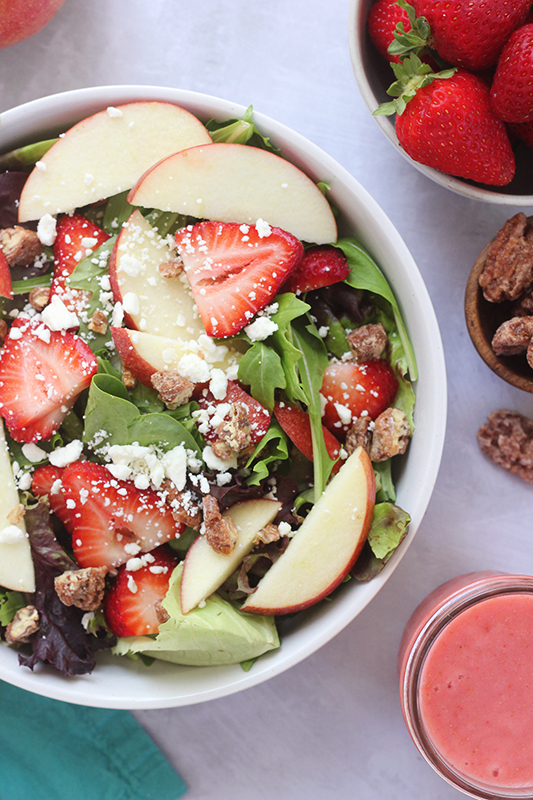
Strawberry Spinach Salad
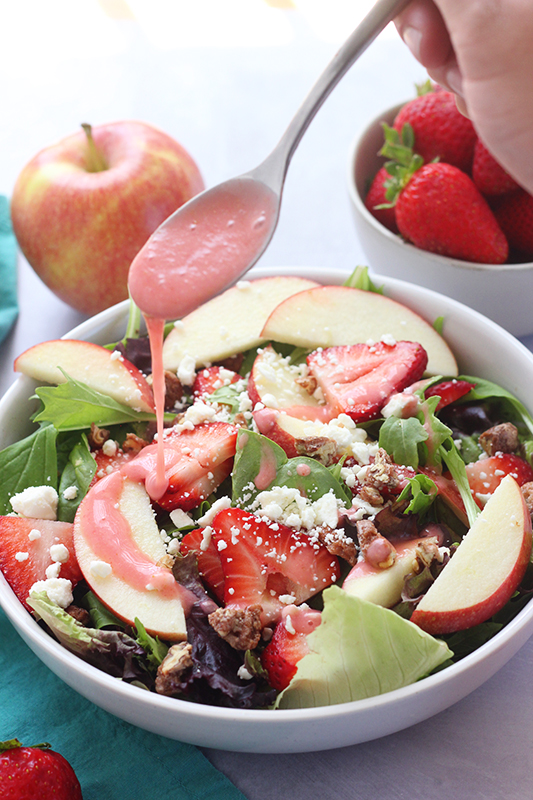
Strawberry Champagne Vinaigrette
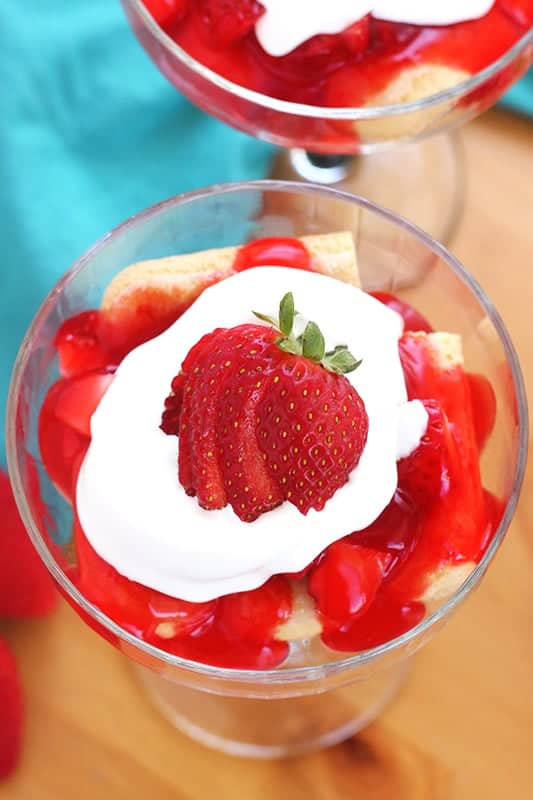
No-Bake Strawberry Dessert
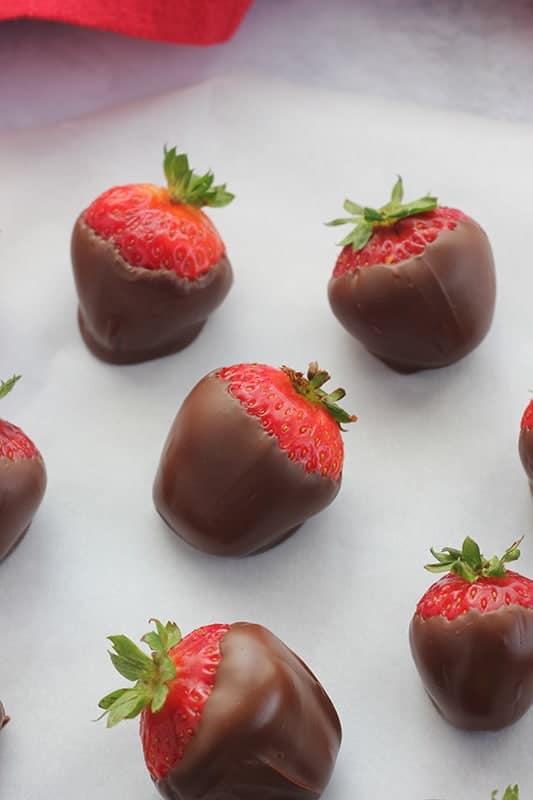
Chocolate Covered Strawberries
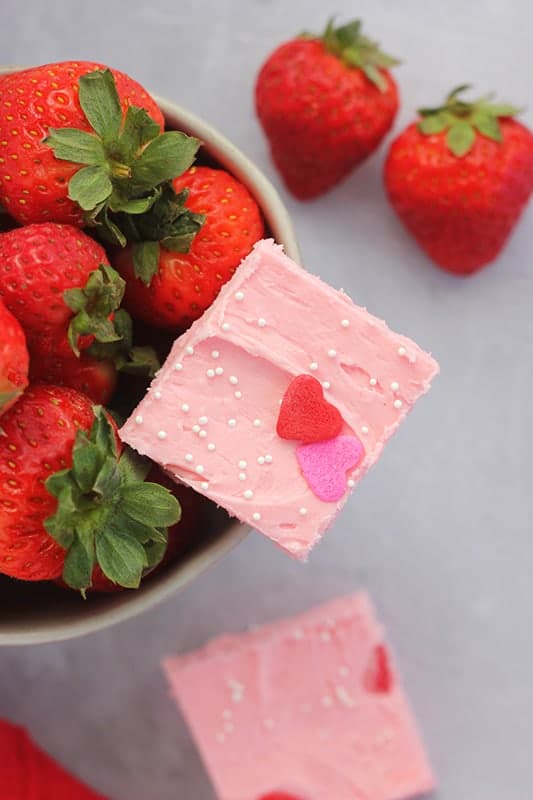
Strawberry Fudge
Brownie Bite Santa Hats
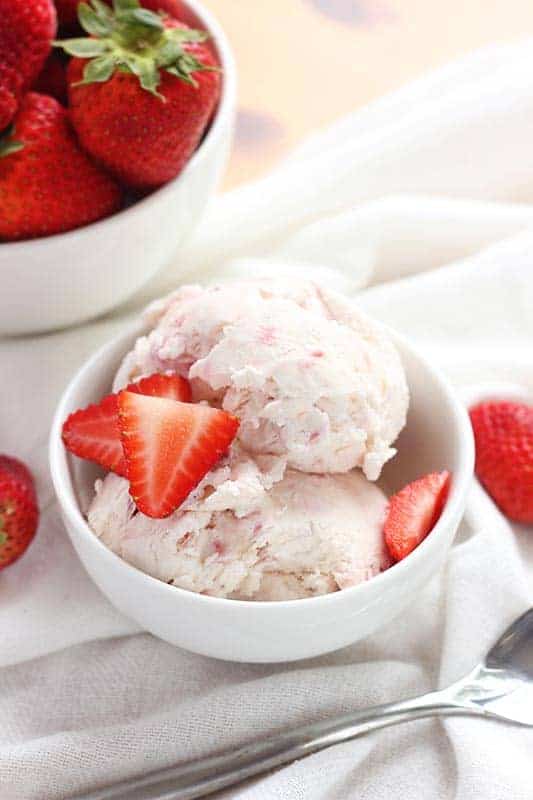
No-Churn Strawberry Ice Cream Recipe
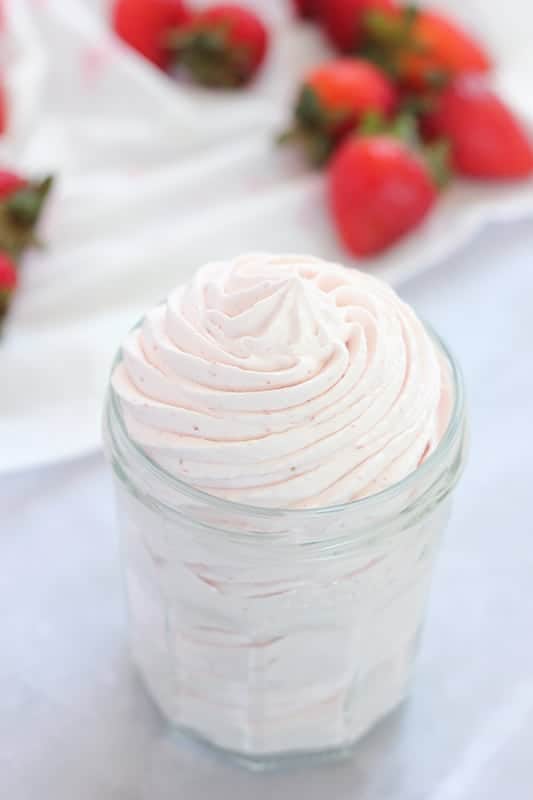
Strawberry Whipped Cream Recipe
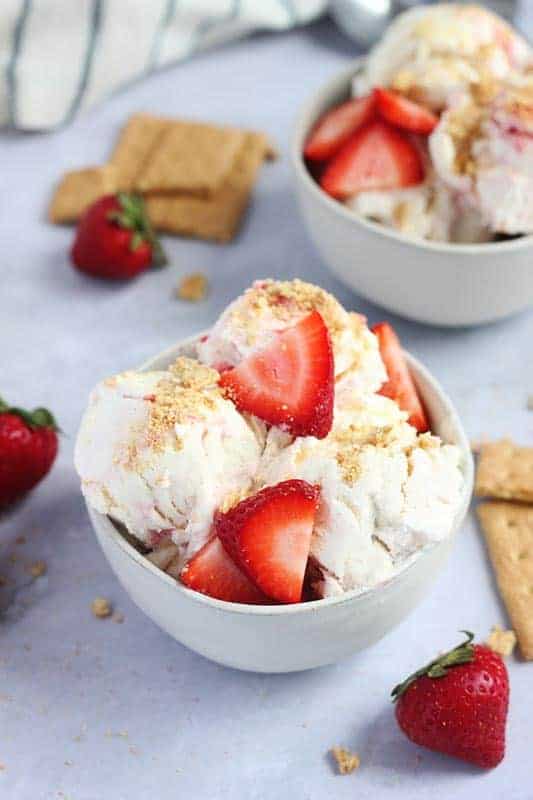
No Churn Strawberry Cheesecake Ice Cream Recipe
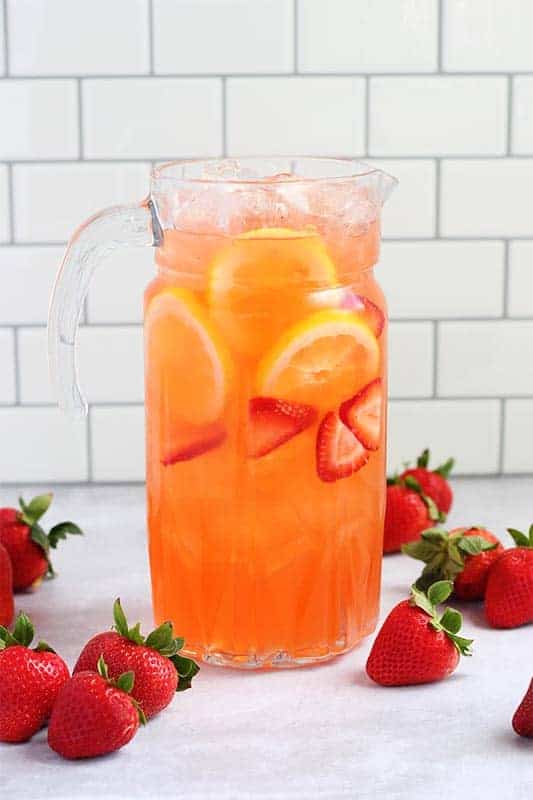
Strawberry Lemonade Recipe
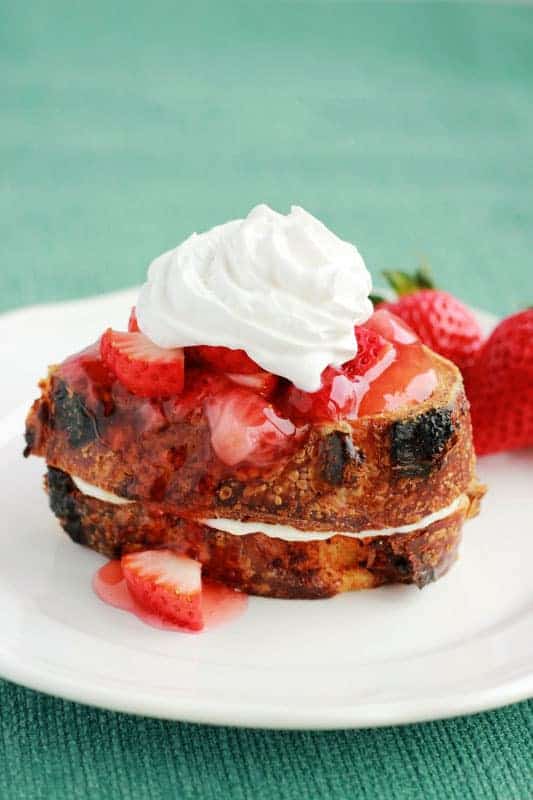
Strawberry Cheesecake French Toast
Page navigation
1
2
Next Page
Next
About
Contact
Recipe Index
Explore Recipes
Breakfast
Sides
Dinner
Desserts
Salads
Sauces
Drinks
Pasta
Slow Cooker
Air Fryer
Join the club
Never Miss A Recipe!
Sign Up Now!
×
Easy meals, zero stress!
Subscribe below to get my best recipes sent straight to your inbox!
Sign Up Now!