
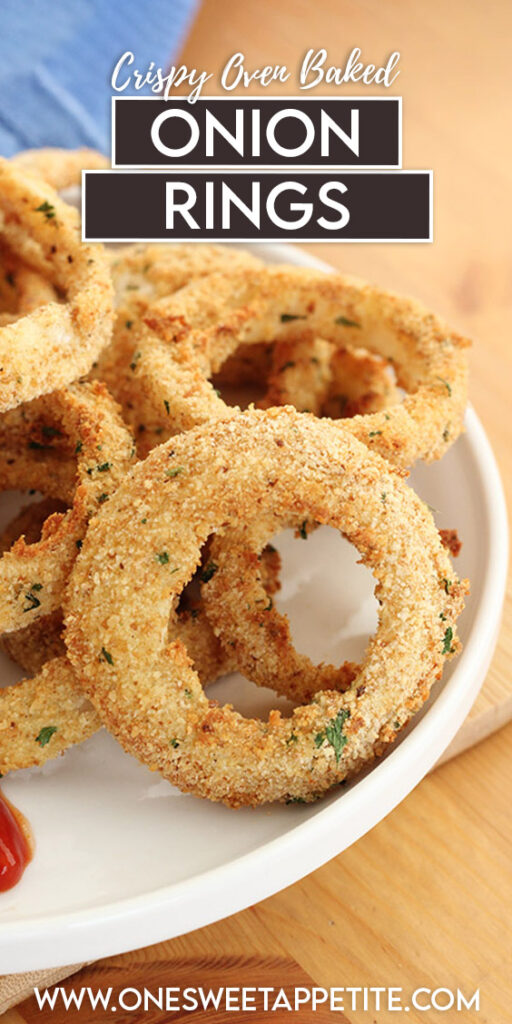
Baked Onion Rings
This post may contain affiliate links.
Crispy on the outside, tender in the center, these are the BEST Baked Onion Rings. No need to deal with hot oil and made with minimal ingredients. There are about to be a go-to side dish you’ll make again and again.
Serve these with your favorite burgers, especially my Western Burger, as a side to Crispy Chicken Nuggets or as a quick snack!

So Good, You’ll Forget They’re Baked
- Easy party appetizer: These onion rings are perfect for game day, backyard BBQs, or anytime you need a crowd-pleasing finger food.
- Simple budget snack: Made with pantry staples, this recipe is affordable and stretches far for parties or family dinners.
- Air fryer onion ring alternative: Don’t have an air fryer? This baked version delivers similar results with just your oven.
These baked onion rings are everything you love about the classic diner side. Crunchy, golden, and totally snack-worthy without the greasy aftermath. They come together with simple pantry staples and bake up perfectly crisp right in the oven. No frying, no mess, just serious crunch.
Whether you’re serving them up with burgers, loading them on a game-day platter, or snacking straight off the tray (guilty), these rings are a total win. They’re easy to prep ahead, kid-approved, and way more addictive than they should be.
Before You Start Cooking
These onion rings keep it simple with pantry staples and zero deep fryer. Each ingredient plays its part in giving you that craveable crunch with minimal mess. Here’s what you’ll need, and a few pro tips to make each one work even harder for you.
- Onion: Go for a large sweet onion like Vidalia or Walla Walla. They’re mild, slightly sweet, and perfect for onion rings that don’t overpower.
- All-Purpose Flour: This is your first layer of coating and helps everything stick. Don’t skip this step—it’s the base for that crispy shell.
- Seasonings (Salt, Pepper, Paprika): A simple combo that boosts flavor fast. Want extra kick? Toss in a pinch of cayenne or garlic powder.
- Eggs: Whisked eggs act as the glue between flour and breadcrumbs. Room temp eggs coat more evenly, so let them sit out for a few minutes before starting.
- Breadcrumbs: Panko is your BFF here. It’s lighter and crispier than regular breadcrumbs, giving that classic crunch without frying.
- Oil Spray: A light mist before baking helps get that golden finish. Choose avocado or olive oil spray for the best browning.
With just a handful of basics, you’ll turn humble onions into the ultimate snack, side, or game-day star. No grease, no hassle. Just crispy satisfaction in every bite.

Jesseca’s Recipe Review
I’ve tested a lot of onion rings over the years, and these are hands-down my favorite baked version. They hit that perfect balance of crispy coating and tender onion without leaving your kitchen smelling like a deep fryer. Bonus: My picky eater actually asked for seconds. That never happens.
Tip from Jesseca:
For ultra-crispy rings, let them rest on a wire rack for 2 to 3 minutes after baking. This keeps the bottoms from steaming and losing their crunch.

Customize It
These are easy to customize based on what you have on hand or what flavor you’re chasing. Here are some simple swaps and tasty twists:
- Make them spicy: Add a pinch of cayenne pepper or chili powder to your seasoning mix. You can even stir a little hot sauce into the egg wash for extra heat.
- Try different onions: Sweet onions are the go-to, but yellow, white, or even red onions all work. Red onions give a slightly sharper flavor and a fun pop of color.
- Add cheese to the breadcrumbs: A tablespoon or two of finely grated Parmesan mixed into the breadcrumb coating adds a salty, savory boost.
- Air fryer option: Skip the oven and pop these into the air fryer at 375°F for 10 to 12 minutes, flipping halfway through. They turn out extra crisp and cook even faster.
Whether you’re looking to spice things up or keep it allergy-friendly, these onion rings are easy to adapt, and still deliver that satisfying crunch every time.
Helpful Tools
- Baking Trays: One large tray (affiliate) is really all you need. You can line it with parchment for easy cleaning, or lightly mist with spray before adding your onions. Using a quality thicker tray helps with even cooking.
- Silicone Baking Mats: One of my favorite, and most used, kitchen items are my silicone baking mats (affiliate). It keeps me from needing parchment and they are reusable.
- Shallow Bowls (affiliate): These are so handy for so many things. Especially coating or dipping.
Recipe FAQs
It’s optional, but highly recommended. Soaking helps mellow the sharp bite and keeps the texture crisp once baked.
Absolutely! Air fry at 375°F for 10–12 minutes, flipping halfway through. They get extra crispy and cook slightly faster.
Sweet onions like Vidalia, Walla Walla, or even yellow onions work best. Avoid red onions unless you like a stronger flavor.
It’s usually because the onion was too wet or the flour step was skipped. Be sure to pat onions dry and coat fully in flour before dipping into egg and breadcrumbs.
Yes! Flash freeze the breaded (but unbaked) rings in a single layer, then transfer to a freezer-safe bag. Bake straight from frozen at 425°F, adding 3–5 extra minutes.
Storage and Make-Ahead Instructions
Baked onion rings are best fresh from the oven, but you can prep ahead and store leftovers with solid results.
- To Make Ahead: You can bread the onions up to 4 hours in advance. Place them in a single layer on a baking sheet, cover loosely with plastic wrap, and refrigerate until ready to bake. Just be sure to spray with oil right before they go into the oven.
- To Store Leftovers: Let the onion rings cool completely, then transfer to an airtight container lined with a paper towel. Store in the fridge for up to 3 days. They’ll lose some crispness but still reheat well.
- To Reheat: Skip the microwave (soggy city). Instead, reheat in a 375°F oven or air fryer for 5–8 minutes, flipping once. They’ll crisp right back up.

Want to save this recipe?
Enter your email below & we’ll send it to your inbox. Plus get great new recipes from us every week!
Baked Onion Rings
Ingredients
- 2 large sweet onions
- 1 cup flour
- 1 teaspoon salt
- 1/4 teaspoon pepper
- 1/2 teaspoon paprika
- 2 large eggs
- 1½ cups breadcrumbs
Instructions
- Preheat your oven to 425°F (220°C). Line a baking sheet with parchment paper or lightly grease it to prevent sticking.
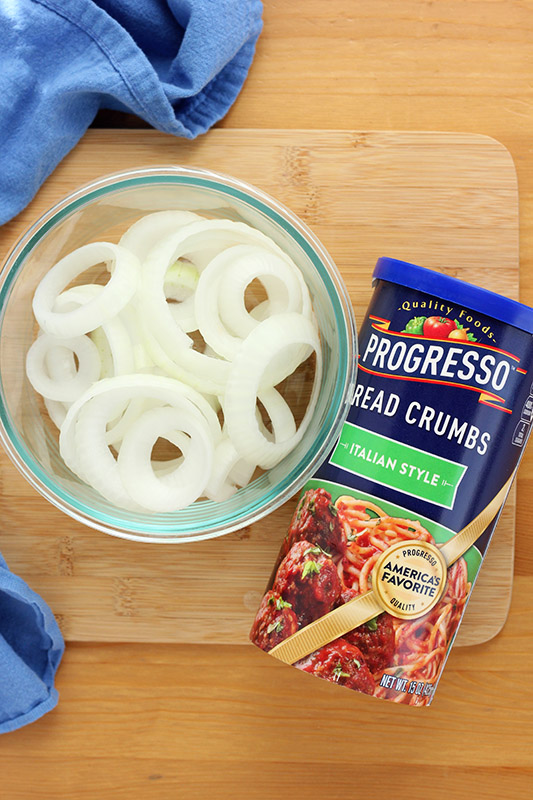
- Peel the onion and slice it into thick rings, about ½ inch wide. Carefully separate the rings and place them into a bowl of cold water. This helps mellow the sharpness and keeps them crisp. Let them soak while you prep the rest.
- In a large zip-top bag, combine the flour, salt, pepper, and paprika. Seal and shake to mix.
- In one shallow dish, whisk the eggs until smooth. In a second shallow dish, pour in the breadcrumbs.
- Remove the onion rings from the water and pat them dry with a clean towel or paper towels to help the coating stick better.
- Add a few onion rings at a time to the flour mixture in the zip-top bag. Seal and shake until coated. Dip each flour-coated ring into the egg mixture, letting any excess drip off.
- Then press it into the breadcrumbs, coating all sides evenly. For maximum crunch, press the breadcrumbs in gently so they stick well.
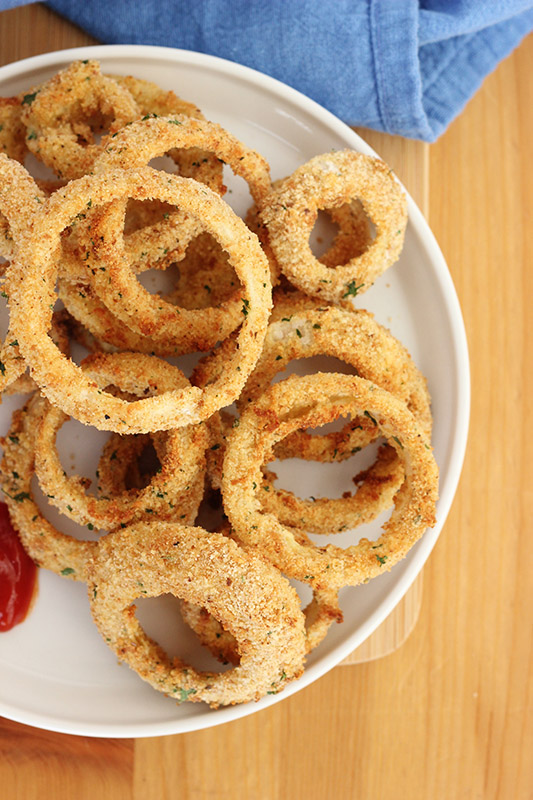
- Place the coated onion rings in a single layer on your prepared baking sheet. Be sure they’re not touching. Generously mist the tops with cooking spray—this helps them turn golden and crispy in the oven.
- Bake for 10 minutes, then carefully flip each ring using tongs or a spatula. Spray again lightly and return to the oven for 5 more minutes, or until crisp and golden brown.
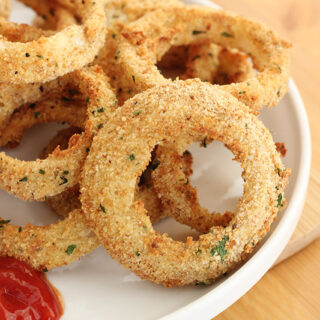
- Let them cool slightly, then dig in! These are best served warm with your favorite dipping sauce.
Notes
Nutrition
The nutrition facts provided are calculated using a third-party tool and are estimates only. Actual nutritional content may vary based on the ingredients and brands you use, as well as portion sizes. For accurate results, please consult a registered dietitian or nutritionist.


These look really delicious! I love when I can make something not so healthy a little better by changing the recipe up! My kids would love these. Thanks for linking up to The Creative Exchange!
These look so delicious! Onion rings are one of my favorites!
I love onion rings – they are so tasty!!! I’ve only made them homemade a handful of times, this makes me want to make more!