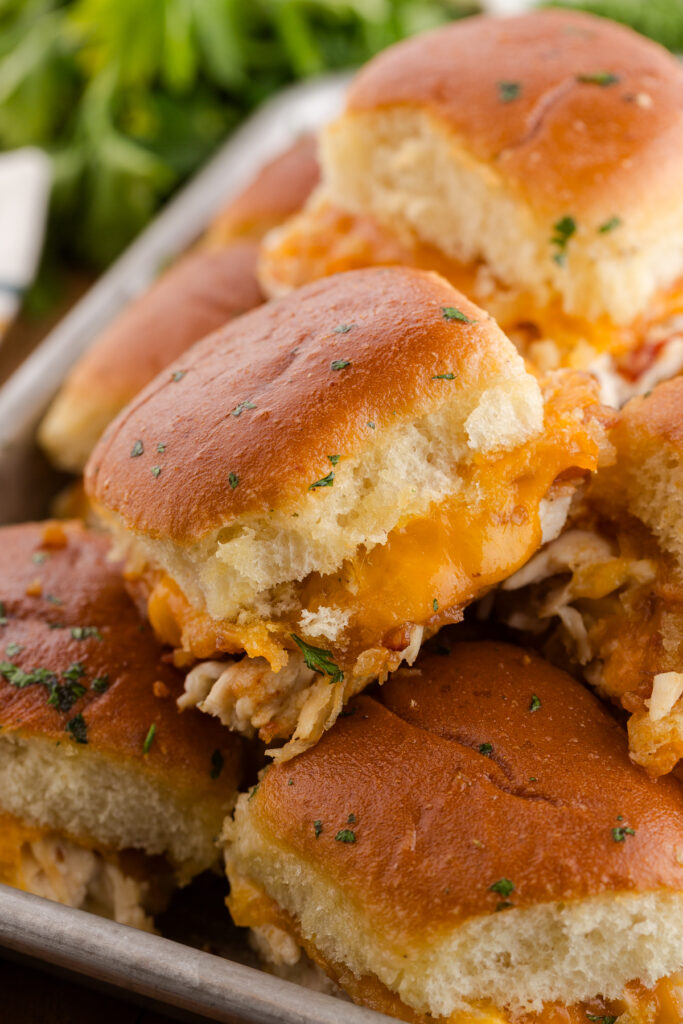
Chicken Bacon Ranch Sliders
This post may contain affiliate links.
If you need a dinner that works just as hard on a busy Tuesday as it does on a party table, these chicken bacon ranch sliders are it. They’re warm, cheesy, and built for real life picky eaters, last-minute plans, and nights when you want something comforting without cooking from scratch.
Made with simple ingredients and easy to prep ahead, this is the kind of slider recipe you’ll come back to for weeknights, game days, and everything in between.
What Makes This A Win
- Make-ahead friendly. You can assemble everything earlier in the day and bake right before serving.
- Bakes all at once. One pan, one bake, and no juggling batches or timing multiple dishes.
- Kid-approved and party-safe. Familiar flavors, easy to hold, and no mess, which makes these just as solid for dinner as they are for game day.
Chicken Bacon Ranch Sliders are built for busy nights when you want something everyone will eat without standing at the stove. Everything gets layered, baked, and done in about ten minutes, which is a lifesaver when you’re juggling kids, guests, or just don’t feel like cooking cooking.
They hit that sweet spot of familiar flavors and minimal effort. Rotisserie-style chicken, bottled ranch, Hawaiian rolls, and bacon do the heavy lifting so you can get dinner on the table or snacks out for game day without turning your kitchen upside down. Simple, reliable, and exactly what people actually want to eat.
Before You Start Cooking
- The rolls matter more than you think. Hawaiian rolls bring sweetness that balances the salty bacon and ranch. Brioche works if you want a richer, less sweet bite. Plain dinner rolls are sturdier but drier, so they’re better if you plan to load these up and make them ahead.
- Ranch dressing vs ranch seasoning. Bottled ranch adds moisture and creaminess, which keeps the chicken from drying out. A seasoning packet alone gives strong ranch flavor but needs fat or liquid to avoid tasting dusty. Using dressing in the filling and seasoning on top gives you flavor without overdoing it.
- How to keep the bacon from going limp. Cook the bacon until just crisp, not chewy. Softer bacon steams in the oven and turns flabby. Let it cool before adding it to the sliders so it keeps some crunch after baking.
- Cheese swaps that still melt well. Cheddar is classic, but Colby Jack, Monterey Jack, or a mild pepper jack all melt smoothly without overpowering the ranch. Avoid pre-shredded cheese if possible. It doesn’t melt as evenly and can feel greasy on sliders like this.

Jesseca’s Recipe Review
I’ve made these for quick dinners, casual get-togethers, and even nights when everyone is hungry and impatient. They’re easy, but they don’t feel boring, and the flavors always land. The ranch keeps the chicken moist, the bacon adds just enough texture, and baking everything together makes it feel low-stress from start to finish.
Tip from Jesseca:
If your rolls feel extra soft, toast just the bottom half in the oven for 3 to 4 minutes before assembling. It gives the sliders a sturdier base and helps everything hold together better after baking.
Easy Swaps and Simple Variations
If you’re making Chicken Sliders, there’s a good chance you’re also wondering how flexible they are.
- Oven vs slow cooker chicken. Pre-cooked chicken works best here. Rotisserie chicken is the fastest option, but slow cooker chicken breast or thighs shred well if you’re prepping ahead.
- No-bacon option. You can skip the bacon entirely and add an extra slice of cheese or a pinch of ranch seasoning so the sliders don’t feel lacking.
- Spicy version. Mix a little buffalo sauce into the chicken or add sliced jalapeños before baking for heat that’s noticeable but still crowd-friendly.
- Canned chicken vs rotisserie. Canned chicken works in a pinch, but rotisserie has better flavor and texture. If using canned chicken, drain it well and break it apart so it mixes evenly.
These variations let you adjust based on what you have on hand or who you’re feeding, without turning the recipe into something unrecognizable.


Frequently Asked Questions
Yes. You can assemble the sliders, cover them tightly, and refrigerate for up to 24 hours. Bake just before serving and add a few extra minutes since the pan will be cold.
Rotisserie chicken works best for flavor and texture, but any cooked, shredded chicken breast or thigh will work. Just make sure it’s well-drained so the sliders don’t turn soggy.
Use fully cooked chicken, don’t oversaturate it with ranch dressing, and bake the sliders uncovered so moisture can evaporate. Brushing the tops with butter helps seal the bread and improves texture.
Storage and Reheating Tips
These sliders hold up better than most, as long as they’re stored and reheated the right way.
- How long they keep
Store leftover sliders in an airtight container in the refrigerator for up to 3 days. For best texture, keep them whole instead of pulling them apart before storing. - Best way to reheat
Reheat in the oven at 325°F, covered loosely with foil, until warmed through. This keeps the bread soft and prevents the chicken from drying out. Avoid the microwave if you can. It makes the rolls tough and the bacon rubbery. - Freezing and thawing
These sliders freeze best before baking. Assemble them fully, wrap tightly, and freeze for up to 2 months. Thaw overnight in the fridge, then bake as directed, adding a few extra minutes if needed.
Want to save this recipe?
Enter your email below & we’ll send it to your inbox. Plus get great new recipes from us every week!

Chicken Bacon Ranch Sliders (Easy Hawaiian Roll Sliders)
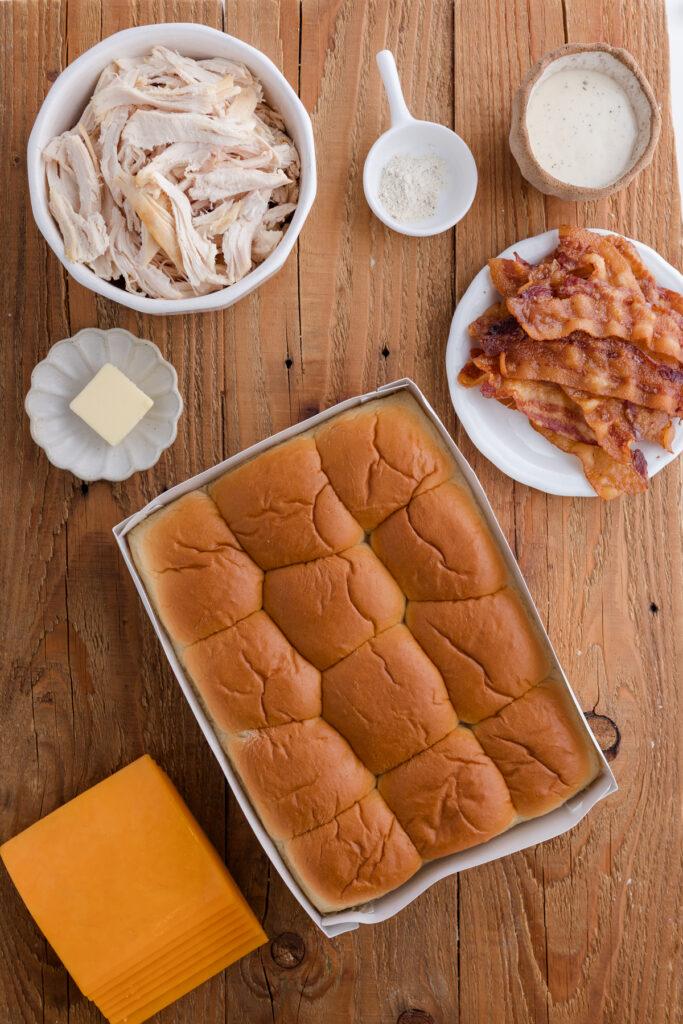
Ingredients
- 2/3 cup ranch dressing
- 3 cups cooked (shredded chicken breast)
- 12 Hawaiian rolls (kept together)
- 8 strips bacon (cooked and chopped)
- 4 to 6 slices cheddar cheese
- 2 tablespoons butter (melted)
- 1/2 teaspoon ranch seasoning
Instructions
- Preheat oven to 350°F.
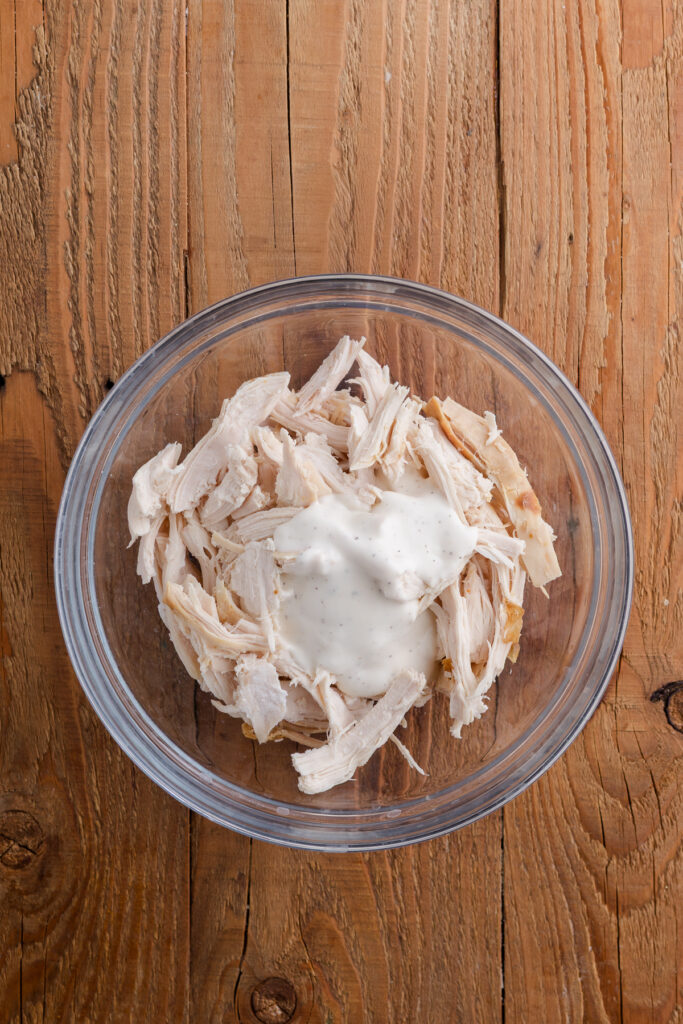
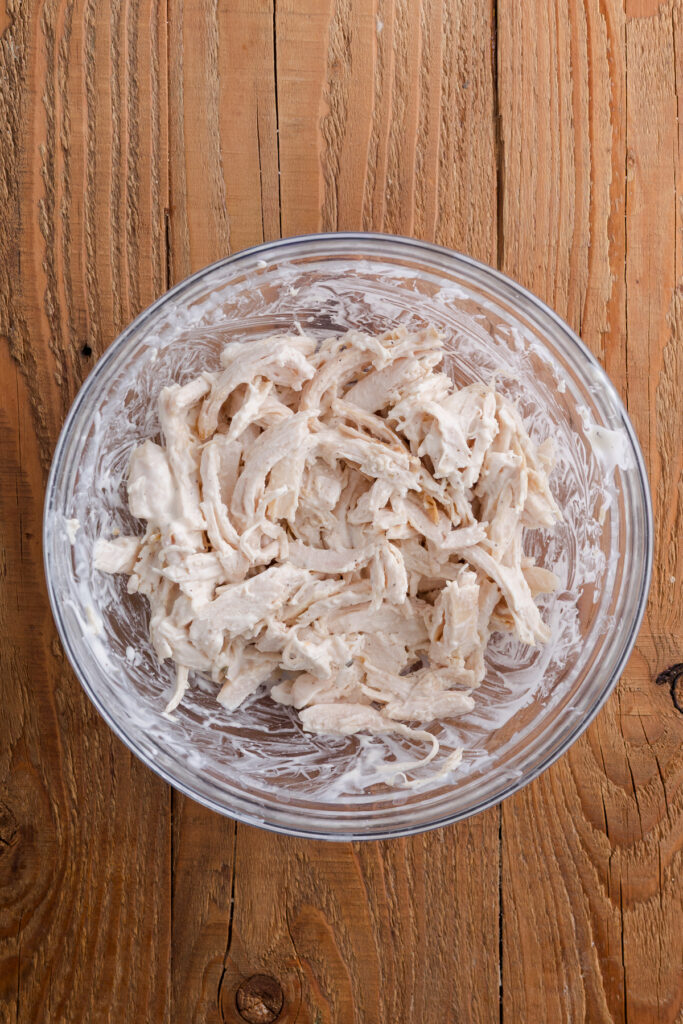
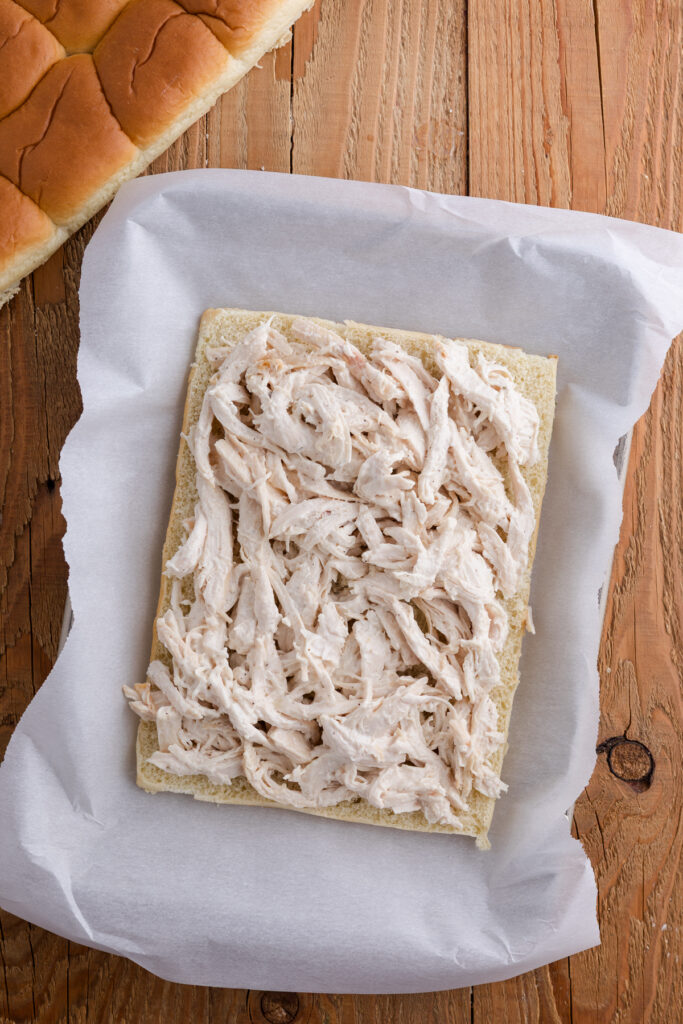
- In a large bowl, mix the chicken and ranch dressing until evenly coated.
- Using a serrated knife, slice the Hawaiian rolls in half horizontally without separating them. Place the bottom half in a greased 9×13-inch baking dish.
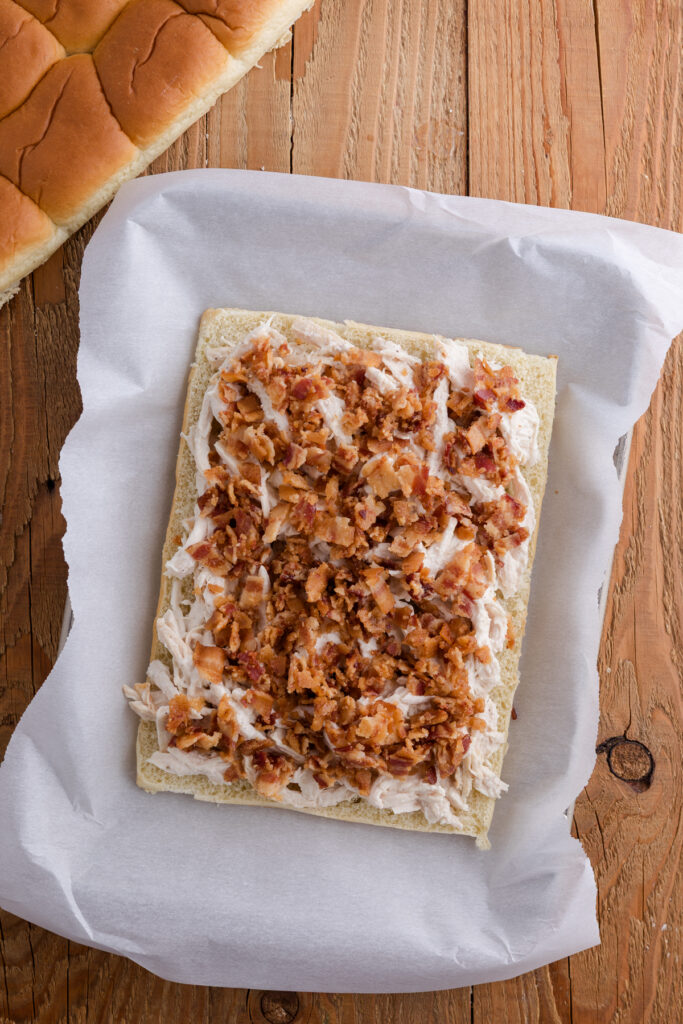
- Spread the chicken mixture evenly over the rolls. Sprinkle the bacon on top, then layer with cheese slices.
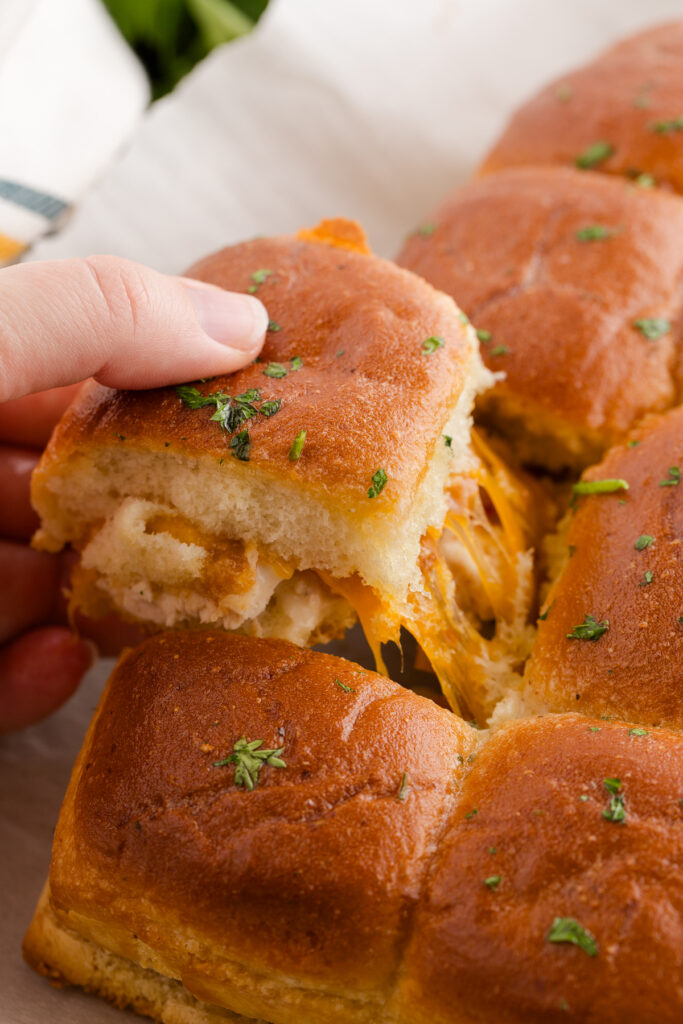
- Place the top half of the rolls back on. Stir together the melted butter and ranch seasoning and brush evenly over the tops.
- Bake uncovered for 10 minutes, or until the cheese is fully melted and the tops are lightly golden.
- Remove from the oven, rest for 3 to 5 minutes, then slice and serve.
Notes
- Bake uncovered the entire time for best texture. Cover only if the tops brown too quickly.
- For sturdier sliders, toast the bottom rolls alone for 3 minutes before assembling.
Equipment
Nutrition
The nutrition facts provided are calculated using a third-party tool and are estimates only. Actual nutritional content may vary based on the ingredients and brands you use, as well as portion sizes. For accurate results, please consult a registered dietitian or nutritionist.