Easy Oreo Truffles
This post may contain affiliate links.
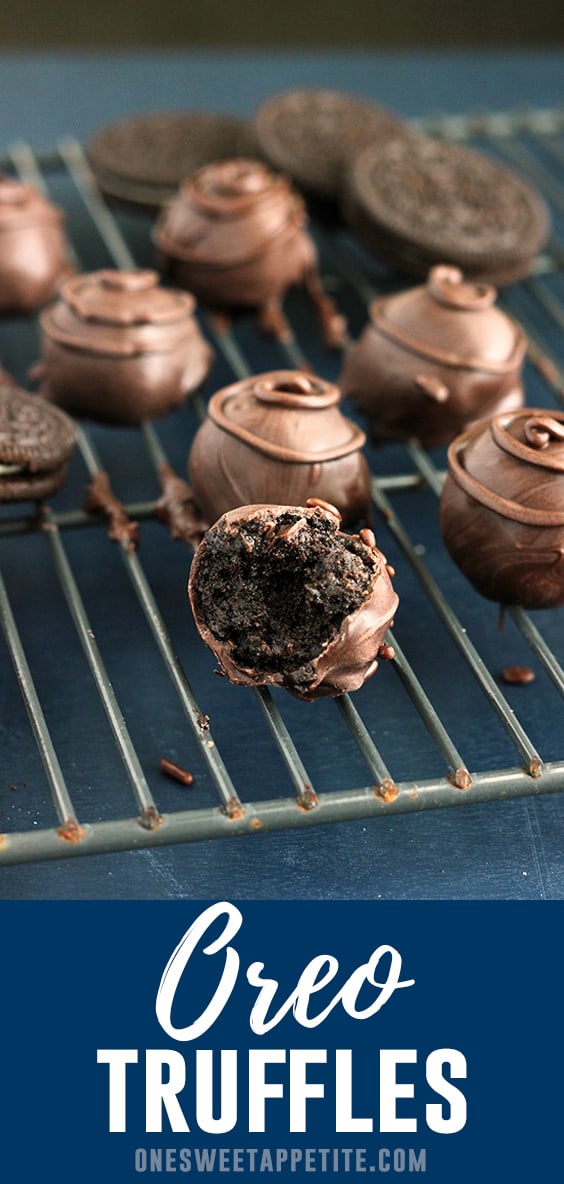
Oreo Truffles are proof that life’s best things come in bite-sized packages. With just three ingredients, these little chocolate-coated gems are dangerously easy to make and even easier to eat. Whether you’re whipping them up for a party or just need a quick treat to cure that sweet tooth, these truffles are here to make your dessert dreams come true.
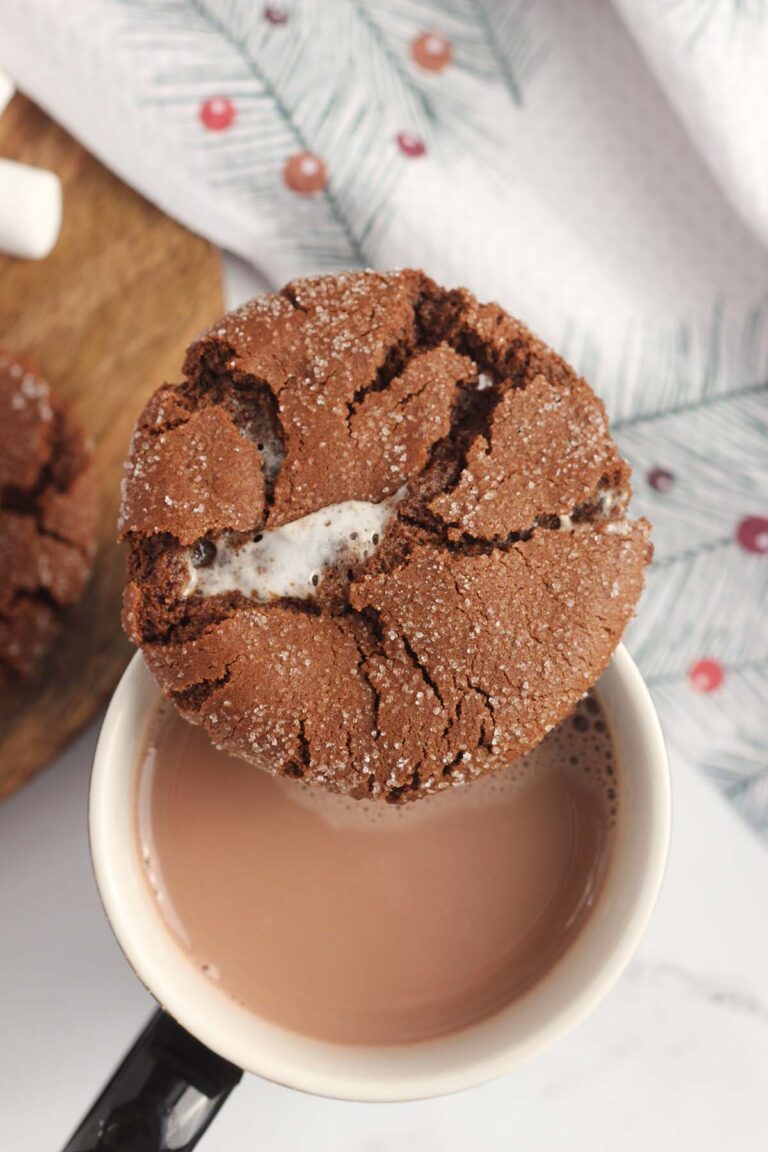
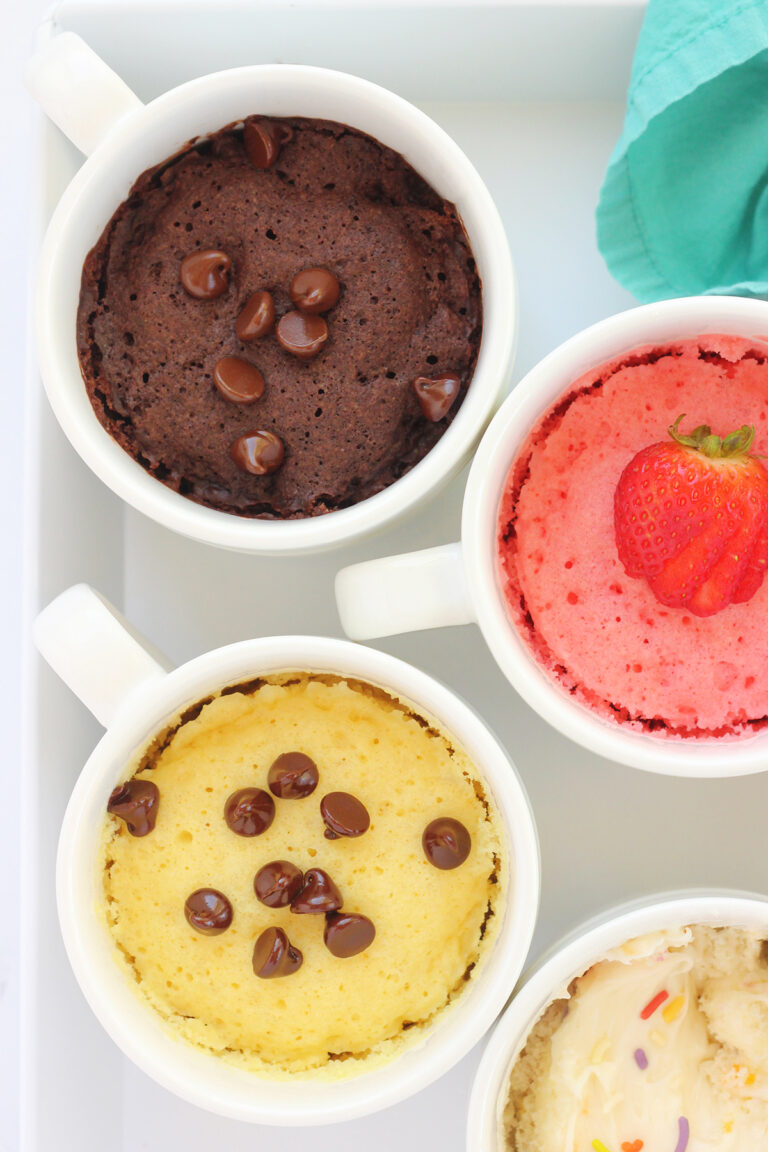
Love Oreo’s? Honestly, same! Be sure to try out some of my other inspired recipes like my Oreo Poke Cake, Oreo Mug Cake, and no-bake Oreo Cheesecake!

Why You’ll Love This Recipe
- Easy to Make: Only three ingredients and no baking required—perfect for beginners or when you’re short on time.
- Crowd-Pleaser: Everyone loves Oreos and chocolate, so these are guaranteed to disappear fast at parties.
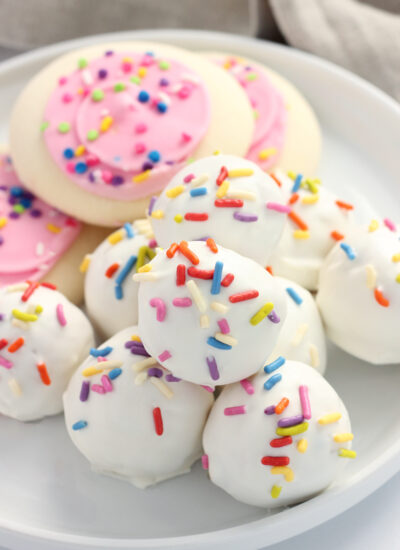
- Customizable: You can decorate them for any occasion—sprinkles for birthdays, a drizzle of white chocolate for elegance, or festive colors for holidays.
- No-Fail Dessert: Even if you’re not a kitchen pro, it’s nearly impossible to mess these up!
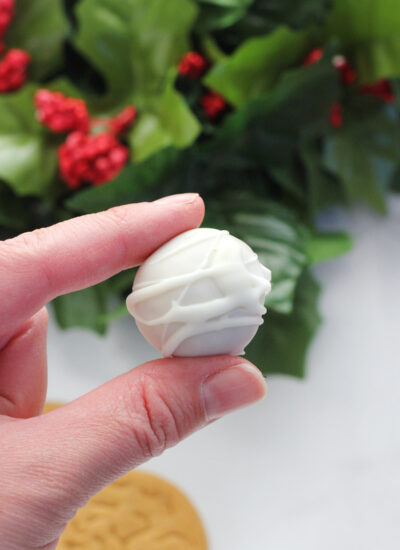
Oreo Truffles are the ultimate no-bake treat—rich, chocolatey, and so easy to make with just three ingredients. They’re a family favorite in our house, and the perfect base for my Bat Oreo Truffles, a festive twist that’s ideal for Halloween but just as delicious any time of year.
What makes these truffles so great is how versatile they are. Whether you’re dipping them in chocolate and keeping it simple or adding fun decorations for a holiday, they’re always a hit. My family loves them plain or as spooky bats, and they’re a treat we make on repeat all year long!
You don’t have to use Oreo cookies. Try this Cake Pop Recipe!
Ingredients You’ll Need
Making this Oreo balls recipe couldn’t be easier with just three simple ingredients that pack a ton of flavor. Here’s everything you need, plus a few tips to help you get the best results.
- Oreo Cookies: You’ll need classic Oreo cookies for that signature flavor and texture. Don’t remove the filling—it’s the magic that holds everything together! Use a food processor to crush the cookies into a fine crumb for a smooth, creamy filling.
- Cream Cheese: The cream cheese is what binds the crushed Oreos into that rich, truffle-worthy dough. Make sure the cream cheese is softened to room temperature—it’ll mix more evenly and save you from lumps.
- Chocolate or Candy Melts: These are for coating the truffles and adding that irresistible, crunchy shell. Go with semi-sweet, milk chocolate, or colorful candy melts depending on the look you want. Melt your chocolate in short microwave bursts, stirring in between, to avoid overheating and clumping.
These three simple ingredients come together to create a treat that tastes like you spent hours in the kitchen. Whether you’re making them for a party or just because, Oreo cookie balls are guaranteed to impress!
Variations and Substitutions
Here are some fun ways to switch up your Oreo Truffles:
- Cookies:
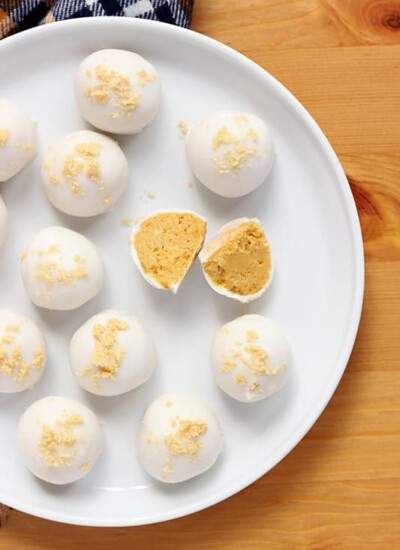
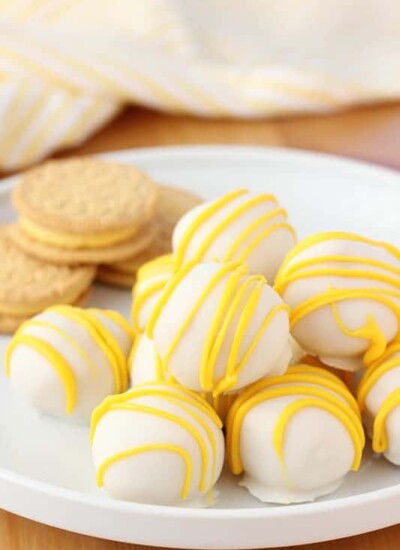
- Use golden Oreos for a vanilla twist.
- Try peanut butter Oreos for a rich, nutty flavor.
- Substitute gluten-free Oreos for a celiac-friendly option.
- Chocolate Coating:
- Use white or dark chocolate instead of milk chocolate.
- Opt for colorful candy melts to match holidays or events.
- Add sprinkles, crushed nuts, shredded coconut, or extra Oreo crumbs for texture.
- Decorations:
- Create themed treats like Bat Oreo Truffles for Halloween.
- Drizzle with contrasting chocolate or add festive colors for seasonal fun.
These variations make it easy to customize the truffles for any occasion or preference, keeping things deliciously creative!

Oreo Truffles Recipe
Making Oreo balls is as simple as it gets! With just a few steps, you’ll have a batch of delicious, chocolate-coated treats that everyone will love.
- Combine the ingredients: Blend Oreo cookies and cream cheese in a high-powered blender until smooth.
- Roll the mixture: Shape the dough into evenly sized balls. Chill for 1 hour or until firm.
- Dip in chocolate: Melt candy melts according to the package instructions, then dip each ball to coat fully.
- Decorate and set: Add sprinkles or other decorations before the chocolate hardens. Let them set completely.
- Serve and enjoy: Once the chocolate is firm, they’re ready to eat!
These truffles are quick, easy, and perfect for any occasion. Customize them with decorations to match your event or enjoy them as-is—either way, they’re irresistible!
Storage and Make-Ahead Instructions
Storage:
- Store Oreo Truffles in an airtight container in the refrigerator for up to 1 week. The chocolate coating helps keep the filling fresh and delicious.
- For longer storage, freeze the truffles in a single layer on a baking sheet until solid, then transfer them to a freezer-safe container or bag. They’ll keep well for up to 3 months. Thaw in the refrigerator before serving.
Make-Ahead Tips:
- You can prepare the truffle mixture and roll the balls up to 2 days in advance. Keep them chilled in the refrigerator until you’re ready to coat them in chocolate.
- If you’re short on time, coat and decorate the truffles in stages. Dip and decorate them one day, and let them fully set before storing them for your event.

Tips for Success:
Crush the Cookies Well: Use a food processor or blender to get the Oreo crumbs super fine. This ensures a smooth and creamy truffle filling.
Room Temperature Cream Cheese: Soften the cream cheese before mixing to avoid lumps and make the blending process much easier.
Chill the Dough: Don’t skip chilling the rolled truffles! It firms them up and makes dipping in chocolate much easier.
Use a Fork for Dipping: A fork or a dipping tool helps you coat the truffles evenly in chocolate while allowing excess to drip off.
Work in Batches: If the dough starts to soften while rolling or dipping, pop it back in the fridge for a few minutes to keep it firm.
Thin the Chocolate: If your melted chocolate feels too thick, stir in a teaspoon of coconut oil or vegetable shortening for a smoother coating.
Decorate Quickly: Add sprinkles or decorations immediately after dipping each truffle. The chocolate sets fast!
Recipe FAQs
Absolutely! Flavored Oreos like Golden, Peanut Butter, or Mint add a fun twist to the truffles. Just make sure to use the same amount as the classic version.
You can use regular chocolate chips or baking chocolate. If the melted chocolate feels too thick, add a teaspoon of coconut oil or shortening to thin it out.
Yes! You can make and refrigerate the truffles up to 1 week in advance or freeze them for up to 3 months. Just let them thaw in the fridge before serving.
No problem! Place the Oreos in a zip-top bag and crush them with a rolling pin until fine. Then mix the crumbs and cream cheese by hand or with a mixer.

More Truffle Recipes
Still Hungry? Follow One Sweet Appetite on Instagram, Pinterest, and Facebook!
Want to save this recipe?
Enter your email below & we’ll send it to your inbox. Plus get great new recipes from us every week!

Oreo Truffles
Ingredients
- 18 Oreo cookies (or your favorite sandwich cookie)
- 4 oz cream cheese (soft)
- candy melts
Instructions
- Place the Oreo cookies (filling included) and softened cream cheese into a high-powered blender or food processor. Pulse until the mixture forms a smooth dough with no visible chunks of cookies. Scrape down the sides as needed to ensure everything is evenly blended.
- Scoop out small portions of the dough (about 1 tablespoon each) and roll them into evenly sized balls. Place them on a parchment-lined baking sheet. Once all the dough is rolled, refrigerate the truffles for at least 1 hour, or until firm.
- Melt the candy melts or chocolate in a microwave-safe bowl, heating in 20-30 second intervals and stirring between each round until smooth. Be careful not to overheat, as the chocolate can seize.
- Using a fork or dipping tool, lower each chilled ball into the melted chocolate. Coat it completely, then lift it out and gently tap off any excess. Return the coated truffle to the parchment-lined baking sheet.
- While the chocolate is still wet, add sprinkles or other decorations as desired. Allow the truffles to sit at room temperature or in the fridge until the chocolate shell is fully set.
- Once the chocolate has hardened, transfer the truffles to a serving plate. Store leftovers in an airtight container in the refrigerator for up to 1 week.
Nutrition
The nutrition facts provided are calculated using a third-party tool and are estimates only. Actual nutritional content may vary based on the ingredients and brands you use, as well as portion sizes. For accurate results, please consult a registered dietitian or nutritionist.
Like this recipe? You will love my:
- Homemade Oreo Cookies
- Cookies and Cream Cupcakes
- Bat Oreo Truffles
- Polar Bear Oreo Cookies
- Thin Mint Cookies