
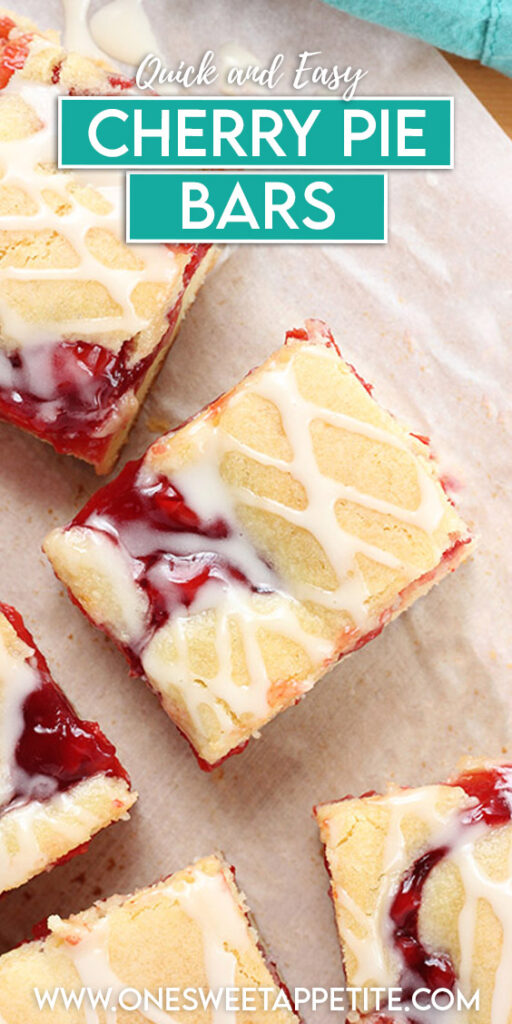
Cherry Pie Bars
This post may contain affiliate links.
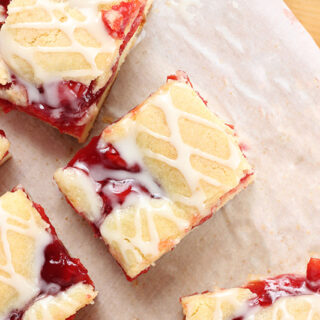
These cherry pie bars are my go-to when I want classic cherry pie flavor without the hassle of a full crust. The base bakes up soft and buttery, and using canned cherry pie filling keeps it consistent every time. Don’t worry if the top isn’t fully covered. Those gaps bake into the perfect mix of jammy filling and tender bars.
Be sure to check out some of our other popular fruity desserts! You cannot go wrong with my Lemon Pie Bars, Cherry Dump Cake, and Mini Key Lime Cheesecakes!

Why These Cherry Pie Bars Work
- Simple ingredients, reliable results: Using canned cherry pie filling keeps the texture and flavor consistent, so you don’t end up with a runny or overly tart layer.
- Soft, buttery base: The dough bakes up like a tender sugar cookie, giving you that pie-meets-cookie texture people love.
- No fussy crust: You still get that classic cherry pie vibe without rolling, chilling, or stressing over a perfect crust.
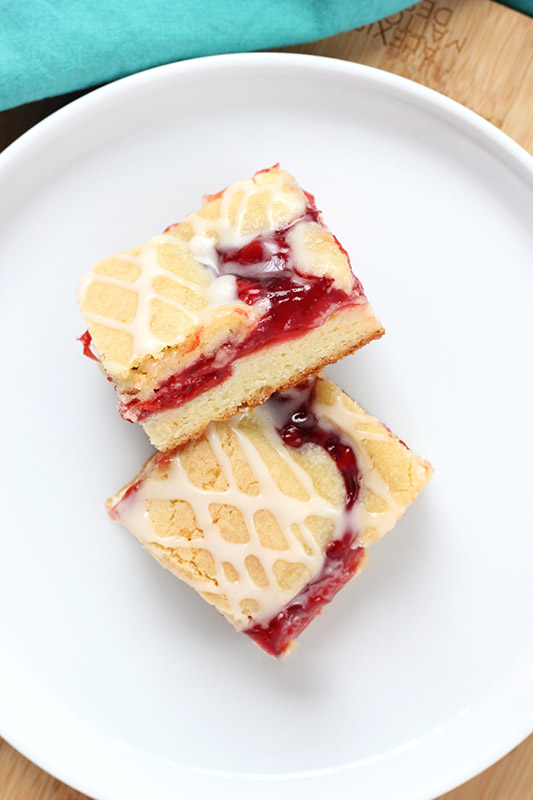
- Easy to slice and serve: Once cooled, these cut cleanly into bars, making them perfect for sharing or prepping ahead.
I started making these cherry pie bars because they remind me so much of the ones my grandma used to make as our go-to summer treat. Nothing fancy, just a simple pan dessert with that sweet cherry filling and a soft, buttery base that somehow always tasted better the next day. This version keeps that same feel, just a little more streamlined for an easy, reliable bake.
If you’re after something nostalgic that doesn’t take a ton of effort, this is it. They bake up soft with just enough cherry in every bite, and once they cool, they slice clean and hold their shape. It’s the kind of recipe you can make ahead, share, or keep on the counter for a few days without it feeling like a whole production.
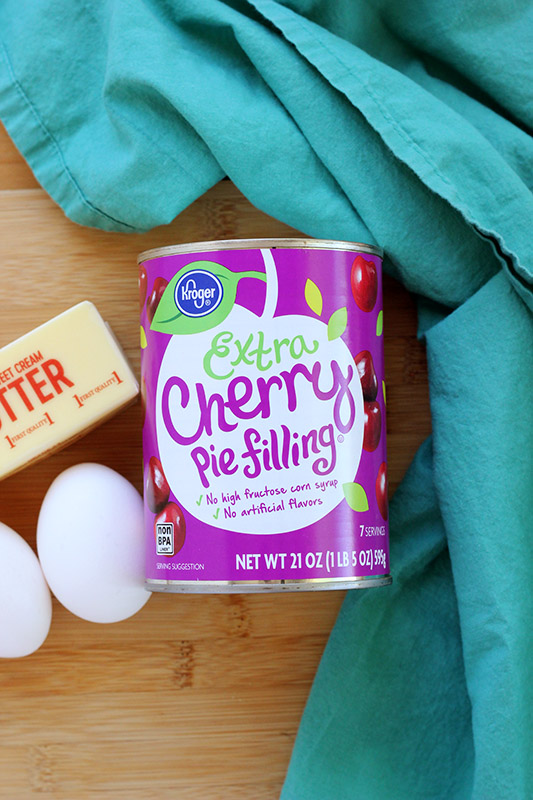
Cherry Bar Ingredients
You only need a handful of simple ingredients for these bars, but a few small details make a big difference in how they turn out.
- Butter (softened): Soft, not melted. Too warm and the base can turn greasy.
- Sugar: Keeps the bars light with slightly crisp edges.
- Eggs: Mix in one at a time for a smooth batter.
- Vanilla extract: Adds flavor and keeps the bars from tasting flat.
- All-purpose flour: Don’t overmeasure or the bars will be dry.
- Salt: Balances the sweetness and enhances the cherry flavor.
- Cherry pie filling: Canned works best for consistency. Give it a quick stir before adding.
- Powdered sugar + milk: Start with less milk and add slowly until it’s drizzle-ready.
Vanilla extract: Adds a little extra flavor to the glaze.
With just a few pantry staples and the right ratios, these bake up soft, buttery, and packed with cherry flavor every time.

Jesseca’s Recipe Review
These cherry bars with cherry pie filling are a family favorite—and that’s saying something in a house full of picky eaters. They’ve got just the right balance of sweet, buttery, and fruity without being overly fussy. Bonus: they look impressive, but no one has to know how easy they are.
Tip from Jesseca:
Chill the bars before slicing for cleaner cuts and less mess. A sharp knife and a little patience = bakery-style squares every time.
Substitutions and Variations
Want to switch things up or work with what you’ve got on hand? These Cherry Pie Bars are super flexible. Here are a few easy ways to customize:
- Cherry Pie Filling – Not a cherry fan? Try blueberry, apple, or even peach pie filling. Just make sure to use the same amount.
- Vanilla Extract – Almond extract is a tasty twist, especially with cherry. Use half the amount, though—it’s strong!
- Add-ins – Want extra texture? Toss in some chopped nuts (like almonds or pecans) on top before baking.
- Glaze swap – Skip the glaze and dust with powdered sugar for a more subtle finish.
No matter how you spin it, these bars are pretty much foolproof and still taste like you worked way harder than you actually did.
Cherry Bar Recipe Questions, Answered
Absolutely! If you’ve got a go-to homemade filling, use about 1½ cups. Just make sure it’s not too runny or it’ll affect the texture of the bars.
You can use an 8×8 or 9×9 pan, but the bars will be a little thicker and may need a few extra minutes in the oven. Keep an eye on the top—it should be golden brown.
Yes! Double everything and bake in a 9×13 pan. You may need to add 5–10 minutes to the bake time.
If it’s too thick, add a tiny splash of milk—just a little at a time. Too thin? Add a spoonful of powdered sugar to thicken it up.
Not right away. They’re fine at room temp for a couple of days, but refrigerating them helps them last longer—especially if your kitchen runs warm.
Storage and Make-Ahead Instructions
Make-ahead friendly? Absolutely. You can prep these bars a day in advance and they’ll taste even better once the flavors have had time to settle.
- To store: Keep leftovers in an airtight container at room temperature for up to 3 days. For longer storage, pop them in the fridge—they’ll stay fresh for up to 5 days.
- To freeze: Let the bars cool completely (and skip the glaze until you’re ready to serve). Wrap tightly in plastic wrap, then foil, and freeze for up to 2 months.
- To serve: Thaw at room temperature and drizzle with fresh glaze if needed.
Perfect for potlucks, holidays, or those times you just want dessert on standby.
Some of the most-loved recipes on my site aren’t cookies or cakes—they’re dessert bars! Take a look through my collection and discover your next go-to recipe.
Want to save this recipe?
Enter your email below & we’ll send it to your inbox. Plus get great new recipes from us every week!
Cherry Pie Bars Recipe
Ingredients
Bars:
- 1/2 cup butter (softened)
- 1 cup sugar
- 2 large eggs
- 1/2 teaspoon vanilla extract
- 1½ cups all-purpose flour
- 1/2 teaspoon salt
- 1 21 oz can cherry pie filling
Glaze
- 1/2 cup powdered sugar
- 1/4 teaspoon vanilla extract
- 1-2 Tablespoons milk
Instructions
- Preheat oven to 350°F (175°C).
- Prepare your pan: Line a 7×11-inch baking dish with parchment paper for easy removal, or generously grease with baking spray. Set aside.
Bars
- In a large mixing bowl, combine softened butter and sugar. Use a stand mixer fitted with the paddle attachment (or a hand mixer) to beat for about 2 minutes, until the mixture is light and fluffy.
- Add eggs and vanilla: Mix in the eggs one at a time, ensuring each is fully incorporated before adding the next. Stir in the vanilla extract.
- Slowly add in the flour and salt, mixing just until a soft dough forms.
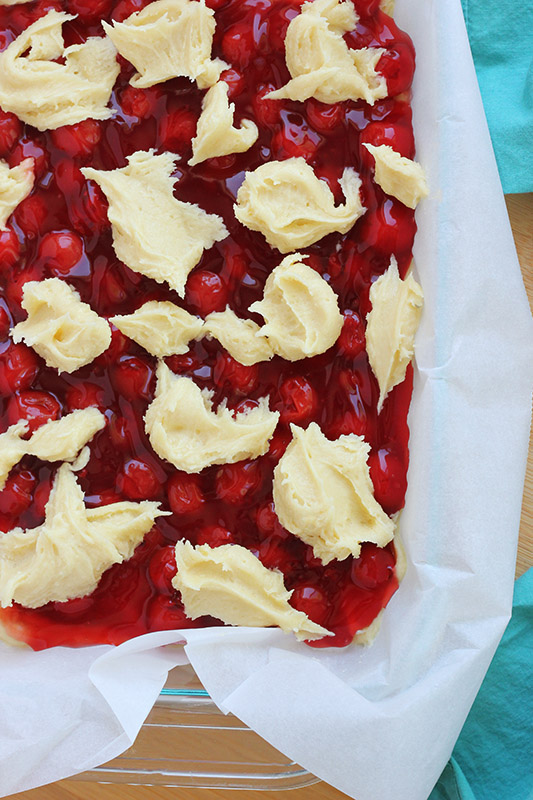
- Spread 1½ cups of the dough evenly into the prepared pan to create the base.
- Add filling: Spoon the cherry pie filling over the base, gently spreading it out to cover the dough completely.
- Drop small spoonfuls of the remaining dough over the cherry layer. No need to spread or cover the whole surface.
- Place the pan in the oven and bake for about 40 minutes, or until the top is golden brown and the edges are set.
- Let the bars cool in the pan before adding the glaze.
Glaze
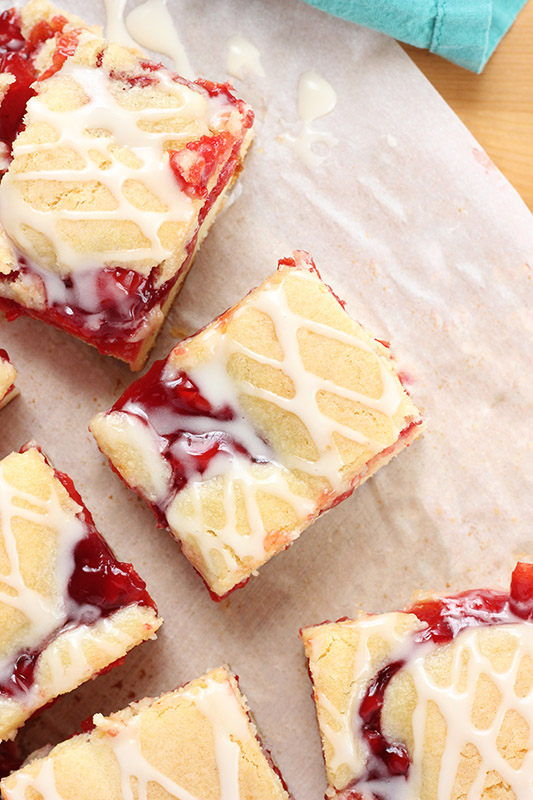
- In a small bowl, whisk together powdered sugar, vanilla, and 1 tablespoon of milk until smooth. Add more milk, a little at a time, until you reach a drizzling consistency.
- Finish: Drizzle glaze over cooled bars, slice, and enjoy!
Notes
Nutrition
The nutrition facts provided are calculated using a third-party tool and are estimates only. Actual nutritional content may vary based on the ingredients and brands you use, as well as portion sizes. For accurate results, please consult a registered dietitian or nutritionist.


I don’t have a 7×11 pan. do I increase to double the crust for 9×13?
I would recommend doubling the recipe for a 9×13 pan. It may need a bit longer (around 45-50 minutes) since the thicker layer in a larger pan could take slightly more time. Check for a golden top to know when it’s ready.
a serving size is 1 gram? one bar is about 72 grams. I weighed it.
And if 1 gram is a serving size, then there are over 26,000 calories in one bar.
So that’s not right.
Is it supposed to be that a serving size is 1 bar?
Thanks so much for pointing that out! It seems like there’s a mistake in the serving size info. You’re right—one bar is about 72 grams, so the serving size should be listed as one bar. I’ll get that corrected ASAP! Appreciate your patience.
So easy and delicious, my work friends ate them up! A great recipe!
Thank you, Bree!