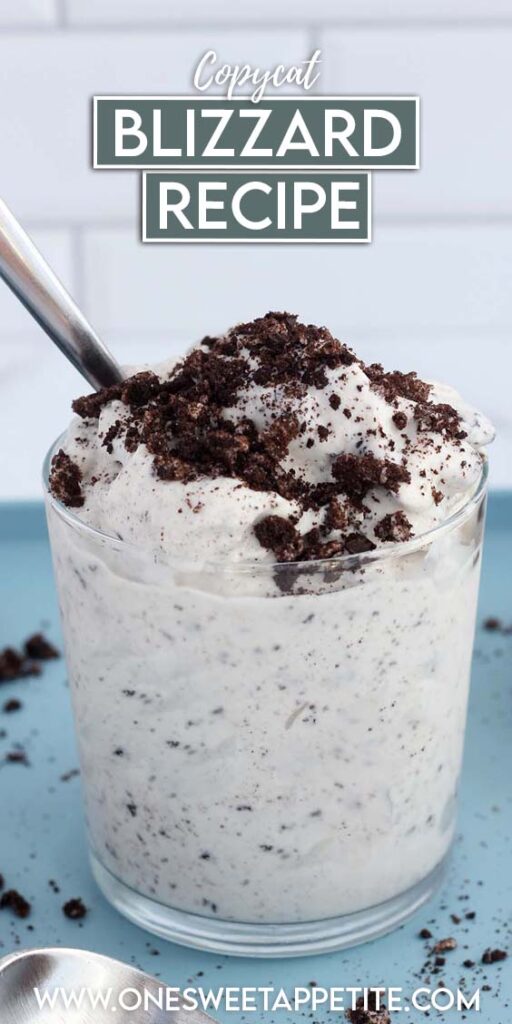
Dairy Queen Blizzard
This post may contain affiliate links.
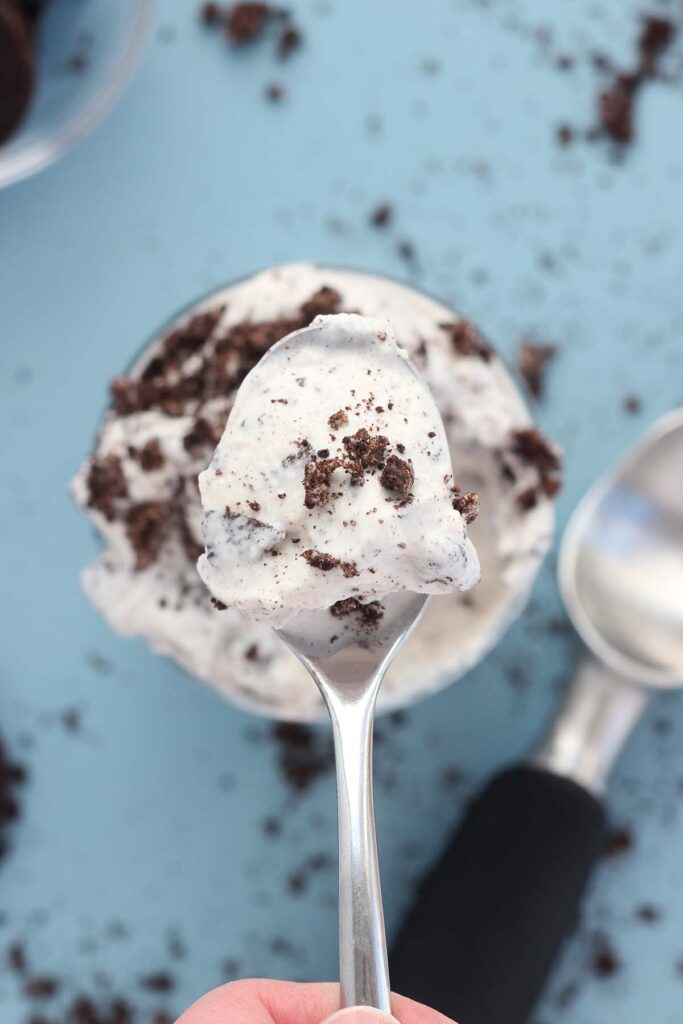
If you’ve ever found yourself scraping the bottom of a Homemade Oreo Dairy Queen Blizzard cup, wondering why you didn’t just order the next size up—good news! Now you can make this creamy, cookie-packed dream at home with just a few simple ingredients. No drive-thru required, just a strong spoon and a little willpower (because stopping at one bite? Impossible).
It’s no secret that our home basically relies on frozen treats. I’ve got a few that you absolutely have to add to your must-try list: Cookies and cream Frappuccino, Strawberry Frappuccino, and my Wendy’s frosty recipe!
Why You’ll Love This Recipe
- Just like Dairy Queen: This copycat blizzard from dairy queen tastes just like the real deal, but you can make it at home anytime.
- Only two ingredients: You only need vanilla ice cream and Oreos to whip up this creamy treat.
- No special equipment needed: A simple stand mixer or hand mixer will do the trick—no ice cream machine required!
- Thick and creamy texture: This recipe shows you how to get that signature thick consistency that holds its shape when flipped upside down.
- Customizable mix-ins: Swap out Oreos for your favorite add-ins like Reese’s, M&M’s, or cookie dough for endless Blizzard flavors.
Mastering a Homemade Blizzard might be the most dangerously delicious skill you ever learn. The secret? It’s all about the ice cream texture—blend too much, and you’ve got a milkshake; not enough, and your spoon will need backup. But get it just right, and you’ve got a thick, creamy, cookie-stuffed masterpiece that rivals the real deal. Plus, making it at home means extra Oreos—because let’s be honest, DQ never adds enough.
The best part? No fancy equipment needed—just a mixer and a little self-control. This easy three-ingredient recipe comes together in minutes, making it perfect for late-night cravings or impressing your family with your ice cream wizardry. It’s fully customizable, ridiculously delicious, and way cheaper than a trip to Dairy Queen. So grab your ingredients and let’s make some Blizzard magic—no drive-thru required.
Ingredients You’ll Need
Making a dq blizzard with oreo couldn’t be easier—you only need two simple ingredients to whip up this thick and creamy treat. The key is using quality ingredients and the right technique to get that perfect consistency. Here’s what you need:
- Vanilla Ice Cream: For the best texture, use full-fat, high-quality vanilla ice cream. Low-fat or soft-serve-style ice cream won’t hold up as well. Brands like Häagen-Dazs or Tillamook have a creamier consistency, making your easy homemade blizzard taste even better.
- Chocolate Sandwich Cookies (Oreos): Double Stuf might sound tempting, but the extra filling can make the Blizzard a little too soft. Save a few larger cookie pieces to fold in at the end for that satisfying cookie crunch.
And that’s it! Two ingredients, endless deliciousness. Now that you’ve got your ingredients ready, let’s get blending and make this the dairy queen blizzard of month!
Substitutions and Variations
One of the best things about making DQ desserts is how easy they are to customize. Whether you’re working with what you have on hand or craving a new flavor, here are some simple swaps and fun variations to try:
Substitutions
- Vanilla Ice Cream → Chocolate Ice Cream – Love a chocolate overload? Swap vanilla for chocolate ice cream to make a double chocolate Oreo Blizzard.
- Oreos → Any Sandwich Cookie – If you’re out of Oreos, any store-brand chocolate sandwich cookie will do the trick.
Fun Flavor Variations
- Mint Oreo Blizzard – Use mint chocolate sandwich cookies or add a splash of peppermint extract for a cool, refreshing twist.
- Peanut Butter Oreo Blizzard – Mix in a spoonful of peanut butter for a salty-sweet combo. Bonus points if you add peanut butter cups!
- Brownie Batter Blizzard – Swap out some of the Oreos for brownie chunks to turn this into a fudgy dream.
- Cookie Dough Blizzard – Stir in chunks of edible cookie dough for the ultimate cookie lover’s treat.
- S’mores Blizzard – Replace half the Oreos with graham crackers and mix in mini marshmallows or a drizzle of melted chocolate.
The possibilities are endless, so don’t be afraid to get creative! Whether you keep it classic or experiment with new flavors, this Blizzard is guaranteed to be a hit.
Copycat Dairy Queen Blizzard
Making your own DQ style oreo blizzard recipe takes less than five minutes, and the result is just as thick, creamy, and cookie-packed as the Dairy Queen original. The secret? Softened ice cream and a quick mix to get that perfect texture—no milk required!
- Chill the bowl – Pop your mixing bowl in the freezer for about 10 minutes before starting. This helps keep the ice cream from melting too quickly.
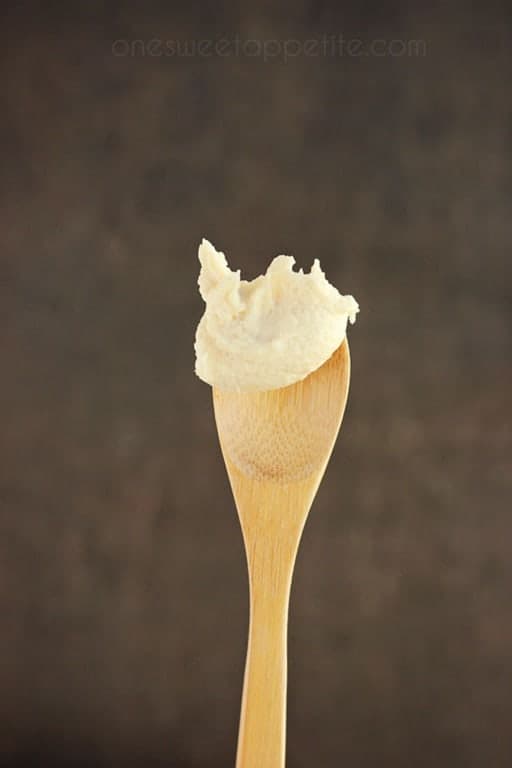
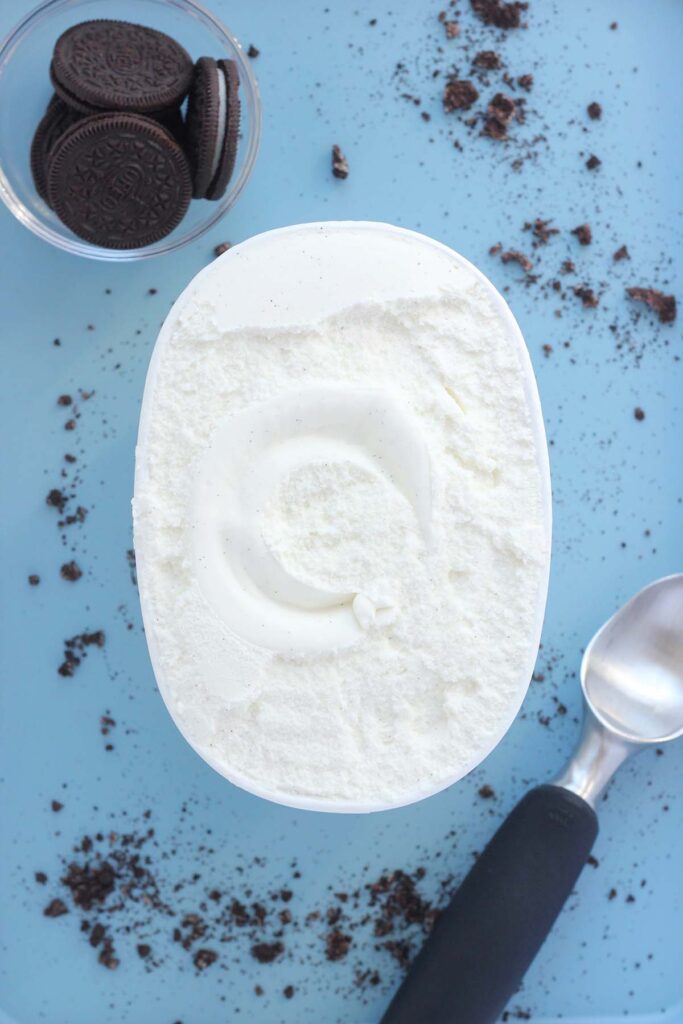
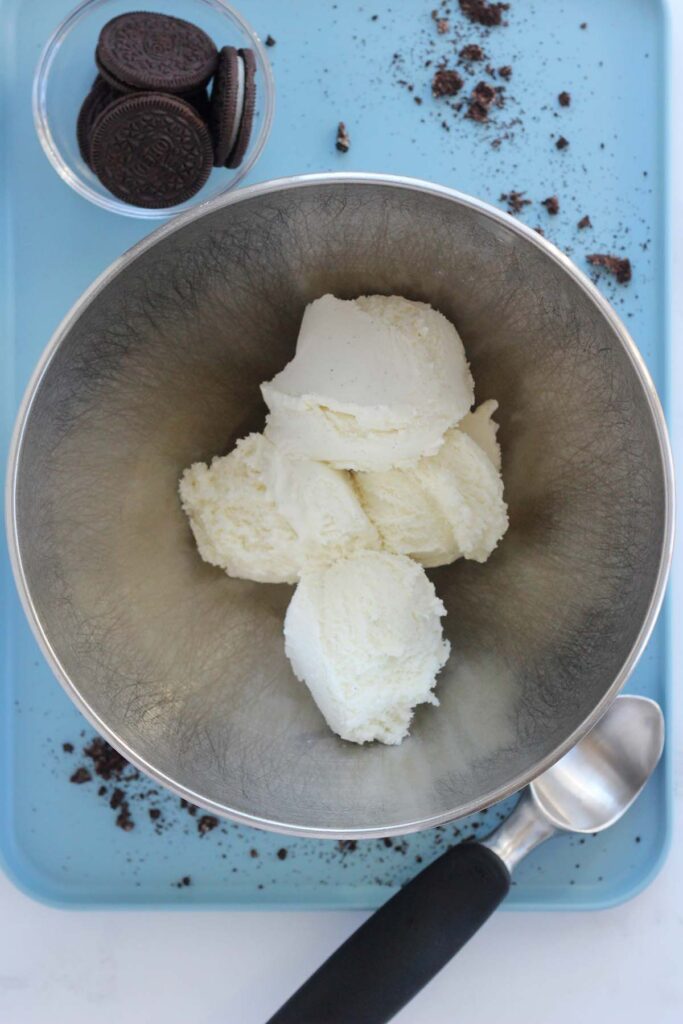
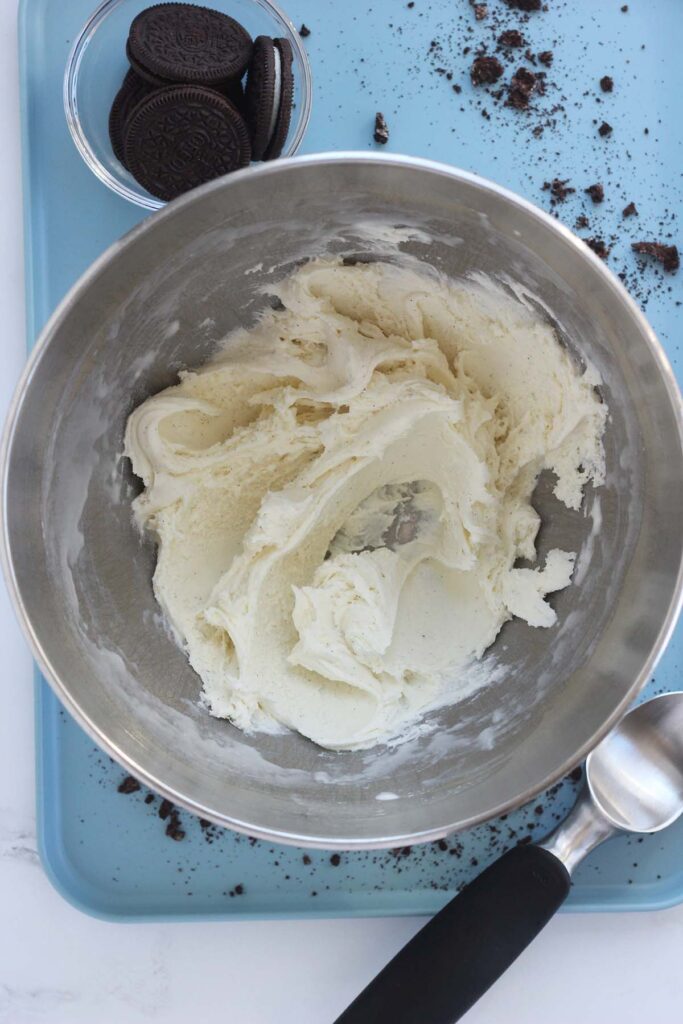
- Mix the ice cream – Add vanilla ice cream to the chilled bowl and beat with the paddle attachment on low speed for about one minute until it softens slightly. This step helps achieve that signature thick-but-scoopable Blizzard texture.
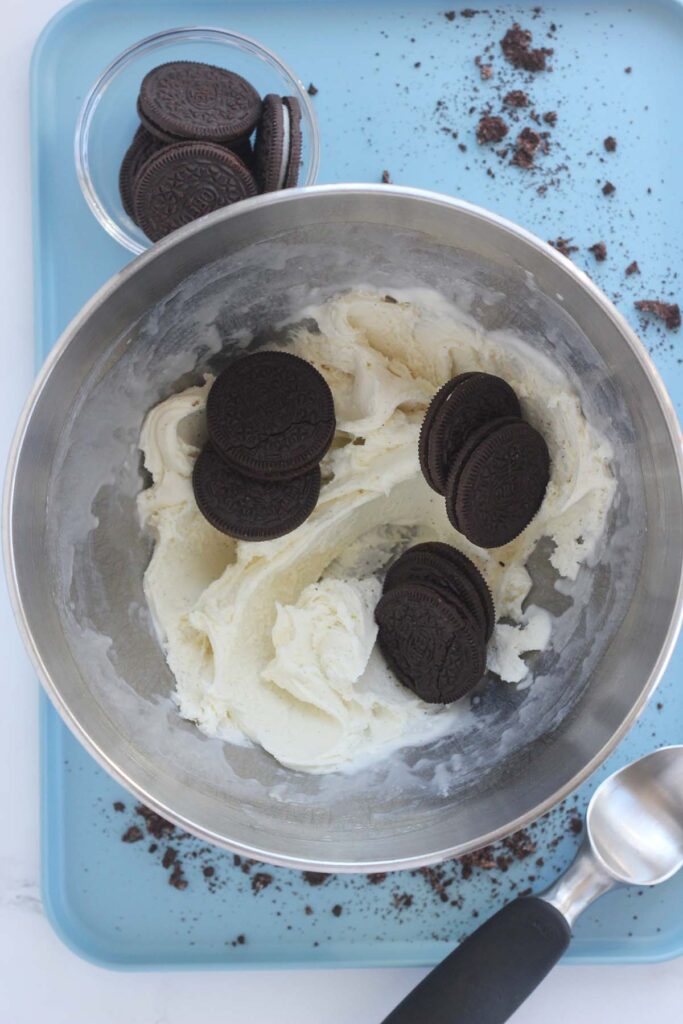
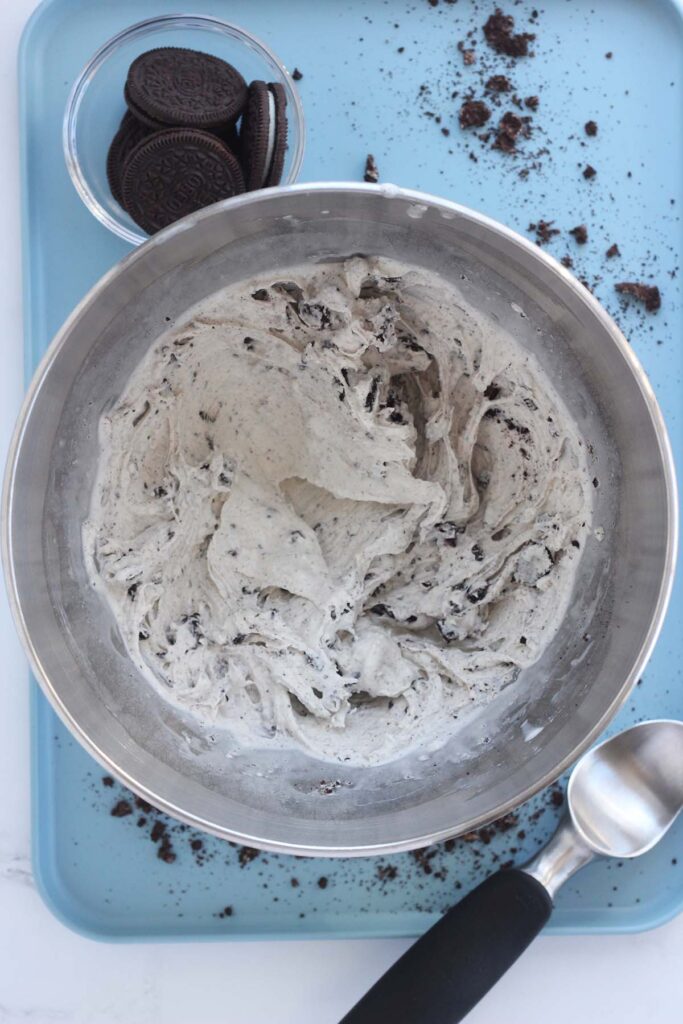
- Add the Oreos – Toss in your crushed chocolate sandwich cookies and mix just until combined. You want small cookie bits throughout, but leaving some chunks gives it that authentic Dairy Queen feel.
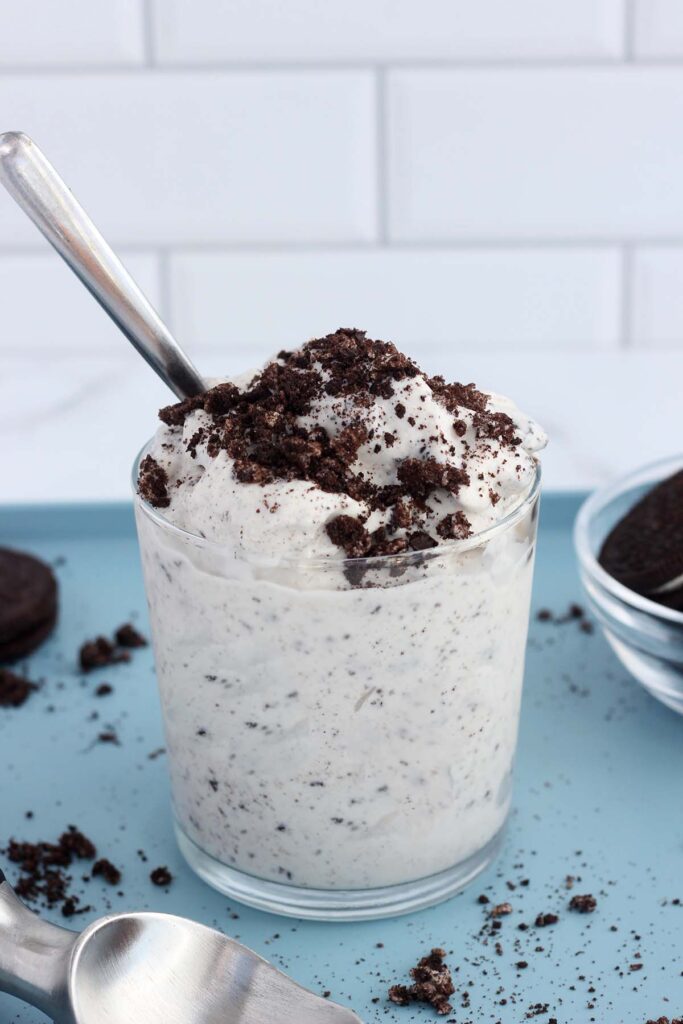
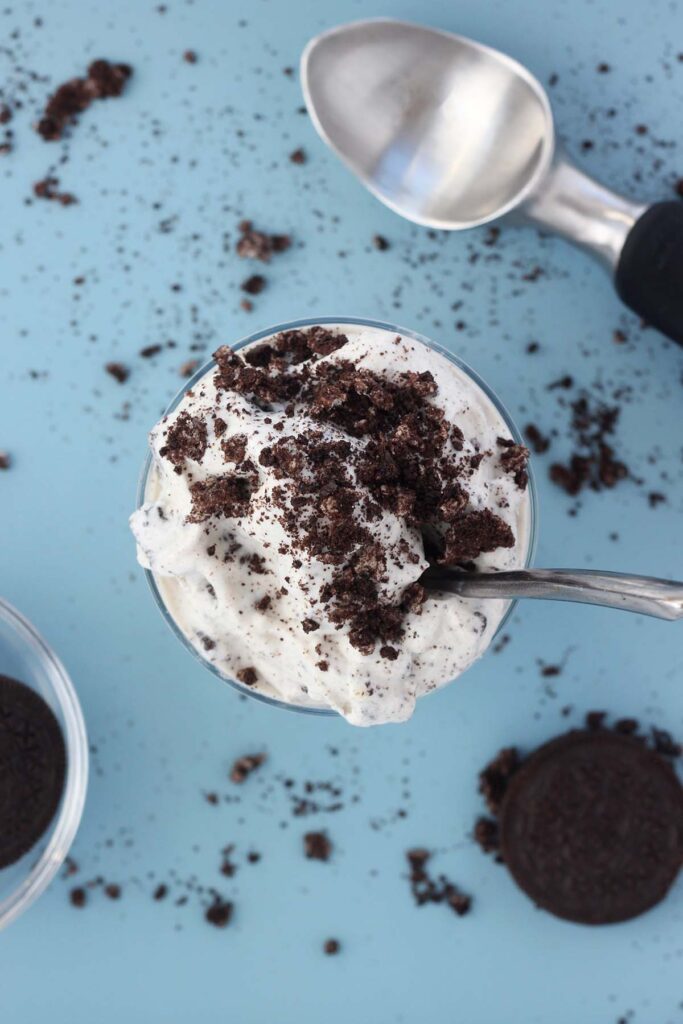
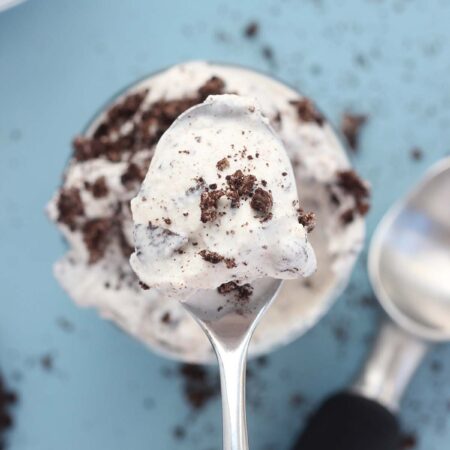
- Serve and enjoy! – Scoop into a cup, top with extra cookies, and grab a spoon. Flip it upside down for the full DQ experience (if you dare) and enjoy your homemade Blizzard magic!
This quick and easy treat is perfect for late-night cravings, summer afternoons, or impressing your family with your ice cream expertise. No drive-thru required!
Storage and Make-Ahead Instructions
While this is best enjoyed fresh, you can make it ahead or store leftovers for later!
- To store: Transfer any extra to an airtight container and freeze for up to 1 week. When ready to eat, let it sit at room temperature for 5–10 minutes to soften before scooping.
- To make ahead: Mix everything as directed, then freeze in an airtight container. Before serving, give it a quick stir or blend to bring back that creamy texture.
For the best results, enjoy as soon as it’s made—because let’s be real, who actually has leftovers of this?
Recipe FAQs
The key to a thick Blizzard is using full-fat ice cream and not adding milk. Also, chilling your mixing bowl before blending helps keep the ice cream from melting too fast.
Yes! You can use a hand mixer, a food processor, or even mix by hand with a sturdy spoon. Just make sure to stir until the ice cream is smooth and the cookies are evenly distributed.
Absolutely! But keep in mind that the extra filling can make the milkshake a little softer. If you prefer a thicker texture, you might want to add one or two extra cookies.
No problem! Any chilled bowl will work—glass, plastic, or ceramic. Just pop it in the freezer for about 10 minutes before starting.
If you find yours melts quickly, your ice cream might be too soft to start with. Try chilling your bowl longer, using a full-fat ice cream, and mixing quickly to keep it thick.
If you’re craving your favorite restaurant dishes at home, be sure to check out my collection of copycat restaurant recipes for even more delicious recipe inspiration.
Want to save this recipe?
Enter your email below & we’ll send it to your inbox. Plus get great new recipes from us every week!
Copycat DQ Blizzard
Ingredients
- 2 cups vanilla ice cream, (straight from the freezer)
- 6 oreo cookies, ( + more for topping)
Instructions
- Place a metal mixing bowl in the freezer for 10 minutes to keep the ice cream cold while mixing.
- Add the vanilla ice cream to the chilled bowl. Using a stand mixer with the paddle attachment (or a hand mixer on low speed), beat for one minute until slightly softened but still thick.
- Add the chocolate sandwich cookies to the bowl. Mix on low speed just until combined, leaving some small chunks for texture.
- Scoop the Blizzard into a cup, sprinkle extra crushed cookies on top, and enjoy right away for the best texture.
Nutrition
The nutrition facts provided are calculated using a third-party tool and are estimates only. Actual nutritional content may vary based on the ingredients and brands you use, as well as portion sizes. For accurate results, please consult a registered dietitian or nutritionist.
Recipe adapted from Allrecipes