These easy watercolor cookies are the perfect addition to your Easter basket! Easy to make and a fun unique decorating idea!
We always boil and decorate a dozen or so eggs around this time of year. How many do we eat? Maybe two. The rest sit, beautifully colored, in our refrigerator until they spoil and I realize that I left them in there…
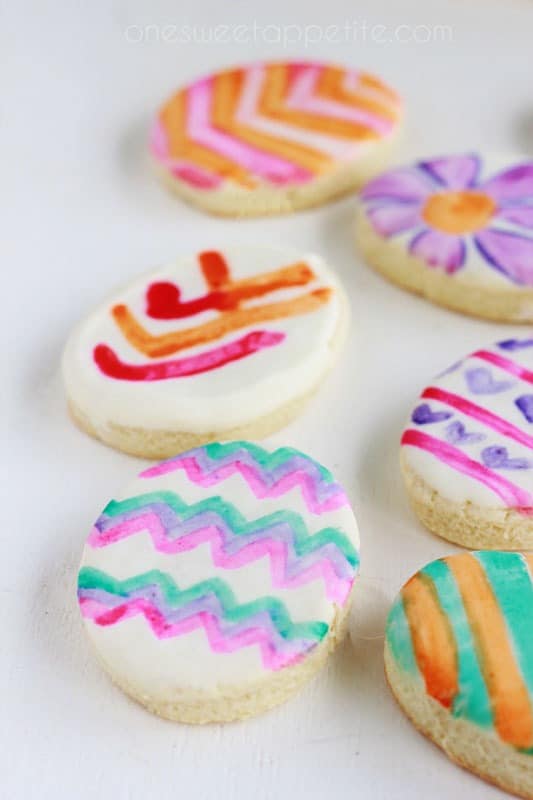
I knew that these sugar cookie Easter eggs wouldn’t last quite as long. They seem to disappear quicker then I can get them decorated. But if you can manage to make it through the entire tutorial without eating them all you will be left with a fantastic display of watercolor beauties.
Recipe Features:
- Beginner Decorating Tutorial: While this might look tricky, it couldn’t be easier! Perfect for a family activity or beginners.
- Easter Dessert Recipe!
- Make-Ahead Dessert: These cookies can be made up to 4 weeks if stored properly.
What You Need:
First things first, you need to make some cookies. I like to use this super soft sugar cookie recipe. The addition of lemon extract really adds a hint of spring which combines great with a simple vanilla frosting.
Other items you will need to complete this tutorial:
- Sugar Cookies: Cut into your favorite shape and decorated.
- Vanilla frosting
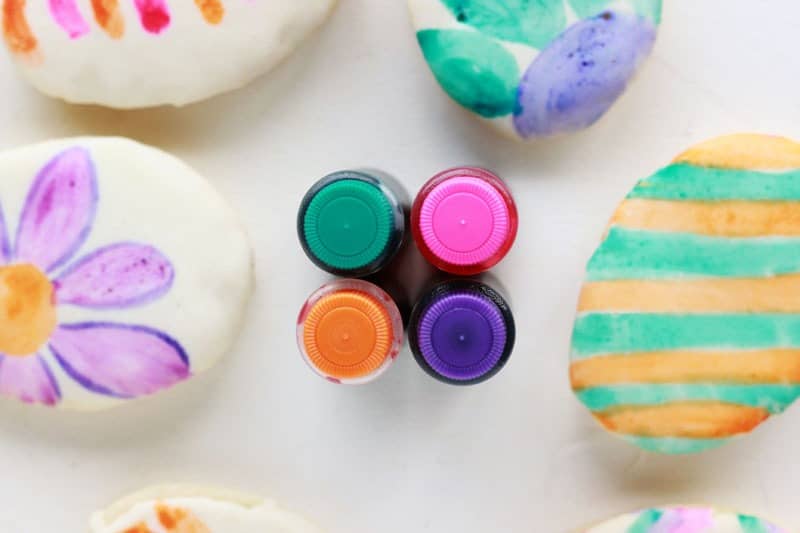
- Gel Food Color (affiliate)
- Water
- NEW and clean paint brushes. Ideally marked food safe.
Step by Step Instructions for Watercolor Cookies:
Here’s a little tip. We actually LOVE buttercream frosting but canned frosting works just as well for this tutorial, as long as you have a good cookie base. Pick what works for you.
- Place 1 cup of frosting in a microwave safe shallow dish.
- Heat in the microwave for 10-12 seconds or until liquid.
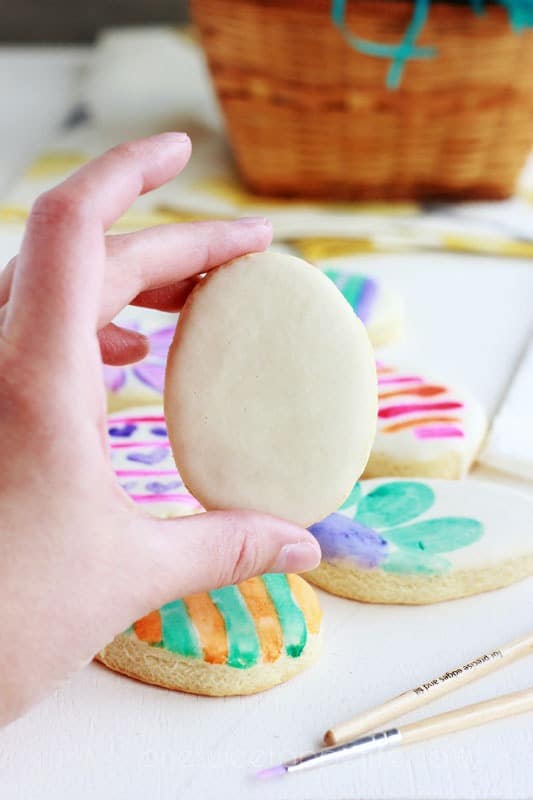
- Dip the top of each cookie until covered. Let sit at room temperature for 1-2 hours or until the surface is firm and dry to the touch. This will give you your white canvas base.
- Mix one or two drops of food coloring with two teaspoons of water in a small dish. Use a separate dish for each color.
- You can add more water or color to achieve the right shade. Mix with a toothpick until no clumps remain.
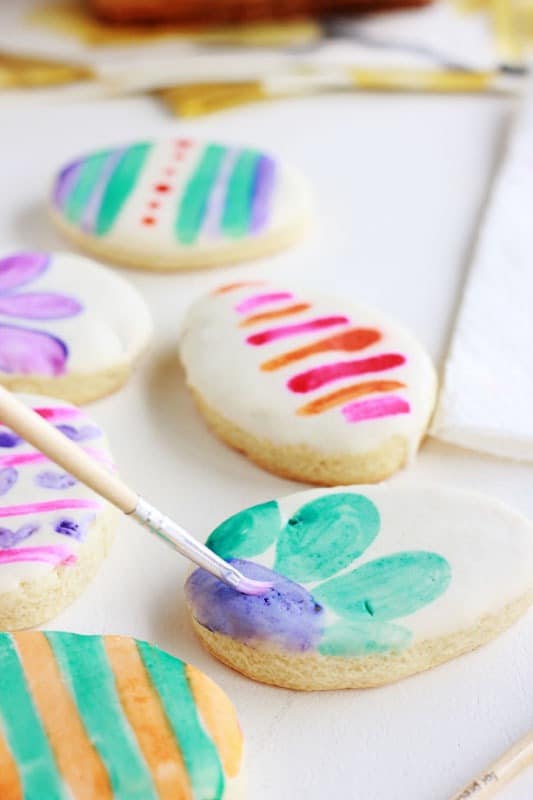
- Paint your cookies using clean paint brushes.
- Let them dry for roughly 1 hour or until the cookies are dry to the touch.
Watercolor Cookies Painting Tips:
- This is a very beginner recipe. You can definitely up your game and use royal icing. We find that a basic buttercream or canned frosting is the perfect practice canvas.
- Wash your paintbrushes before and after using them on the cookie. Make sure to pull out any loose bristles.
- Get creative! Your design can be wild or more basic. They always turn out looking amazing.
How to splatter paint cookies:
Here’s a super fun way to get creative. Create a robins egg look by dying your “canvas” frosting a light blue. Dip as directed and dry completely.
Once you have your base, use a deep brown food color mixed with water for your “paint.”
Dip a brand new clean toothbrush in the mix. Holding 12 to 16 inches away from the cookie, use your fingers to “flick” the paint onto your eggs. This gives you a fun speckled look that is gorgeous!
Related Recipes:
So break the tradition this year and make some cookies instead of hard boiled eggs. Hand out your edible art to friends and family or keep them all for yourself!
- Hoppy Easter Bunny Truffles
- Carrot Cake Recipe
- Sour Cream Sugar Cookies
- Easy Deviled Eggs
- Easter Bunny Shaped Cinnamon Rolls

How To Decorate Watercolor Cookies
Ingredients
- 1 batch of sugar cookies. Cut with an egg shaped cutter baked, and cooled
- Vanilla frosting homemade or store bought
- Gel Food color
- Water
- New clean paint brushes
Instructions
- 1. Place 1 cup of frosting in a microwave safe shallow dish.
- 2. Heat in the microwave for 10-12 seconds or until liquid.
- 3. Dip the top of each cookie until covered. Let sit at room temperature for 1-2 hours or until the surface is firm and dry to the touch. This will give you your white canvas base.
- 4. Mix one or two drops of food coloring with two teaspoons of water in a small dish. Use a separate dish for each color.
- 5. You can add more water or color to achieve the right shade. Mix with a toothpick until no clumps remain.
- 6. Paint your cookies using clean paint brushes.
- 7. Let them dry for roughly 1 hour or until the cookies are dry to the touch.
Nutrition
Did You Make This Recipe?
Share it with me on Instagram @1sweetappetite and follow pinterest for more!
Reader Interactions
Find even more recipes!
Be sure to share it in the comments below and follow me on Pinterest, Facebook and Instagram for even more delicious recipes.


Comments & Reviews
Melissa says
These are adorable! I did the same thing for valentines with heart cookies and they were a big hit. It’s like a treat & piece of art in one 🙂
Jesseca says
Check the link back in the post ;0) I gave you some shout out love for those.
Aimee @ Like mother like daughter says
I had no idea you could water color cookies. These are so pretty and I love them!