
Strawberry Icebox Cake
This post may contain affiliate links.
This Strawberry Icebox Cake is the kind of no-bake magic you’ll want on repeat all summer long. Made with layers of whipped cream, graham crackers, and fresh strawberries, it’s cool, creamy, and ridiculously easy to throw together. If you’re looking for a crowd-pleasing dessert that feels fancy but takes almost zero effort, you’re in the right place.
Looking for more delicious strawberry recipes? I highly recommend giving my Strawberry Sauce a go. It’s delicious on everything from ice cream to shortcake and even Strawberry Jello Poke Cake!
Why You’ll Love This No Bake Dessert
- Easy no-bake dessert: Perfect for warm days when you don’t want to turn on the oven.
- Make-ahead summer dessert: This cake can be assembled the day before, making party prep a breeze.
- Strawberry dessert recipe: A fresh and creamy way to use ripe strawberries during peak season.
- Simple layered cake: Just slice, layer, and chill. No baking or decorating required.
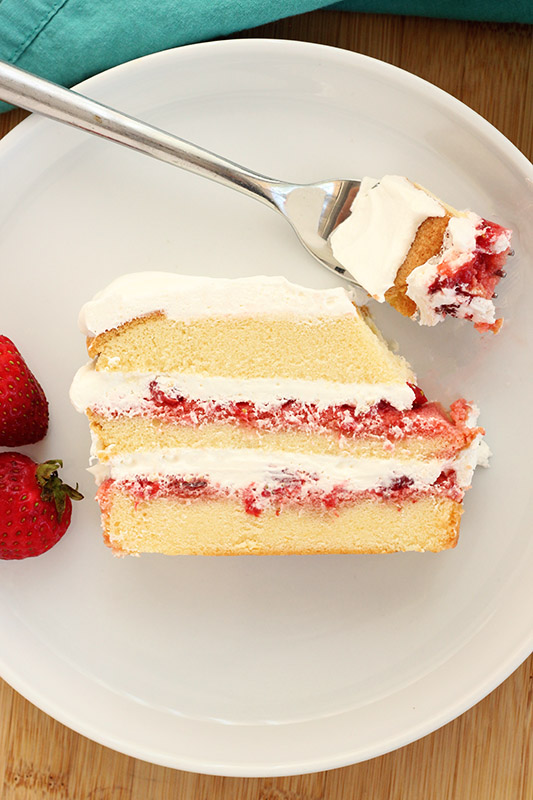
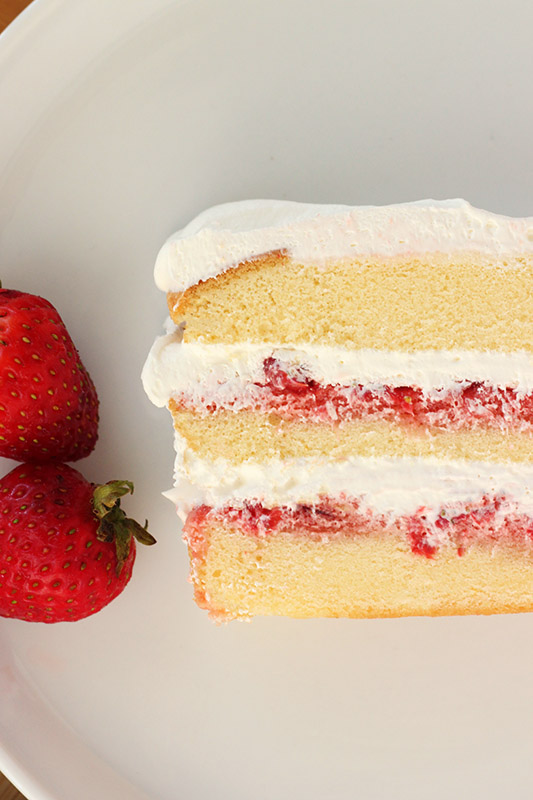
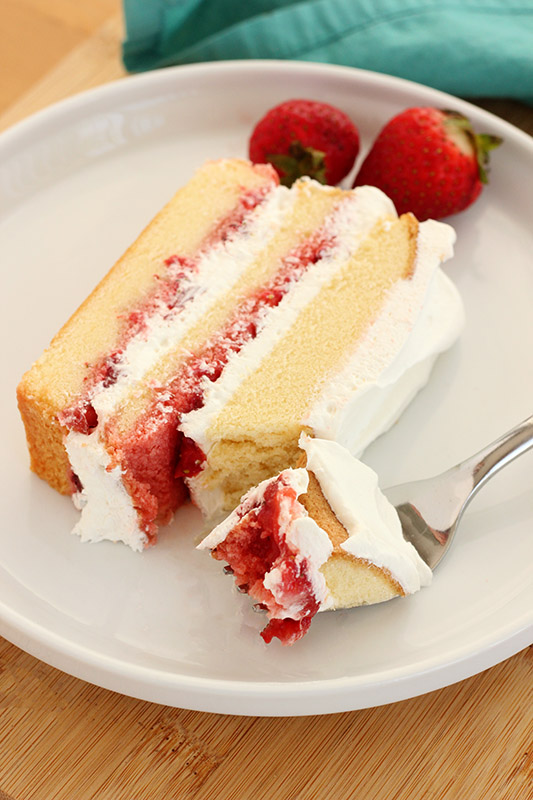
This Strawberry Icebox Cake recipe is the kind of dessert that feels fancy but takes almost no effort. With layers of soft pound cake, jammy berries, and fluffy whipped topping, it’s cool, creamy, and full of fresh flavor. It’s a quick prep, no-bake treat that’s made to impress.
Perfect for summer parties, BBQs, or weeknight cravings, this cake gets better the longer it chills. It slices beautifully, serves easily, and disappears fast, so don’t be surprised if it becomes your new go-to dessert. You just can’t beant a store-bought pound cake with strawberries!
Ingredients You’ll Need
This Strawberry Icebox Cake keeps it simple but delivers big on flavor. With just a few store-bought shortcuts and fresh ingredients, you’ll have a chilled dessert that looks impressive and tastes like summer. Here’s what you’ll need:
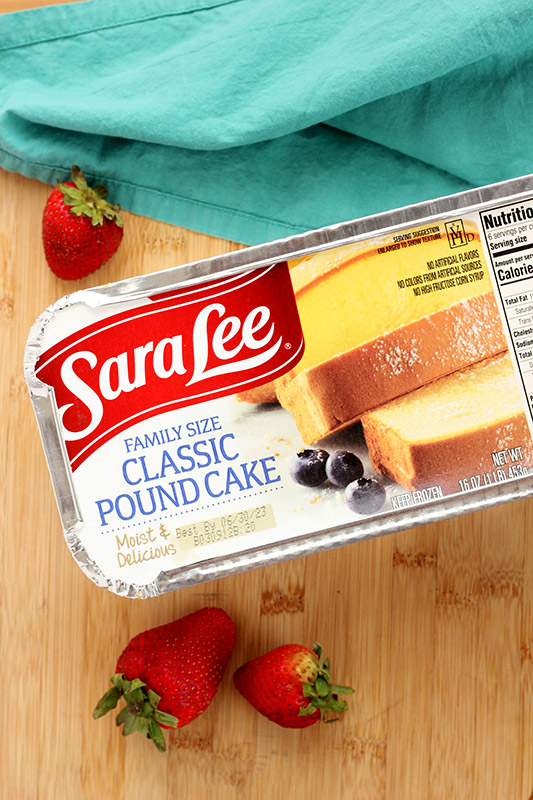
- Pound cake: I use the Sara Lee pound cake from the freezer section. It’s sturdy, easy to slice, and holds up perfectly in layers.
- Sliced strawberries: Fresh strawberries add a burst of sweetness and color. Slice them thin so they layer evenly and soften as the cake chills.
- Strawberry jam: A little jam amps up the berry flavor and helps hold everything together. Warm it slightly to make spreading easier.
- Lemon juice: Just a splash brightens the flavor and cuts through the sweetness.
- Whipped topping: Cool Whip or any store-brand version works great. It adds that light, creamy texture without the need for whipping your own cream.
Once you’ve got everything prepped, the layering takes just minutes. Chill it overnight and you’ve got a make-ahead dessert that’s always a hit.

Jesseca’s Recipe Review
This Icebox Cake is one of those desserts that looks like you spent hours on it, but really takes just 15 minutes. It’s sweet, creamy, and has that perfect mix of fresh berries and soft cake. I’ve brought this to summer barbecues and family dinners, and it disappears every single time.
Tip from Jesseca:
Let the cake chill overnight if you can. The extra time helps the flavors soak in and gives you clean, picture-perfect slices when serving.
Variations and Substitutes
This Icebox Cake is easy to customize, so don’t stress if you need to make a few swaps or want to mix things up:
- Pound cake: You can swap it with angel food cake, ladyfingers, or even graham crackers if you want something lighter or more traditional.
- Strawberry jam: Raspberry or mixed berry jam works just as well and adds a fun flavor twist. You could also use homemade strawberry compote if you prefer less sweetness.
- Whipped topping: Want something a little richer? Swap Cool Whip for homemade whipped cream—just keep in mind it won’t hold as long in the fridge.
- Lemon juice: Orange or lime juice adds a citrusy spin if you’re out of lemons or want to experiment.
Want to level it up? Add a layer of vanilla pudding, a sprinkle of crushed cookies between layers, or top it with toasted coconut or white chocolate shavings before serving.
Strawberry Icebox Cake Recipe
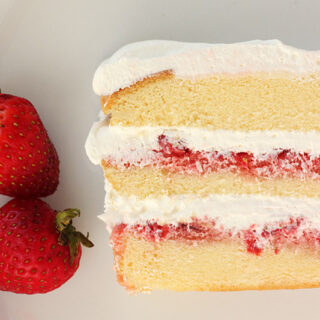
This pound cake with strawberries and cool whip is the ultimate easy dessert! Light, fruity, and layered with whipped cream and jammy berries. It looks impressive, but it comes together in just a few minutes with store-bought shortcuts. Here’s a quick look at how to make it:
- Slice the cake into three horizontal layers.
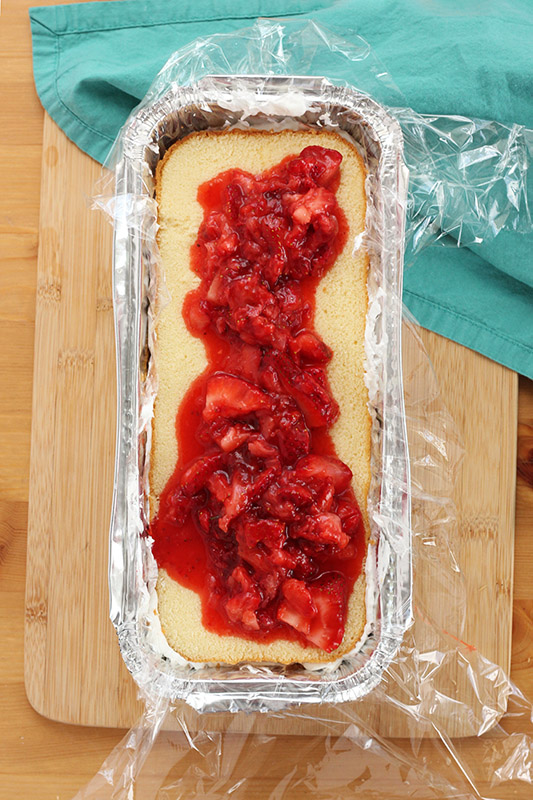
- Line your pan (a loaf pan or the original cake tray) with plastic wrap, leaving a few inches of overhang.
- Make the fruit filling by mashing fresh strawberries and mixing them with jam and lemon juice.
- Layer it up: Start with the bottom cake layer, spread on half the fruit mix, and top with whipped topping.
- Repeat the layers with the middle slice, more filling, and whipped topping.
- Finish with the top cake layer and spread the last of the whipped topping over the top.
- Chill for at least 4 hours, or up to 8, to let everything set and soak in all that flavor.
Once it’s chilled and set, slice it up and serve cold. It’s sweet, creamy, and full of fresh strawberry flavor.
Recipe FAQs
Yes, you can! Just keep in mind that fresh whipped cream is softer and won’t hold its shape as long. For best results, stabilize it with a bit of powdered sugar or gelatin if making ahead.
A standard loaf pan works great, but you can also use the original container the pound cake came in. Just make sure to line it with plastic wrap for easy removal.
Fresh berries are best for texture, but you can use frozen in a pinch. Just thaw and drain them well before mashing to avoid a watery filling.
Chill it for at least 4 hours, but overnight is even better. This gives the layers time to soften and meld together.
Absolutely. This cake is actually better when made ahead. It’s ideal for prepping the night before a party or gathering.
You can swap pound cake for angel food cake, sponge cake, graham crackers, or even shortbread cookies depending on your texture and sweetness preference.
Storage and Make-Ahead Instructions
This strawberry icebox cake with cool whip is made for prepping ahead. It actually gets better as it chills. The longer it sits, the more the flavors meld and the layers soften into that perfect cake-like texture.
- Assemble the cake up to 24 hours in advance for best results.
- Keep it covered tightly in the fridge for up to 3 days.
- Store leftovers in an airtight container to keep the cake fresh.
- Do not freeze—the whipped topping and fruit mixture won’t thaw well.
Whether you’re making it for a party or just want dessert ready to go, this recipe is low-maintenance and fridge-friendly.
Want to save this recipe?
Enter your email below & we’ll send it to your inbox. Plus get great new recipes from us every week!
Berry Icebox Cake
Ingredients
- 1 16oz pound cake, I use Sara Lee from the freezer section thawed
- 1½ cups sliced strawberries
- 3 tablespoons strawberry jam
- 1 tablespoon lemon juice
- 3 cups whipped topping
Instructions
- Slice the pound cake horizontally into three even layers using a serrated knife.
- Line a loaf pan or the original cake container with plastic wrap, leaving extra overhang on all sides.
- In a medium bowl, gently mash the strawberries with a fork. Stir in the jam and lemon juice until fully combined. Set aside.
- Place the bottom cake layer into the lined pan. Spread half of the berry mixture over the top, followed by about 1/3 of the whipped topping.
- Add the middle slice of cake and repeat with the remaining fruit mixture and another 1/3 of the whipped topping.
- Place the final slice of cake on top and spread the last of the whipped topping over the surface.
- Lightly cover with plastic wrap and refrigerate for 4 to 8 hours before serving.
- When ready, use the plastic wrap to lift the cake from the pan. Slice and serve cold.
Notes
Nutrition
The nutrition facts provided are calculated using a third-party tool and are estimates only. Actual nutritional content may vary based on the ingredients and brands you use, as well as portion sizes. For accurate results, please consult a registered dietitian or nutritionist.
MORE MUST-TRY NO BAKE TREATS
- No-Bake Strawberry Cake
- Cookies and Cream Cereal Treats
- No-Bake Cheesecake Bars
- Oreo Cheesecake, No-Bake
- Chocolate Peanut Butter Bars
- S’more Cereal Treats

Hi Jessica. I’ e been invited to a friend’s house and asked to bring a dessert. I am definitely making this! It looks great. I would like to know if the Philadelphia premade cheesecake filling can be used to as a filling. Perhaps mixing it with a little cool whip to make it softer and fluffier. Would that work?
Absolutely! The Philadelphia no-bake cheesecake filling should work well in this recipe. I’d spread a thin layer between the cake layers, either on its own or folded with a little whipped topping if you’d like a lighter, fluffier texture. Just keep in mind that the cheesecake filling is much richer and sweeter than whipped topping alone, so the finished dessert will be more like a strawberry cheesecake icebox cake.
If you decide to mix it with whipped topping, I’d start with about 1 cup cheesecake filling to 1 cup whipped topping and adjust to your taste. Be sure to chill it well before serving so the layers have time to set.
Thanks for your expertise explaining how the whipped topping combined with cheesecake filling would make it very sweet. One last question: if I mix the filling with a little Greek Vanilla Yogurt instead of whipped topping, would that cut the sweetness somewhat? Thanks so much for your prompt feedback😊
Hi Sherry! You could definitely try Greek yogurt, but I’d use it sparingly. While it would cut some of the sweetness, it will also add a noticeable tang and can make the filling a little less fluffy than whipped topping. If your goal is a lighter, less sweet filling, I’d probably use a combination of the cheesecake filling and whipped topping first, then taste and adjust from there. Either way, I think it’ll be delicious. Let me know how it turns out!
Hi!!! Ive been looking for that Philadelphia Cheese Cake in every food storein my town. No one has it!!! Any ideas?? Thanks!!!
Hi ruth, are you talking about the Sara lee pound cake? It’s sold in the freezer section of most grocery stores. I just did a quick search and think walmart has it at most locations.