How To Make A Balloon Garland- Seriously Easy!
This post may contain affiliate links.
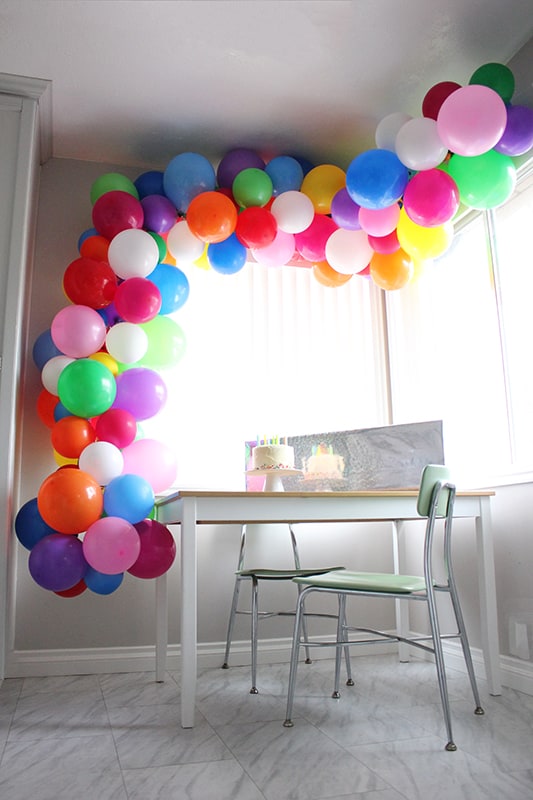
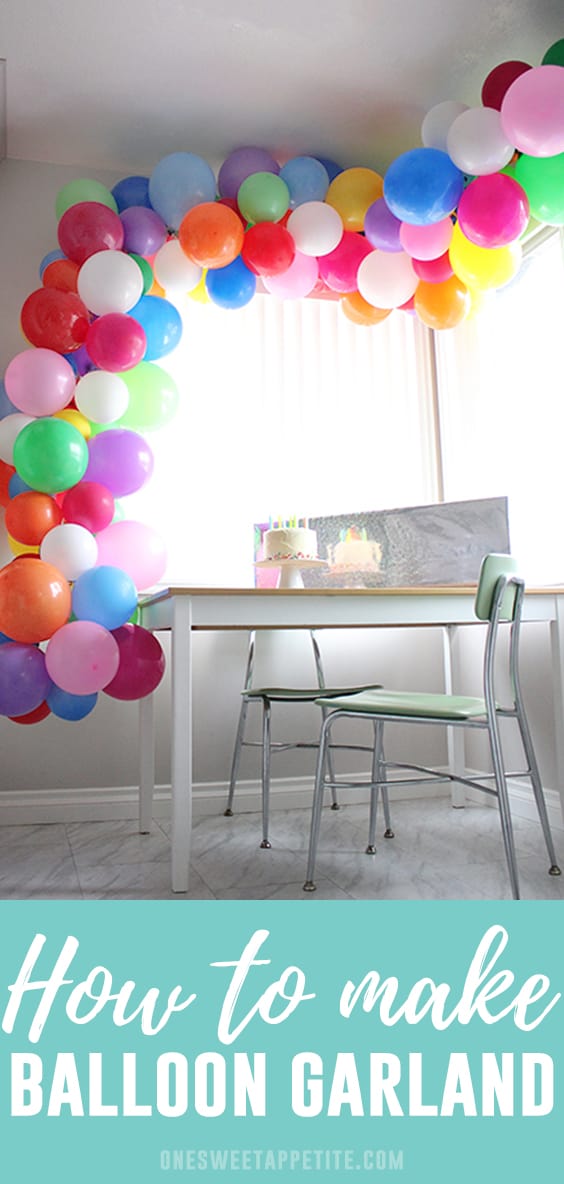
This easy balloon garland takes an hour to make and is an amazing addition to any celebration! All you need is balloons, fishing line, and a needle!
Today is my son’s 11th birthday.
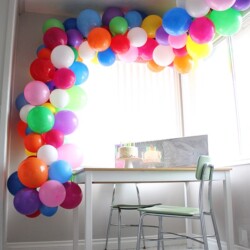
We are hanging at home and don’t have big plans, but I still wanted to try to do something special for his big day. We decided to spruce up our tiny kitchen space with a balloon garland. The splash of color and festive look was exactly what I had hoped for.
His reaction when he woke up and wondered upstairs was priceless.
And it was much easier to make than I thought! I expected hours and hours of work, but it turned out to be a piece of cake to make. If you are making this alone I’d plan on 2 hours, depending on the size you are trying to make, and an hour to 1-1/2 if you have help.
All in all, we spent $10 on supplies (we did have a few on hand already). Completely worth it and something I plan on making for many many more parties!

Items you need to make a balloon arch:
- Balloons– I used 110 balloons for this project.
- Fishing Line– Clear fishing line is durable and ideal for this project. Plus, it’s super inexpensive!
- Large Blunt Needle– I found a super inexpensive pack on amazon.
- Balloon Pump- optional but would highly recommend spending $5 and getting one!
I feel like it’s worth a mention that you can find balloon tape on amazon in place of the fishing line. I have never used it, but hear great things. Fishing line was already something I had on hand and was super quick and easy to use. Either way, I am sure the end result will be stunning and the perfect eye catching piece!
DIY Balloon Garland:
Step One:
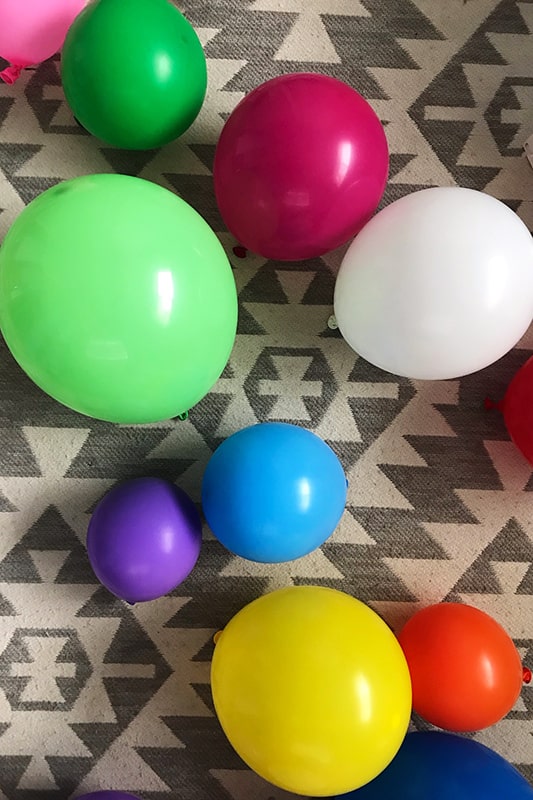
Blow up all of your balloons.
My kiddo has a love for all colors, so we decided to use a rainbow color pack and I loved the end results. While blowing up the balloons, be sure to make them all different shapes and sizes. This helps fill in gaps and give you a full beautiful finish.
That being said, I have also seen a lot of arches made with all one size balloon that looked good too! I like this bulky look a little better, but that is just my personal preference.
Step Two:
Measure out your fishing line. You are going to want to double what you think you need. Remember that excess can be cut off in the end.
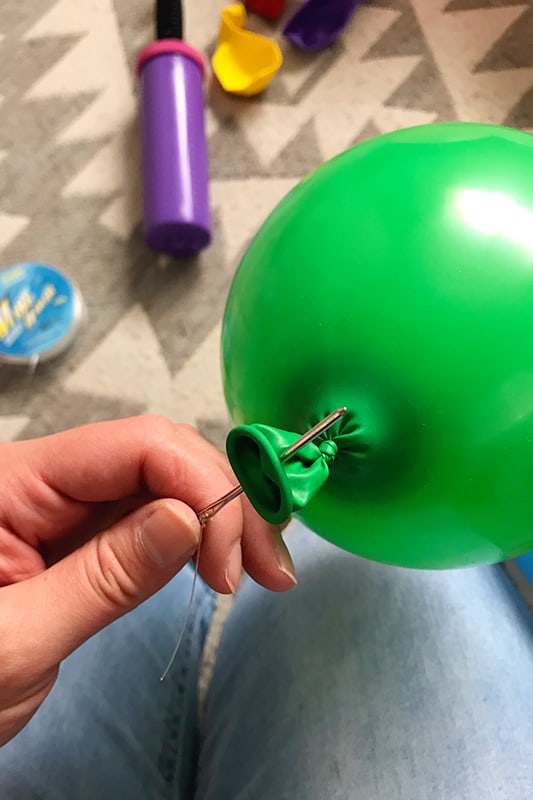
Thread your needle and tie a quick knot to secure your line onto the needle.
For the first balloon, press the needle through the end piece of the balloon, see the photo above as reference. Tie the end of your fishing line onto the balloon to stop the balloon from falling off.
Step Three:
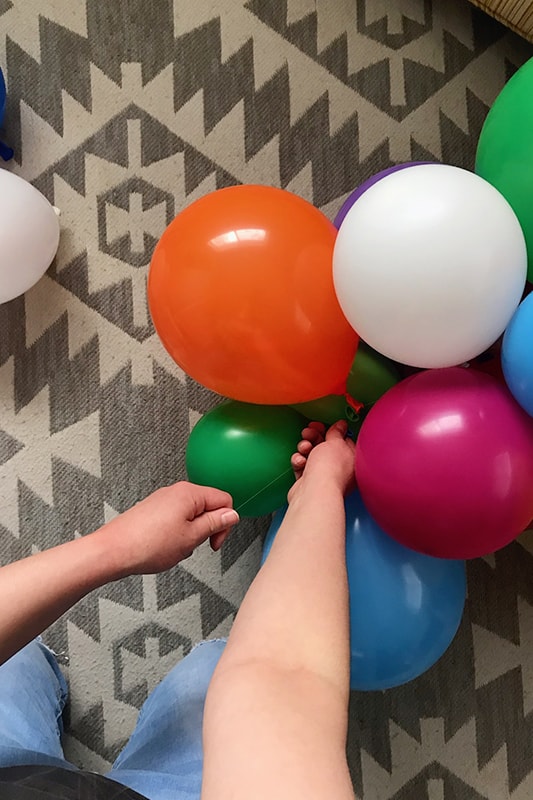
Thread the rest of your balloons.
Push each of the balloons to the end of the fishing line, keeping them all pressed tightly together.
When you reach the end, tie off and hang with command strips!

There you have it! One amazing balloon garland. It took me about an hour to get this put together, but I had a little help in the end. If I didn’t have the extra assistance I would say this would take 1-1/2 to 2 hours total. And cost me $10.
Tips for this tutorial:
- Space out the colors. At first, I didn’t pay close attention to the colors I was selecting to add to the garland. There were a lot of color clumps. I suggest alternating between colors and moving things around as needed to give an even look.
- Ask someone to help you. Half way through blowing up and tying the balloons I finally enlisted the help of my husband. Things went WAY quicker. I wish I would have asked him to help from the start.
- We used command strips to secure the arch to the wall. I also used a little extra fishing line to create loops to make hanging a tiny bit easier.
More Party Ideas:
More Party Recipes:
Want to save this recipe?
Enter your email below & we'll send it to your inbox. Plus get great new recipes from us every week!
How To Make A Balloon Garland- Seriously Easy!
Ingredients
- Balloons
- Fishing Line
- Large Blunt Needle
- Balloon Pump
Instructions
- 1. Blow up the balloons in different sizes.
- 2. Measure out your fishing line. You are going to want to double what you think you need. Remember that excess can be cut off in the end.
- 3. Thread your needle and tie a quick knot to secure your line onto the needle.
- 4. For the first balloon, press the needle through the end piece of the balloon, see the photo above as reference. Tie the end of your fishing line onto the balloon to stop the balloon from falling off.
- 5. Thread the rest of your balloons.
- 6. Push each of the balloons to the end of the fishing line, keeping them all pressed tightly together.
- 7. When you reach the end, tie off and hang with command strips!
Notes
- Space out the colors. At first, I didn’t pay close attention to the colors I was selecting to add to the garland. There were a lot of color clumps. I suggest alternating between colors and moving things around as needed to give an even look.
- Ask someone to help you. Half way through blowing up and tying the balloons I finally enlisted the help of my husband. Things went WAY quicker. I wish I would have asked him to help from the start.
- We used command strips to secure the arch to the wall. I also used a little extra fishing line to create loops to make hanging a tiny bit easier.
Follow One Sweet Appetite on Facebook, Instagram and Pinterest for more great recipe ideas!