
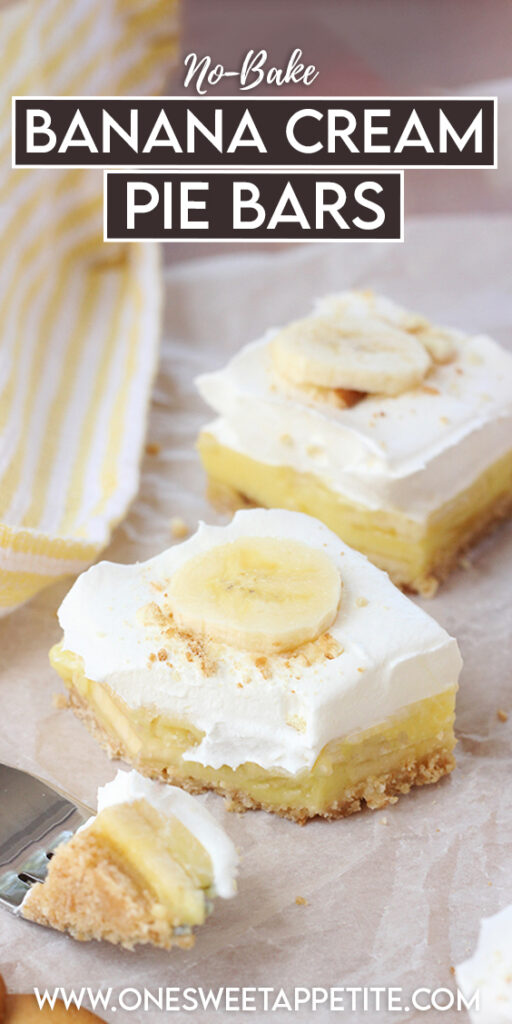
Easy Banana Cream Pie Bars
This post may contain affiliate links.
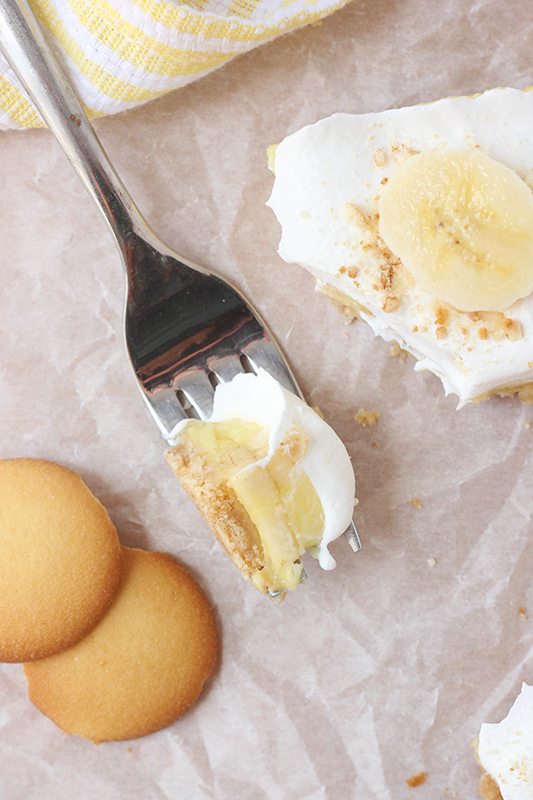
These Banana Cream Pie Bars are basically a hug in dessert form. All the creamy, dreamy flavor of classic banana cream pie—but easier, faster, and bar-shaped (which, let’s be honest, makes them 10x more fun to eat).

Why You’ll Love This Recipe
- Easy no-bake dessert – No oven? No problem.
- Quick to make – 15 minutes of hands-on time, tops.
- Crowd-pleaser – Perfect for potlucks, BBQs, or family dinners.
- Minimal ingredients – Only six pantry-friendly items.
- Kid-friendly – Sweet, simple, and banana-packed.
Looking for an easy banana dessert that feels a little extra without the extra effort? These banana cream pie bars are your answer. They combine a buttery vanilla wafer crust, layers of fresh bananas, creamy pudding, and fluffy whipped topping—all in a no-bake bar that’s perfect for slicing and sharing.
Whether you’re hosting a party, bringing a treat to a potluck, or just craving a quick banana dessert, this banana cream pie bar recipe checks every box. It’s fast, fuss-free, and made with just six simple ingredients you probably already have in your kitchen.
Ingredients You’ll Need
This dessert is made with just a few pantry staples and comes together faster than you can say “save me a slice.”
- Vanilla wafer cookies – These create that buttery, nostalgic crust. Nilla wafers are the go-to, but any vanilla cookie will do.
- Butter – Melted and mixed into the cookie crumbs to make a press-and-go crust.
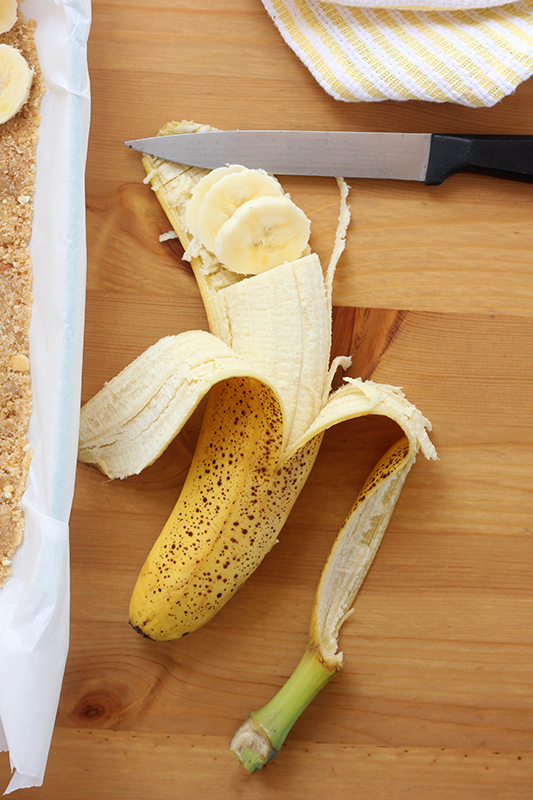
- Bananas – Go for ripe, not mushy. You want sweet flavor without baby food vibes.
- Instant vanilla pudding – The shortcut that makes this whole dessert so quick. Don’t use cook-and-serve—trust me.
- Milk – Cold milk is key to setting the pudding right. Whole milk gives the creamiest result.
- Cool Whip – Light, fluffy, and the no-fuss way to top it all off. You can sub homemade whipped cream if you’re feeling fancy.
Once you have these six ingredients, you’re on your way to banana dessert bliss.

Jesseca’s Recipe Review
These Banana Cream Pie Bars are one of those recipes you pull out when you want to impress but don’t want to try too hard. My husband, the ultimate banana dessert skeptic, went back for thirds. So yeah, they’re good.
Tip from Jesseca:
Slice your bananas just before using to keep them fresh and pretty for the layers.
Substitutions and Variations
- Crust swap: No vanilla wafers? Try graham crackers, shortbread, or even Golden Oreos.
- Whipped topping: Homemade whipped cream totally works in place of Cool Whip—just whip it stiff!
- Pudding flavor: Want to mix it up? Use banana or even cheesecake-flavored pudding.
- Add-ins: A sprinkle of crushed nuts or a drizzle of caramel on top takes this to “wow” status.
How to Make Banana Cream Pie Bars:
These bars look like you spent hours in the kitchen, but the secret? They’re ridiculously easy. Minimal prep, no oven, and you’ll only dirty a few bowls. Here’s the quick breakdown so you know what you’re getting into:
- Crush vanilla wafer cookies into fine crumbs using a blender or bag and rolling pin.
- Mix with melted butter until everything is evenly coated.
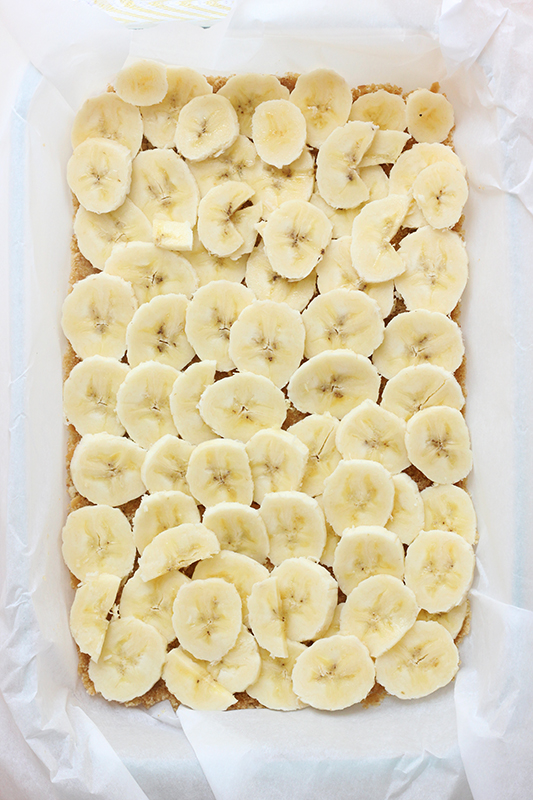
- Press into a parchment-lined 9×13 pan to form your crust.
- Layer sliced bananas evenly across the crust.
- Whisk instant pudding with cold milk until smooth, then pour over the bananas.
- Chill briefly so the pudding begins to set.
- Top with whipped topping and refrigerate until completely chilled and ready to serve.
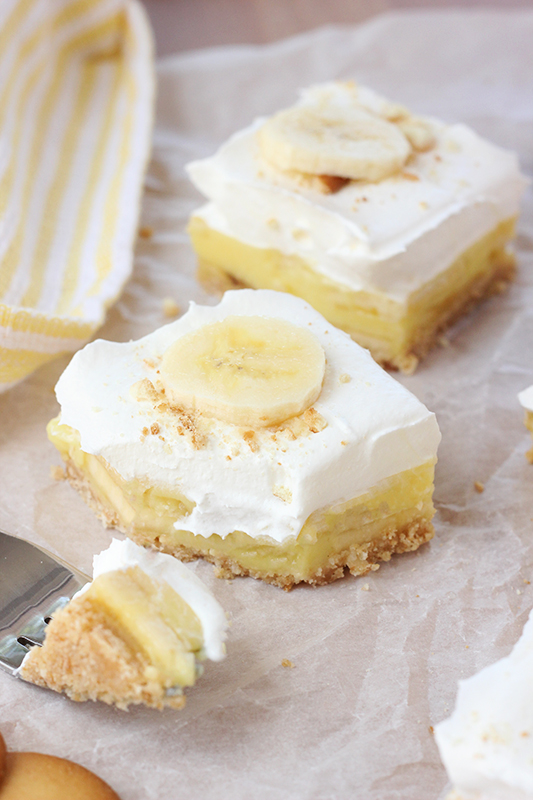
Once everything’s chilled and set, slice into bars and serve! This is the kind of dessert that disappears fast, so maybe stash a piece or two for yourself first.
Storage and Make-Ahead Instructions
- Make-Ahead: These bars are perfect to prep in advance. In fact, making them the night before gives the layers time to set and makes slicing even easier. Just cover the pan and refrigerate until you’re ready to serve.
- Storing Leftovers: Cover tightly with plastic wrap or a lid and keep in the refrigerator. They’ll stay fresh for up to 3 days.
- Freezing: Not recommended. The pudding and whipped topping can get weird in texture once thawed. Stick to chilling in the fridge for best results.
Recipe FAQs
Yes! Just make sure it’s whipped to stiff peaks so it holds up after chilling. You’ll need about 3 cups total.
Use ripe, yellow bananas without too many brown spots. Overripe bananas can get mushy and overpower the dessert.
Absolutely. Halve the recipe and use an 8×8 or 9×9-inch pan. The layers will be thicker but still delicious.
It’s optional, but highly recommended. It makes removing and slicing the bars way easier with less mess.
Not if you fully cover them with the pudding layer. This blocks air and keeps them looking fresh.
Yep! Banana pudding will give it an extra banana boost. Vanilla keeps the flavor more classic.
At least 1–2 hours total. You want the pudding layer to be fully set before slicing.
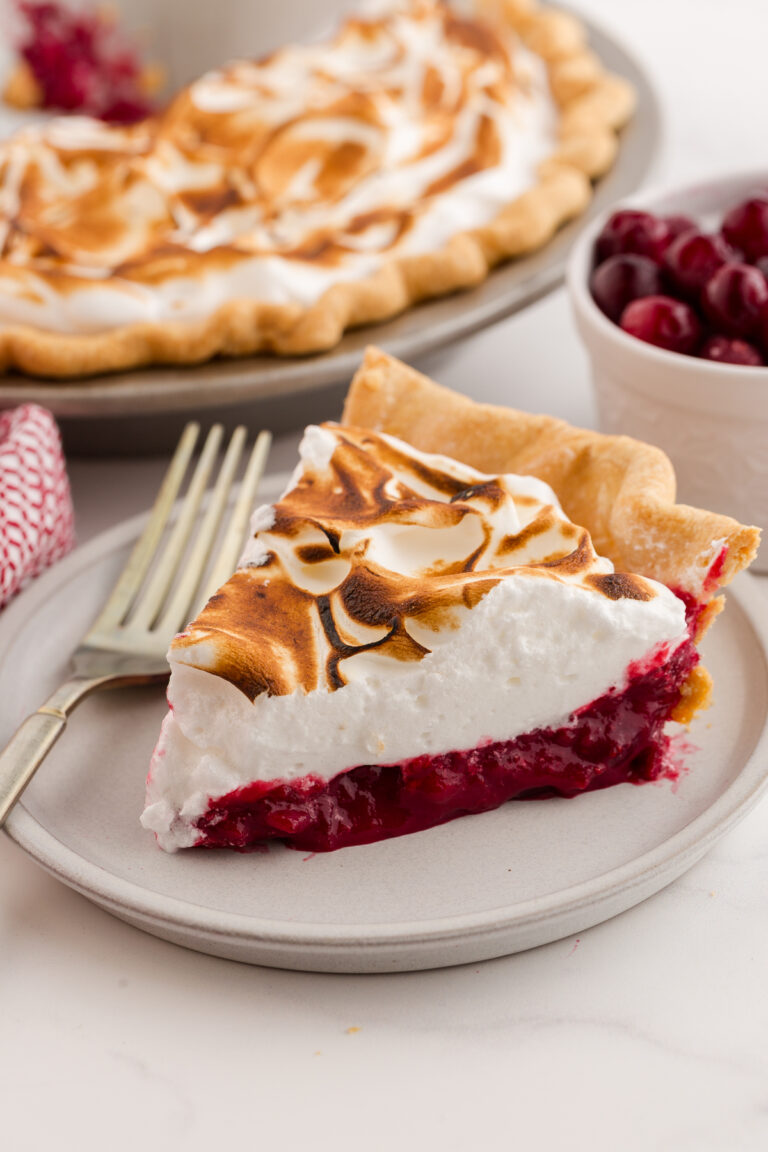
If you ask me, you can never have too many great dessert bar recipes. I’ve gathered all of my favorites in one place so you can easily find your next family favorite.
Want to save this recipe?
Enter your email below & we’ll send it to your inbox. Plus get great new recipes from us every week!

Banana Cream Pie Bars
Ingredients
- 2 cups Vanilla Wafer cookie crumbs
- 1/3 cup butter (melted)
- 3 ripe bananas (sliced)
- 2 (3.4 oz) instant vanilla pudding
- 3 cups chilled milk
- 2 cups cool whip
Instructions
- Place the vanilla wafer cookies into a plastic bag and crush with a rolling pin, or pulse in a high-powered blender, until you have fine crumbs.
- Stir in the melted butter with a fork until the crumbs are evenly coated.
- Line a 9×13 baking dish with parchment paper (optional, but makes removing the bars easier) and firmly press the crust mixture into the bottom.
- Peel and slice bananas, then layer them over the crust in an even layer.
- In a medium mixing bowl, whisk the instant pudding mix and cold milk for about 2 minutes until smooth.
- Pour the pudding evenly over the banana layer. Avoid stirring—just let it gently settle in.
- Place the dish in the refrigerator and chill for 20 minutes or until the pudding layer begins to thicken.
- Spread Cool Whip over the pudding layer and return to the fridge for 1–2 hours, or until fully set and ready to slice.
Equipment
Nutrition
The nutrition facts provided are calculated using a third-party tool and are estimates only. Actual nutritional content may vary based on the ingredients and brands you use, as well as portion sizes. For accurate results, please consult a registered dietitian or nutritionist.
More Banana Recipes:
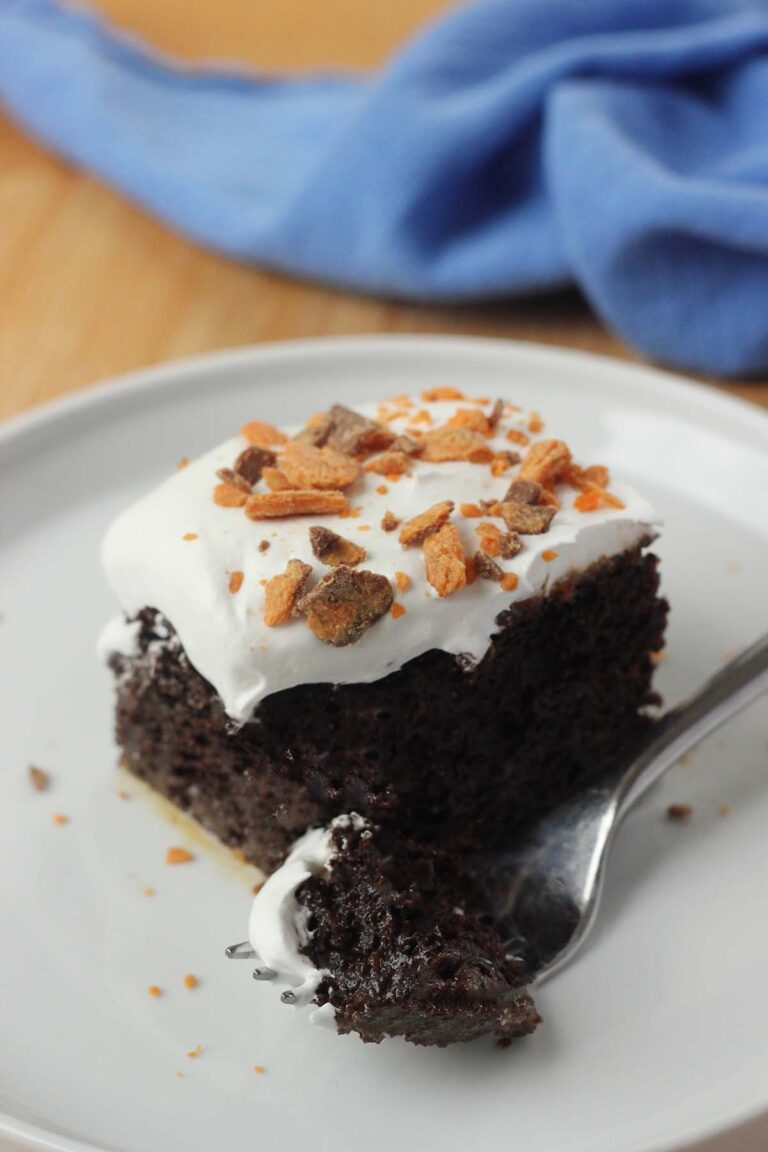
- Easy Banana Bars with Brown Butter Frosting
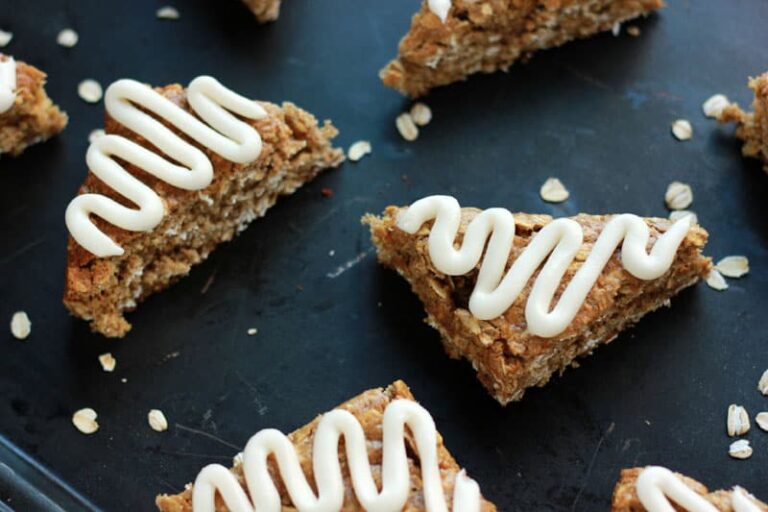
- Homemade Banana Bread Granola
- Banana Waffles
- No-Churn Banana Pudding Ice Cream
- Banana Cream Pie Cupcakes
Pin for later:

Quick, easy and simple. Tastes great!