
Banana Bars Recipe
This post may contain affiliate links.
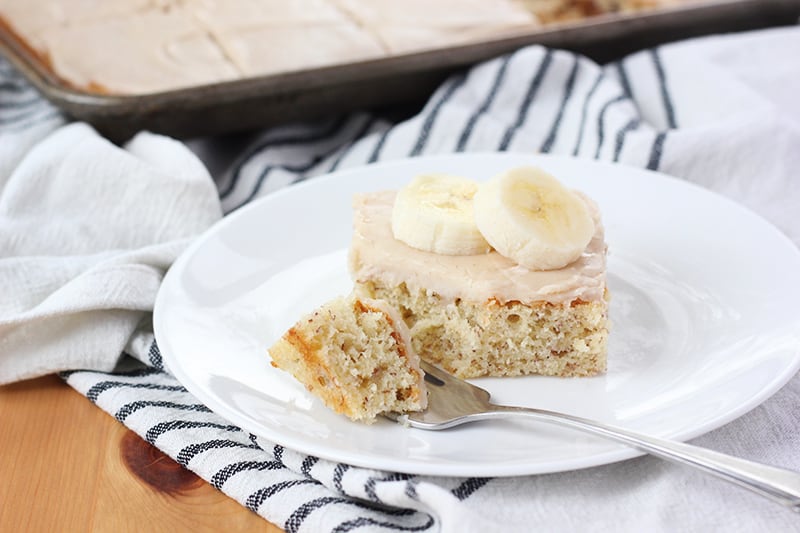
These Banana Bars are what I make when a few bananas get a little too ripe on the counter. They bake up soft and cake-like, somewhere between banana bread and a simple sheet cake, and the brown butter frosting on top adds the coziest, nutty sweetness. If you love classic banana desserts but want something easy to slice, share, and frost, this banana bars recipe checks all the boxes.
Here’s Why It Works
- Perfect for overripe bananas. If your bananas are past the smoothie stage, this is the recipe to make. The riper they are, the sweeter and more flavorful the bars turn out.
- Soft and cake-like. These bake up somewhere between banana bread and a light sheet cake, which makes them perfect for slicing into easy bars.
- The brown butter frosting is the star. Instead of the usual cream cheese frosting, this recipe uses browned butter for a warm, nutty flavor that pairs incredibly well with banana.
- A reliable go-to. This is one of those simple banana recipes that just works. It’s straightforward, forgiving, and consistently turns out soft, moist, and full of flavor.
I first got this frosted banana bars recipe during my college years after tasting them at a small get-together and immediately asking for the recipe. One bite of the soft banana bars and that buttery frosting and I was hooked. After a little friendly begging, the recipe was passed along, scribbled on a card that I still keep tucked in my recipe box.
Since then, these banana cake bars have been my go-to anytime someone asks me to bring dessert. They’re easy to make in a big pan, slice perfectly for sharing, and somehow disappear faster than anything else on the table. It’s one of those recipes I come back to again and again because it simply works.

Jesseca’s Recipe Review
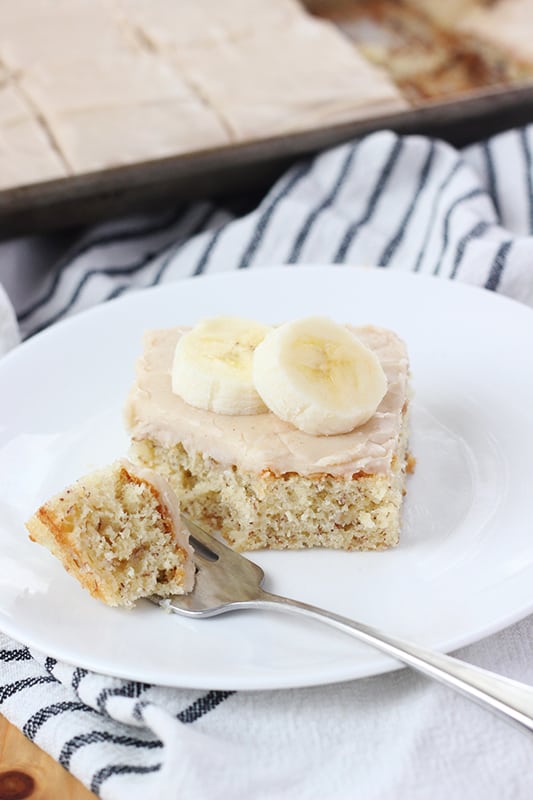
These bars are one of those recipes I make when I want something simple that still feels a little special. They bake up incredibly soft and tender, almost like a light banana cake, and the frosting takes the flavor to another level. It adds a warm, slightly nutty sweetness that pairs perfectly with the banana and makes these hard to stop at just one.
Tip from Jesseca:
Use very ripe bananas with lots of brown spots. They mash easily and bring much more natural sweetness and banana flavor to the bars, which makes a noticeable difference in the final result.
Banana Bar Ingredients
One of the best things about this recipe is how simple the ingredient list is. Nothing fancy here, just pantry staples that come together to create soft, tender bars with a rich frosting on top. A few small tips can make a big difference in flavor and texture.
- Ripe Bananas. The riper the better. Look for bananas with lots of brown spots on the peel. They mash easily and bring natural sweetness and strong banana flavor to the batter.
- Butter. Use softened butter for the bars so it creams easily with the sugar. For the frosting, the butter is browned on the stove, which gives it that warm, slightly nutty flavor that makes the topping so good.
- Sour Cream. This is the secret to super soft bars. Sour cream adds moisture and richness without making the batter heavy. Full-fat works best, but plain Greek yogurt can be used if that’s what you have.
- Sugar. Regular granulated sugar keeps the bars light and tender. Because the bananas already add sweetness, there’s no need for anything more complicated.
- All-Purpose Flour. Standard all-purpose flour works perfectly here. Be sure to spoon and level the flour rather than scooping straight from the bag to avoid adding too much.
- Powdered Sugar. This creates the smooth, spreadable frosting. If your powdered sugar is a little clumpy, sift it first for the best texture.
Everything in this recipe is easy to find at any grocery store, and you may already have most of it in your kitchen. With a handful of everyday ingredients, you’ll end up with soft, flavorful bars that taste like they came straight from a bakery.
Variations and Substitutions
This is so easy to tweak depending on what you have in your kitchen or what you’re craving. The base batter is simple and forgiving, which makes it perfect for experimenting with a few fun additions.
- Chocolate Chip Bars. Stir 1 cup of semi-sweet chocolate chips into the batter before baking. The melted chocolate adds little pockets of sweetness throughout the bars. I recommend skipping the frosting with this one.
- Walnut Banana Bars. Fold in ¾ cup chopped walnuts for a little crunch. The nutty flavor pairs really well with the banana and brown butter frosting.
- Cinnamon Banana Bars. Add 1 teaspoon of ground cinnamon to the dry ingredients for a warm, cozy flavor that makes the bars taste even more like a classic banana bread dessert.
- Cream Cheese Frosting. Prefer something tangy? Swap the brown butter frosting for a simple cream cheese frosting. It gives the bars more of a traditional bakery-style finish.
- Peanut Butter Frosting. For a richer option, mix a few tablespoons of creamy peanut butter into your frosting. Banana and peanut butter are a classic combo that always works.
These simple variations make it easy to turn one recipe into several different desserts, depending on the occasion or what you have on hand.

How To Brown Butter
Browning butter is a simple step that adds a deep, nutty flavor to the frosting. It only takes a few minutes, but it makes a big difference in the overall taste.
Follow these easy steps:
- Add butter to a saucepan. Place the butter in a small saucepan over medium heat.
- Let it melt completely. Once melted, continue cooking while stirring occasionally.
- Watch for foaming. The butter will start to foam and bubble as the water cooks off.
- Look for golden brown bits. After a few minutes, small brown specks will form on the bottom of the pan and the butter will turn a light golden color.
- Smell for the nutty aroma. This is the sign it’s ready.
- Remove from heat immediately. Butter can burn quickly, so take it off the heat as soon as it turns golden brown.
Let the butter cool slightly before using it in the frosting, and be sure to scrape in all those toasted brown bits. That’s where the best flavor is.
Tools That Make These Bars Even Easier
With just a few basic tools and the right pan size, you’ll set yourself up for banana bars that bake evenly, slice easily, and look just as good as they taste.
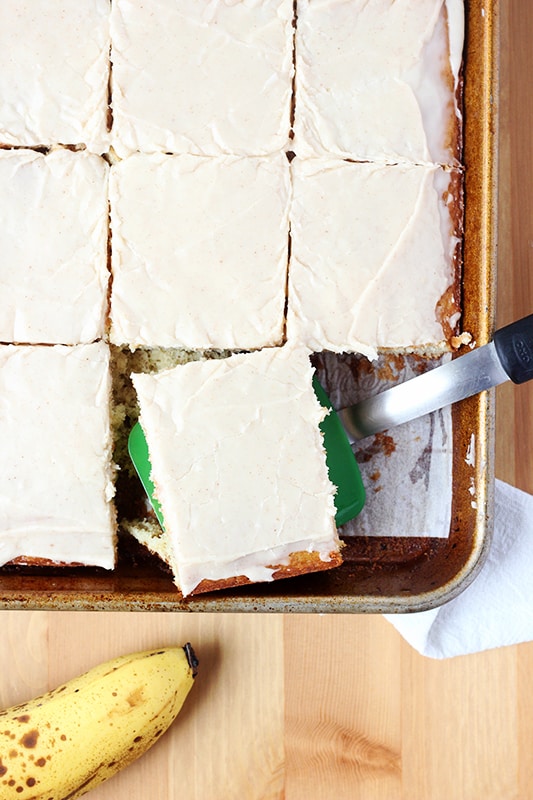
- Jelly Roll Pan (10×15-inch). This is the ideal pan for this recipe. It creates the perfect thickness so the bars stay soft and cake-like without becoming too thin. If you use a larger sheet pan, the bars will bake faster and turn out thinner.
- Mixing Bowls. A medium and large mixing bowl will make it easy to combine the wet and dry ingredients without overmixing the batter.
- Saucepan. A small saucepan works best for browning the butter. Choose one with a light-colored bottom if possible so you can easily see when the butter turns golden.
- Offset Spatula or Rubber Spatula. These are helpful for spreading the batter evenly in the pan and smoothing the frosting across the top once the bars have cooled.
Banana Bars vs Banana Bread
Both start with ripe bananas and similar pantry ingredients, but the texture and baking method create two slightly different desserts.
- Banana Bars: Banana bars are baked in a jelly roll or sheet pan, which gives them a thinner, softer texture that’s closer to cake than bread. They’re cut into squares for easy serving and are often topped with frosting, making them perfect for potlucks, parties, or anytime you want a simple dessert that feeds a crowd.
- Banana Bread: Banana bread is baked in a loaf pan, creating a thicker and more dense texture. It’s typically sliced like traditional quick bread and often served plain or with mix-ins like nuts or chocolate chips. While banana bread leans more toward a snack or breakfast treat, banana bars feel a little more like dessert.
A Few Helpful Questions
The riper the better. Bananas with lots of brown spots are sweeter, softer, and mash easily, which helps create moist, flavorful bars.
Yes. The bars will be thicker and may need a few extra minutes in the oven. Start checking for doneness around 25 minutes.
They can stay covered at room temperature for about 2 days. If your kitchen is warm or you want them to last longer, store them in the refrigerator for up to 4–5 days.
Yes. Let the bars cool completely, then freeze them in an airtight container for up to 2 months. You can freeze them frosted or unfrosted.
This usually happens from overmixing the batter or adding too much flour. Stir just until the ingredients come together and be sure to measure flour correctly.
Storage and Freezer Instructions
These sheet pan banana bars store really well, which makes them great for making ahead or saving a few for later.
- Room Temperature. Store the bars in an airtight container at room temperature for up to 2 days. If your kitchen runs warm, they’re better stored in the refrigerator.
- Refrigerator. Place the bars in a covered container and refrigerate for up to 4 to 5 days. Let them sit at room temperature for a few minutes before serving so the frosting softens slightly.
- Freezer. These freeze beautifully. Once the bars are completely cooled, cut them into squares and place them in a freezer-safe container with parchment between the layers. Freeze for up to 2 months.
- To Thaw. Transfer the bars to the refrigerator or let them sit at room temperature for about 30 minutes until softened and ready to enjoy.
Want to save this recipe?
Enter your email below & we’ll send it to your inbox. Plus get great new recipes from us every week!

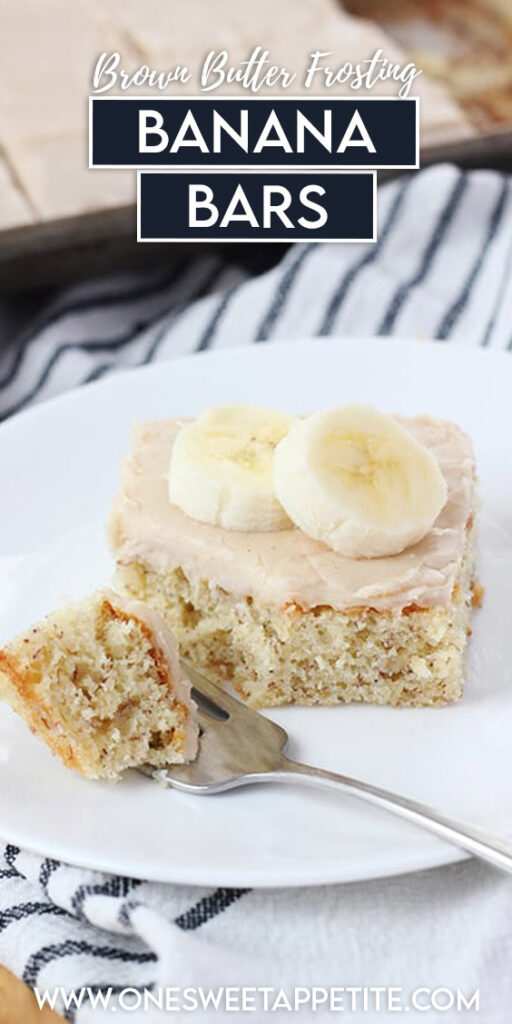
Easy Banana Bars Recipe with Brown Butter Frosting
Ingredients
For the cake:
- 1½ cup sugar
- 1/2 cup butter (soft)
- 1 cup sour cream
- 2 large eggs
- 1 teaspoon vanilla extract
- 3 ripe bananas (mashed (1 1/2 cups or 340-350g))
- 2 cups all-purpose flour
- 1 teaspoon salt
- 1 teaspoon baking soda
For the frosting:
- 1/2 cup butter
- 4 cups powdered sugar
- 2 teaspoons vanilla extract
- 6 Tablespoons milk
Instructions
Make the Banana Bars
- Set your oven to 375°F. Generously grease a 10×15-inch jelly roll pan with butter or line it with parchment paper. Set aside.
- In a large mixing bowl, whisk together the softened butter and sugar for about 1 minute, until the mixture looks light and creamy.
- Stir in the sour cream and mix until smooth.
- Add the eggs one at a time, mixing well after each addition. Stir in the vanilla extract.
- Mix in the mashed bananas until evenly combined.
- Add the flour, salt, and baking soda. Stir gently just until the batter comes together and no dry flour remains. Avoid overmixing.
- Pour the batter into the prepared pan and spread it evenly to the edges.
- Bake for 20–25 minutes, or until a toothpick inserted in the center comes out clean.
- Allow the bars to cool fully in the pan before adding the frosting.
Make the Brown Butter Frosting
- Add the butter to a small saucepan over medium heat. Let it melt, then continue cooking while stirring occasionally until it turns light golden brown and smells nutty.
- Remove the pan from the heat. Whisk in the powdered sugar, vanilla, and milk until smooth.
- Pour the frosting over the completely cooled bars and spread evenly with a spatula.
- Once the frosting sets slightly, cut into squares and serve.
Nutrition
The nutrition facts provided are calculated using a third-party tool and are estimates only. Actual nutritional content may vary based on the ingredients and brands you use, as well as portion sizes. For accurate results, please consult a registered dietitian or nutritionist.

SO GOOD! I needed a quick dessert to take to an Easter party and this popped into my pinterest feed. These bars are delicious! We made them in a large cookie sheet with a lip. Not sure if that is the same as a jelly roll pan? Cut it into 24 bars. Everyone gobbled them up. Will be making them again and again. It has already been requested for our 4th of July party!
I would love to try this, but somehow I can’t find the bananas in the actual recipe part?
Well, that’s embarrassing! Thanks for catching my mistake. I added the bananas to the recipe.