
Cherry Cobbler Recipe
This post may contain affiliate links.
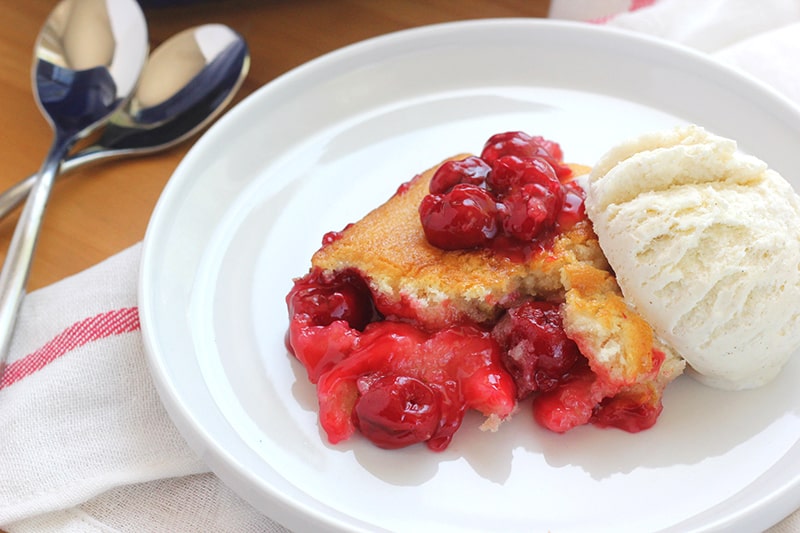
This easy Cherry Cobbler recipe uses just a handful of ingredients, including cherry pie filling, and is ready faster than you can say “yum!” Perfect for those last-minute dessert decisions or when you just need a sweet fix without the fuss.
Try serving this easy dessert with a scoop of Vanilla Ice Cream or fresh whipped cream for the perfect finish!
Here’s Why It Works
- Quick homemade cobbler – Ready in under an hour with simple pantry ingredients.
- Family-friendly dessert – Loved by kids and adults, making it ideal for gatherings.
- Beginner baking recipe – No special skills required; just mix, pour, and bake.
- Classic comfort food – Warm cherries and buttery topping make this timeless and cozy.
Cherry cobbler is one of those timeless desserts that feels cozy and nostalgic but is ridiculously easy to make. With just a handful of pantry staples and a can of cherry pie filling, you can have a warm, bubbly dessert on the table in under an hour. It’s the kind of recipe that works whether you’re baking for family, friends, or just yourself on a quiet night in.
The buttery topping bakes up golden with crisp edges while the cherries bubble through for that perfect balance of tart and sweet. Serve it warm with a scoop of vanilla ice cream or whipped cream, and you’ve got a dessert that never fails to impress.
Before You Start Baking
Each ingredient plays a key role in getting that soft, fluffy topping with just the right amount of sweetness to balance the cherries. Here’s what you’ll need:
- Butter – Use real butter (not margarine) for the richest flavor and a perfectly golden crust. Melted butter also makes mixing quick and easy.
- All-Purpose Flour – Gives structure to the cobbler topping. Be sure to spoon and level your flour into the measuring cup to avoid adding too much.
- Granulated Sugar – Sweetens both the topping and helps balance the tartness of the cherries. You can adjust slightly up or down depending on your preference.
- Baking Powder – The key to that light and fluffy texture. Make sure your baking powder is fresh for the best rise.
- Vanilla Extract – A splash of vanilla adds warmth and rounds out the sweetness of the cobbler topping.
- Milk – Whole milk works best for a tender, rich crumb, but 2% will also do the job.
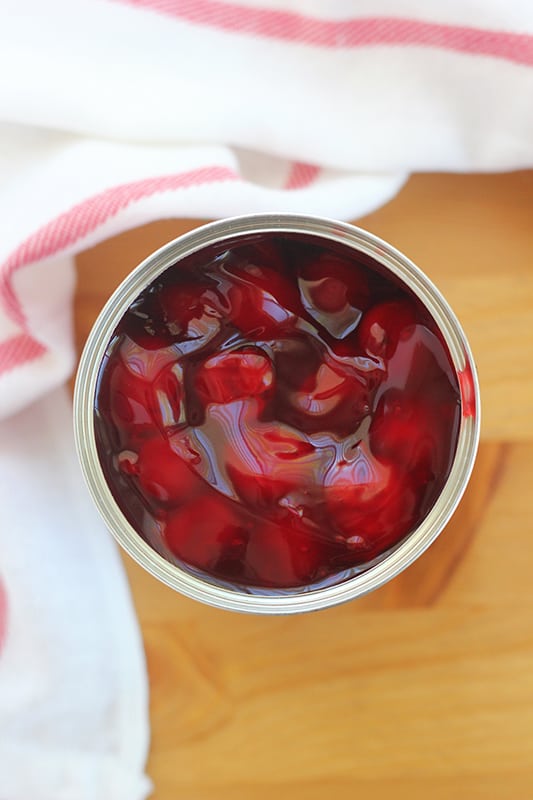
- Cherry Pie Filling – The star of the show! Canned cherry pie filling keeps this recipe quick and fuss-free. If you prefer, you can swap in homemade filling or even frozen cherries.
That’s it! Seven ingredients you likely already have on hand. Simple, straightforward, and guaranteed to deliver a cozy dessert that tastes like you spent hours in the kitchen.

Jesseca’s Recipe Review
This cherry cobbler is one of those desserts I keep coming back to. It’s simple, quick, and always delivers that homemade comfort my family craves. I love how the buttery topping bakes up golden with crisp edges while the cherry filling bubbles through just enough to give you that perfect mix of tart and sweet. It’s a no-fuss recipe that feels special every single time.
Tip from Jesseca:
For the best texture, let the cobbler cool for at least 10–15 minutes before serving. This gives the filling time to set up and makes scooping much easier (and less messy!).
Cobbler Topping Ideas
This is one of the best cherry desserts and is delicious on its own, but adding a topping can enhance its flavor and texture, making it even more irresistible. Here are some of the best topping options to consider:
- Vanilla Ice Cream: A classic choice, vanilla ice cream melts beautifully into the warm cobbler, creating a creamy and cool contrast to the sweet and tart cherries.
- Whipped Cream: A dollop of whipped cream adds a light, fluffy texture that complements the denseness of the cobbler. For extra flavor, add a hint of vanilla or almond extract to the cream before whipping.
- Caramel Sauce: Drizzling caramel sauce over the cobbler adds a buttery sweetness that goes well with cherries.
- Mascarpone Cheese: A scoop of mascarpone cheese offers a rich, creamy texture and a subtly sweet flavor that pairs beautifully with the tartness of the cherries.
Each of these toppings can elevate your cobbler, making it a versatile dessert that can be adapted to different tastes and occasions.


Easy Cherry Cobbler Recipe
This cherry pie cobbler is quick and surprisingly simple. Here’s a snapshot of the process so you know exactly what to expect:
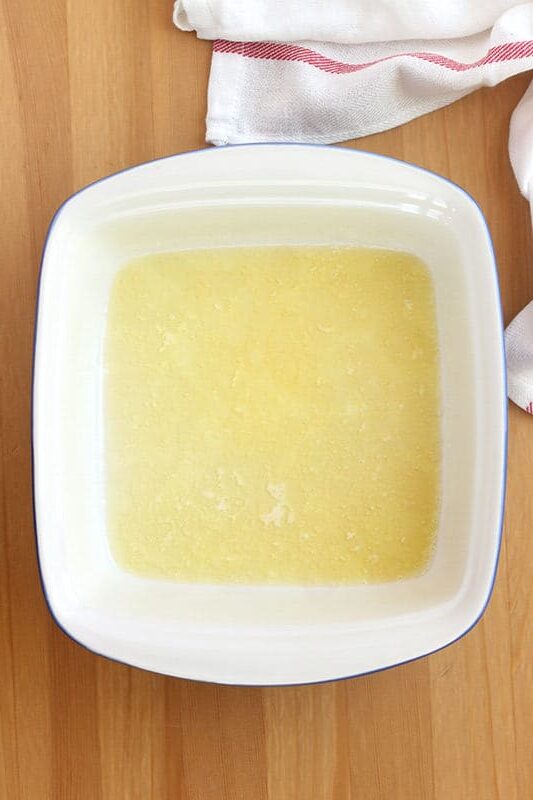
- Melt the butter: Place it in your baking dish and let it melt as the oven preheats.
- Mix the batter: Whisk together flour, sugar, baking powder, vanilla, and milk until smooth.
- Layer it up: Pour the batter over the melted butter, then spoon cherry pie filling evenly on top (no stirring!).
- Bake to perfection: Bake until golden and set, about 45–50 minutes. Sprinkle sugar over the top in the last 15 minutes for a sweet crust.
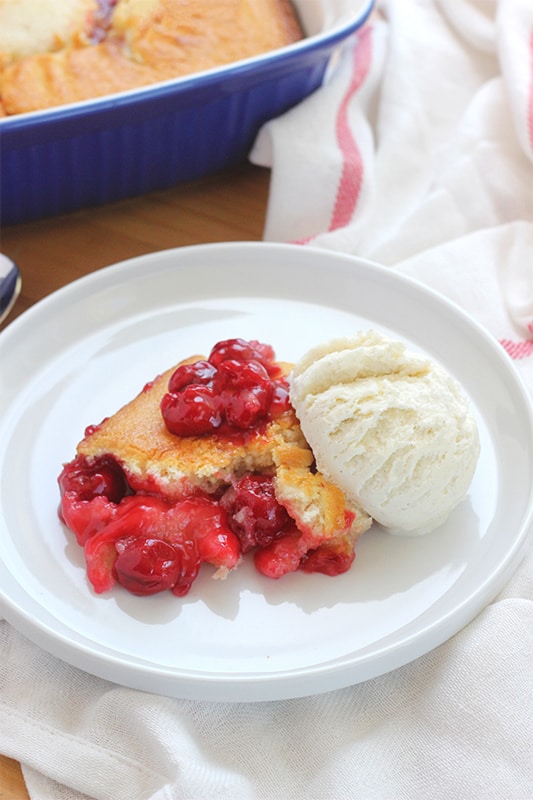
Once it’s out of the oven, let it cool slightly and serve warm. A scoop of vanilla ice cream or whipped cream takes it from simple to unforgettable.
Variations and Substitutions
One of the best things about cobbler recipes is how versatile they are. You can easily adapt this easy cherry cobbler to fit your pantry, taste preferences, or what fruit you have on hand. Here are a few ideas:
- Fruit Options – Swap the cherry pie filling for peach, apple, blueberry, or mixed berry pie filling. Fresh or frozen fruit tossed with a little sugar also works beautifully.
- Homemade cherry pie filling – If you’d rather skip canned filling, make your own cherry mixture with pitted cherries, sugar, and a touch of cornstarch for thickening.
- Flavor Boosts – Add a teaspoon of almond extract instead of (or along with) the vanilla for a bakery-style cherry-almond flavor. A pinch of cinnamon or nutmeg in the batter can also warm up the flavor.
- Topping Twist – Sprinkle sliced almonds, chopped pecans, or oats over the cobbler before baking for a little crunch.
With just a few tweaks, you can turn this into a completely different dessert that still delivers that cozy, homemade comfort everyone loves.

Recipe FAQs
Yes! Just pit and slice the cherries, then toss them with sugar and a little cornstarch to thicken. It’s an easy swap if you want a more homemade filling.
No. Don’t stir. The magic of cobbler is that the batter bakes up around the fruit, creating a soft cake-like topping with golden edges.
The top should be golden brown and the center should not jiggle when you gently shake the pan. A toothpick inserted into the topping should come out mostly clean.
Absolutely. Once baked and cooled, wrap tightly and freeze for up to 2 months. Thaw overnight in the fridge and reheat before serving.
Storage and Make-Ahead Instructions
Cobbler tastes best warm from the oven, but you can store and reheat it easily.
Storing Leftovers
- At Room Temperature: Cover and keep on the counter for up to 2 days.
- In the Fridge: Store in an airtight container for up to 4 days.
- In the Freezer: Freeze baked cobbler for up to 2 months. Thaw overnight in the fridge, then warm in the oven before serving.
With these tips, you can enjoy a fresh-tasting cobbler whenever you need it. Whether you’re baking ahead for a gathering or saving leftovers for later.
Want to save this recipe?
Enter your email below & we’ll send it to your inbox. Plus get great new recipes from us every week!

Easy Cherry Cobbler
Ingredients
- 1/4 cup butter
- 1 cup all-purpose flour
- 3/4 cup sugar
- 1 teaspoon baking powder
- 1/2 teaspoon vanilla extract
- 1 cup milk
- 1 21oz can cherry pie filling
Instructions
- Place the butter in an 8 or 9-inch baking pan. Put the pan into the oven while it’s still cold. Allow the butter to melt while the oven preheats to 350 degrees. Remove and set aside for later.
- In a mixing bowl, combine the flour, sugar, baking powder, vanilla extract, and milk. Whisk these ingredients together until the batter is smooth. This should take about a minute.
- Pour the batter gently over the melted butter in the pan. Do this slowly and try not to disturb the melted butter too much.
- Next, spoon the cherry pie filling evenly on top of the batter. It’s important not to stir the pie filling into the batter; just let it sit on top.
- Place the pan back in the oven and bake for 45 to 50 minutes. Check to see if the center of the cobbler is cooked through – it should not jiggle when you gently shake the pan.
- Sprinkle some sugar over the cobbler during the last 15 minutes of baking to add a sweet crust.
- Once baked, remove the cobbler from the oven and let it cool slightly. Serve warm, and if you’d like, add a scoop of whipped cream or vanilla ice cream on top for extra deliciousness.
Notes
- When melting the butter in the oven, keep an eye on it to prevent it from burning. The key is to remove it as soon as it’s fully melted. A burnt butter taste can overpower the flavors of your cobbler.
- Resist the urge to stir the batter and the cherry pie filling together. The charm of this cobbler recipe lies in the layers, as the batter will rise through the cherry pie filling to form a beautifully crusty top during baking.
- Serving the cobbler warm brings out the best in its flavors and textures. For a truly indulgent treat, pair it with a scoop of vanilla ice cream or a dollop of whipped cream right before serving.
Nutrition
The nutrition facts provided are calculated using a third-party tool and are estimates only. Actual nutritional content may vary based on the ingredients and brands you use, as well as portion sizes. For accurate results, please consult a registered dietitian or nutritionist.


I made this for dessert tonight it turned out great. It was delicious.
I recommend this.
Thank you, Marlene! This is one of my favorite cherry recipes. I’m so glad you enjoyed it too.
What in the world is the oven temperature?
350 degrees
Very disappointed that the intro to this recipe says it uses canned cherries. The recipe itself calls for cherry ***pie filling***. Canned cherries and cherry pie filling are totally different!
Hi polly, you’re correct. Canned cherries can be different. However, if you google “canned cherries” it also includes pie filling in that classification. You can make your own pie filling with canned cherries with this simple recipe: https://www.food.com/recipe/cherry-pie-with-canned-cherries-417510
I’ll add that to the recipe notes.