
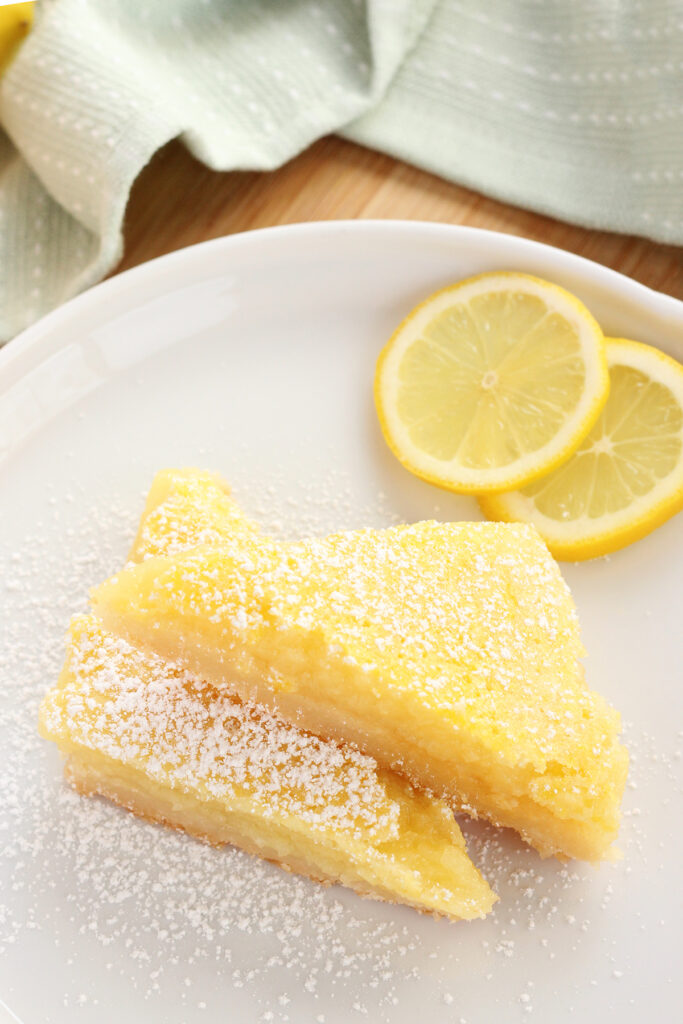
Lemon Bars
This post may contain affiliate links.
These Lemon Bars are the kind of dessert that stop you mid-scroll. Bright, tangy, and perfectly balanced with a buttery shortbread crust, they’re a little sunshine baked into a square. If you’ve been hunting for a simple recipe that feels both nostalgic and bakery-worthy, you just found it.
Need a boost of lemon goodness? Be sure to try my Lemon Loaf or Lemon Mug Cake.

What Makes This Recipe a Win
- Lemon dessert – Perfect balance of sweet and tart for citrus lovers.
- Holiday dessert – Works for Easter, Mother’s Day, or any special gathering.
- Simple baking recipe – No fancy techniques needed—great for beginners.
Lemon bars are the kind of dessert that brighten any day with their sunny flavor and simple prep. A crisp, buttery crust meets a silky lemon filling for a sweet-tart bite that’s both refreshing and satisfying. They’re easy enough for a weeknight bake but elegant enough to serve at holidays or gatherings.
I can confidently say this lemon bar recipe is one you’ll make again and again. The ingredients are straightforward, the steps are simple, and the results taste like something straight from a bakery case—without the fuss.

Before You Start Baking
These lemon squares only call for a handful of everyday ingredients, but each one plays an important role in getting that buttery crust and tangy filling just right.
- Butter – Unsalted butter keeps the crust rich without being overly salty. Let it soften so it blends evenly.
- All-purpose flour – Spoon and level your flour to avoid packing in too much, which can make the crust heavy.
- Granulated sugar – Adds sweetness to both the crust and the filling while balancing the tart lemon.
- Salt – A pinch enhances flavor and keeps the crust from tasting flat.
- Eggs – Room-temperature eggs mix smoothly and help the filling set with that custardy texture.
- Lemon juice – Freshly squeezed makes all the difference; bottled juice can taste dull or bitter.
- Lemon zest – Always zest your lemon before juicing—it’s much easier and gives the bars a bright boost.
- Powdered sugar (optional) – A light dusting before serving adds that classic bakery look.
Simple, straightforward, and fresh. That’s all it takes to whip up a pan of lemon bars that disappear fast.

Jesseca’s Recipe Review
These easy Lemon bars have always been one of my go-to desserts when I want something bright and refreshing without a lot of fuss. This version nails the balance. The thin, buttery crust with a thick layer of tart-sweet lemon that keeps you coming back for another square. They taste bakery-worthy but are surprisingly easy to make at home.
Tip from Jesseca:
For the cleanest slices, let the bars cool completely, then chill them in the fridge before cutting. Wipe your knife between each cut for picture-perfect squares.
Variations and Substitutions
One of the best things about these bars is how flexible they can be. With just a few swaps, you can adjust them to your taste or whatever you have on hand.
- Mix citrus – Combine lemon with orange or grapefruit juice for a softer, more complex flavor.
- Dial down the tartness – Add a few extra tablespoons of sugar to the filling if you prefer sweeter bars.
- Add a coconut crust – Stir a handful of shredded coconut into the crust for extra flavor and texture.
These simple swaps keep the recipe fresh and fun, so you can enjoy lemon bars your way.
Best Lemon Bar Recipe
Homemade lemon bars are easier than you think! With just two simple steps, you’ll have bakery-style bars ready to slice and serve.
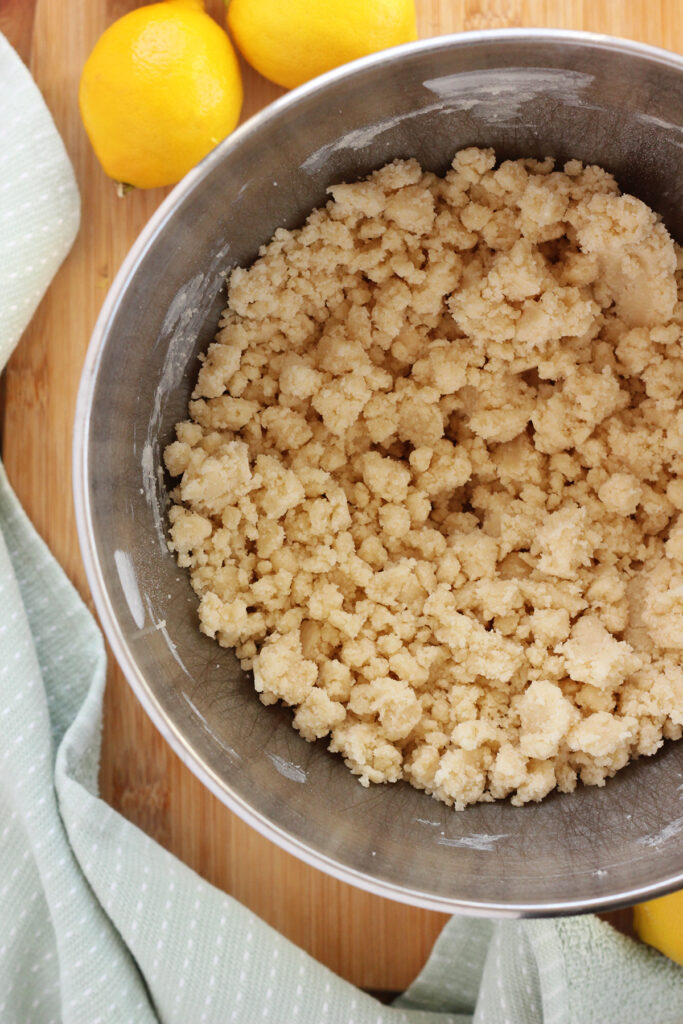
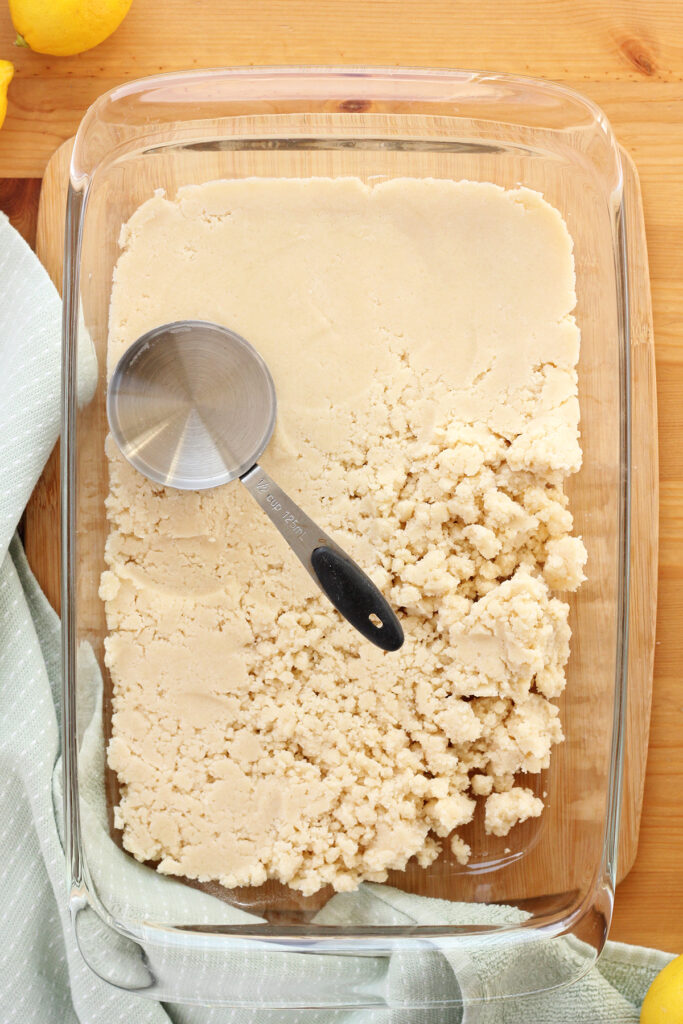
- Bake the crust: Mix butter, flour, sugar, and salt until crumbly. Press into your pan and bake until lightly golden.
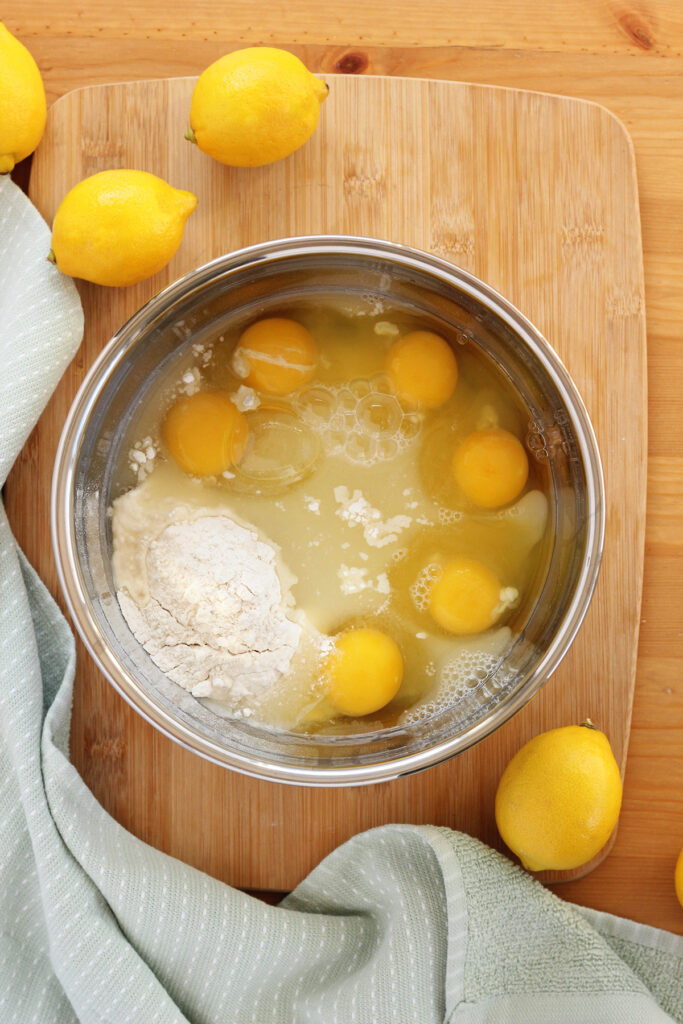
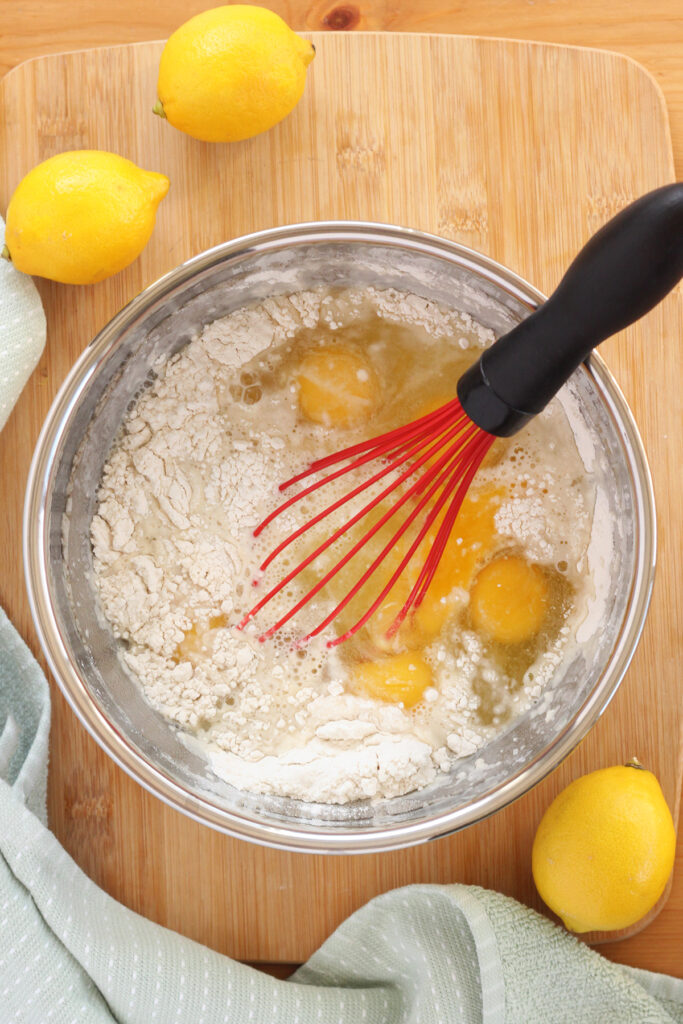
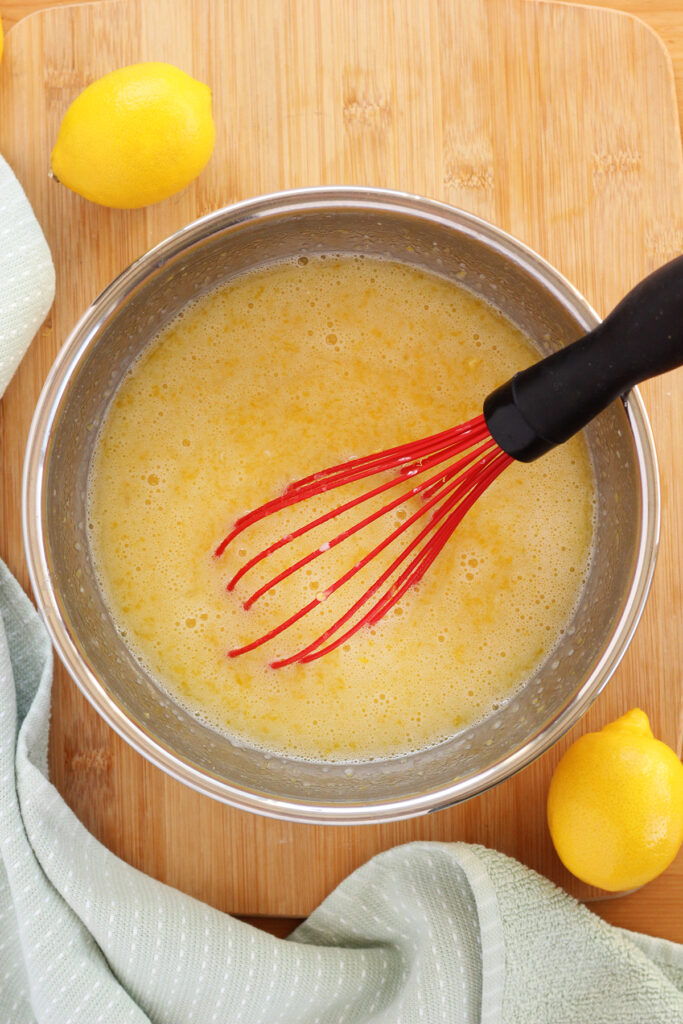
- Whisk the filling: Stir together sugar, flour, eggs, lemon juice, and zest. Pour over the warm crust.
- Bake again: Return to the oven until the lemon layer is set. Chill, dust with powdered sugar, and cut into squares.
That’s it! A crisp, buttery base and a bright, tangy top layer come together in less than an hour.
Helpful Tools
You don’t need anything fancy to make these bars, but the right tools make the process easier and the results more reliable.
- 9×13-inch baking pan – A metal pan works best for even baking and clean edges. Glass tends to take longer and can cause uneven browning.
- Parchment paper – Makes lifting the bars out of the pan and cutting them into neat squares so much easier.
- Stand mixer or hand mixer – Helpful for creaming the crust ingredients quickly, though you can also mix by hand if needed.
- Zester or microplane – The easiest way to get fine lemon zest without the bitter pith.
With these tools on hand, you’ll breeze through the steps and end up with bakery-style bars that look as good as they taste.

Recipe FAQs
You can, but fresh juice really makes a difference. Bottled juice can taste dull or slightly bitter, while fresh lemons give that bright, clean flavor.
The filling should look set with just a slight jiggle in the center. If it looks wet or runny, it needs more time. Overbaking can make the top crack or the texture rubbery.
This usually happens if the filling is overbaked or baked at too high of a temperature. Stick to the recommended bake time and temp, and whisk just until combined.
Yes. Once cooled, store them in the fridge to keep the filling firm and fresh. They’ll stay good for 3–4 days.
Storage and Make-Ahead Instructions
Lemon squares are one of those desserts that actually taste even better the next day, making them perfect for prepping ahead.
- Room temperature: Once completely cooled, lemon bars can sit out for a few hours if you’re serving them the same day.
- Refrigerator: Store in an airtight container, with parchment paper between layers to prevent sticking. They’ll stay fresh for 3–4 days.
- Freezer: Wrap bars individually in plastic wrap, then place in a freezer-safe bag or container. They’ll keep up to 2 months. Thaw overnight in the fridge and dust with powdered sugar right before serving.
Make-ahead friendly and freezer-approved, these bars are a great option for parties, holidays, or when you just want a little sweet treat ready to go.

There’s something about dessert bars that makes baking feel effortless. Browse my collection to find everything from classic favorites to fun new treats that are easy to make and even easier to love.
Want to save this recipe?
Enter your email below & we’ll send it to your inbox. Plus get great new recipes from us every week!
Easy Lemon Bars
Ingredients
For the crust:
- ¾ cup butter
- 1½ cups all-purpose flour
- ⅓ cup granulated sugar
- ½ teaspoon salt
For the lemon filling:
- 1½ cups granulated sugar
- 1/4 cup all-purpose flour
- 4 large eggs (room temperature)
- 2/3 cup lemon juice
- 1 tablespoon lemon zest
- powdered sugar (optional)
Instructions
- Set your oven to 350°F (175°C). Grease or line a 9×13-inch baking pan with parchment paper for easy removal.
- In the bowl of a stand mixer fitted with the paddle attachment (or using a hand mixer), combine butter, flour, sugar, and salt. Beat on medium speed for 2–3 minutes, until the mixture looks crumbly but holds together when pressed.
- Press the mixture evenly into the bottom of the prepared pan. Bake for 18–20 minutes, or until the edges are lightly golden. Remove from the oven but keep the oven on.
- While the crust is cooling slightly, whisk together sugar, flour, eggs, lemon juice, and lemon zest in a large bowl until smooth and fully combined.
- Pour the filling over the warm crust, spreading evenly. Bake for 18–22 minutes, or until the center is set and no longer jiggly.
- Allow the bars to cool completely at room temperature, then refrigerate until firm (at least 2 hours). Before serving, dust with powdered sugar and slice into squares.
Nutrition
The nutrition facts provided are calculated using a third-party tool and are estimates only. Actual nutritional content may vary based on the ingredients and brands you use, as well as portion sizes. For accurate results, please consult a registered dietitian or nutritionist.


Pretty easy
Glad you loved it!
don’t use stevia whatever you do because it didn’t turn out nice and thick on top. thank goodness I made two pans of bars one turned out that I used regular sugar on but the one that I used the diet sugar did not work so don’t waste your time
Hi Colleen. Yes, I wouldn’t recommend using stevia for this recipe. I’m glad you had an extra pan as a backup!
I substituted powdered sugar, rather then using granulated sugar in the crust. Turned out wonderful!
How do you get such clean cuts?
Hi Michelle, If you clean your knife between each slice it gives the bars a cleaner cut. Also, make sure they are chilled before slicing.
I made this recipe without using a mixer and it still came out great! Thanks for sharing.
For me and my house love lemon bars and this recipe is by far our favorite! Give this gem a try you and your family and friends will not regret it!
I am so glad you love this recipe, and that you have given me some valuable feedback!! Working on a few minor updates that will be added to the post soon!