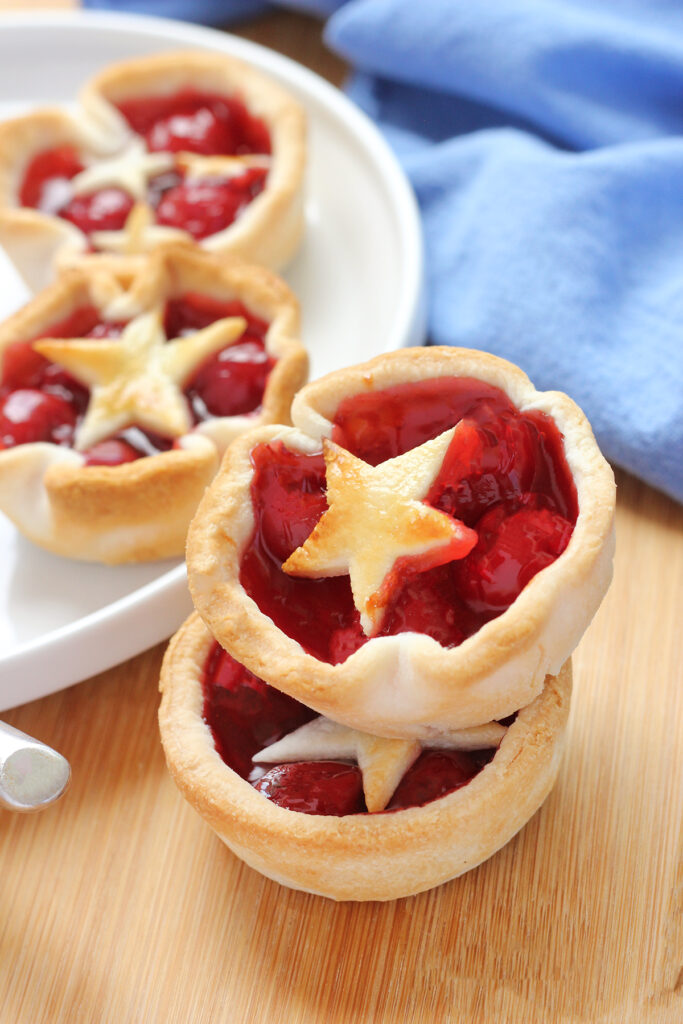
Mini Cherry Pie
This post may contain affiliate links.
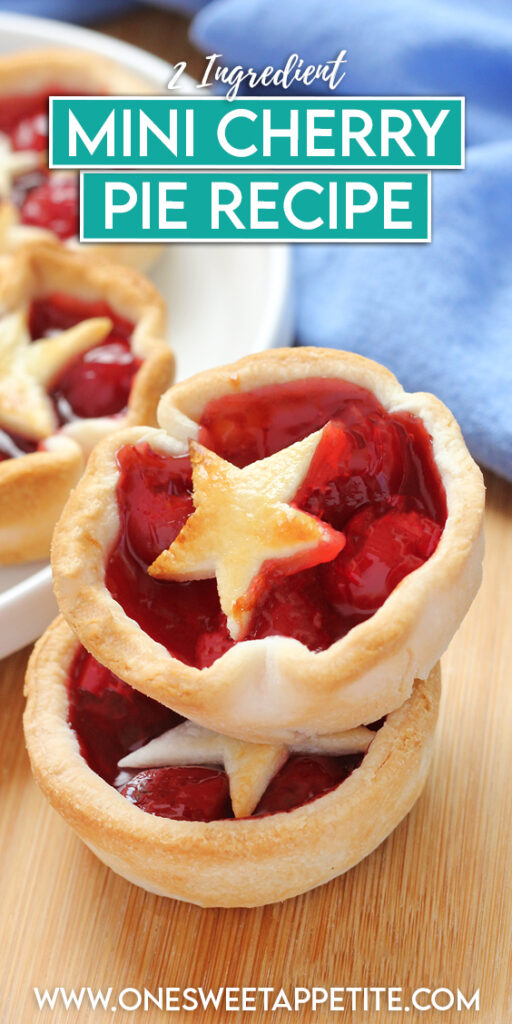
This mini cherry pie recipe will transport you to a realm of delight with every mouthwatering bite- and they are only two ingredients! From the flaky, buttery crust to the luscious, sweet filling, these petite pies pack a punch of flavor that will leave you begging for more.
Searching for more patriotic treats? Be sure the try my 4th of July Punch recipe, Red White and Blue Cookies, and Firework Cupcakes!
Why You’ll Love These Individual Cherry Pies
- 2-Ingredients: This is hands down the easiest dessert of all time. Two basic ingredients and bold flavor!
- Easy to Customize: You don’t have to stick with cherry! You can use any pie filling in this mini pie.
- Party Perfect: You’ll get 12 mini cups from this recipe. Easily double for a crowd and watch them disappear!
EASY is the name of the game today. I’ve been on the hunt for a super simple, and budget friendly, treat that I can take to all of our gatherings this year. THIS pie cup is it! It’s got the most flaky and buttery crust, a sweet filling that is hard to resist, and took me less than 10 minutes to prep!
Given five stars from my entire family, you will instantly love this two ingredient dessert. We’ve already made it over a handful of times AND tried it with all of the different pie fillings. When you’ve got a pie craving, you can’t go wrong with this individual serving version!
Mini Cherry Pie Recipe Ingredients
I mentioned already that these only use two very basic ingredients, but there is actually some wiggle room with what you use! Here’s a breakdown of what you’ll use for this recipe, along with some easy substitutions!
- Pie Crust: For ease, I like to use store bought pie crust. It’s super handy in a time crunch and still gets you those flaky pie layers we all know and love. However, with that being said, I’ve also made this with a homemade pie crust. Homemade is by far superior in flavor and can even be made in advance. If you have the time, I recommend going homemade. Although, no one will complain about the store bought version.
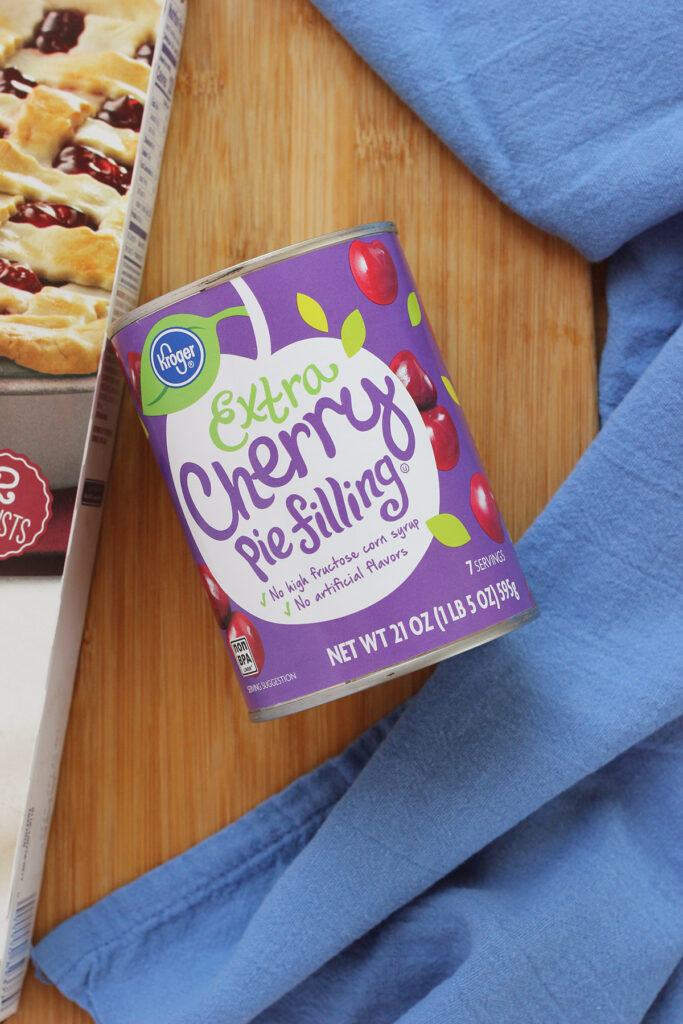
- Pie Filling: Could you make homemade pie filling? Absolutely. I think the canned versions are delicious and selflessly tested all of the versions for you! Peach, blueberry, apple, and mixed berry all received glowing reviews from my tribe!
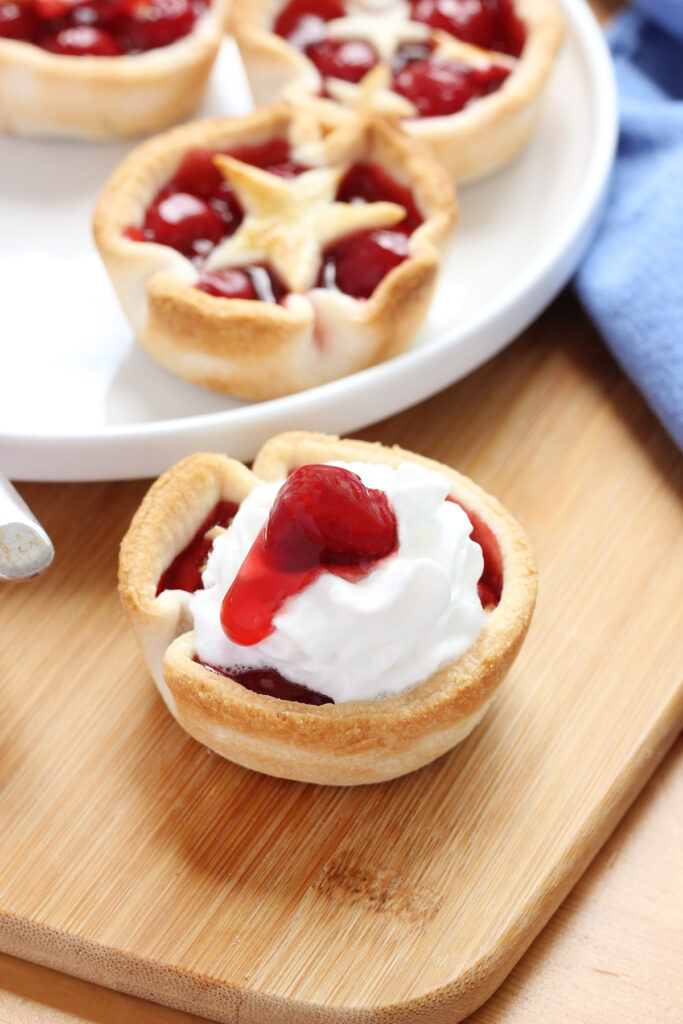
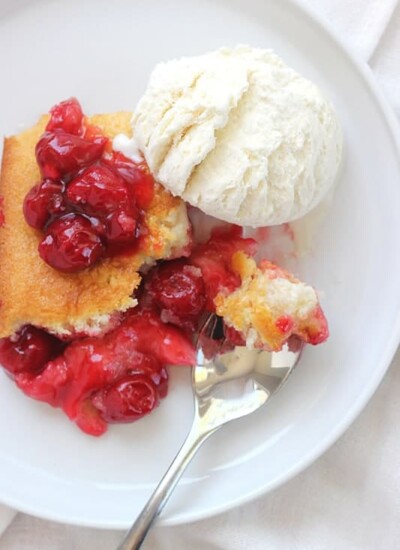
- Whipped Cream: Optional, but who doesn’t love a good dollop of whipped cream on top of pie?? You can pick up a can, make homemade whipped cream (which is insanely delicious), or even opt for a whipped topping!
Mini Cherry Pies In A Muffin Tin
Do you need anything special for this recipe beyond the ingredients? Nope. I used all items I already had in my kitchen and they turned out amazing.
- PREP: Remove the dough from the refrigerator and allow it to come to a temperature that allows you to roll it out without cracking. Preheat the oven to 425 °F.
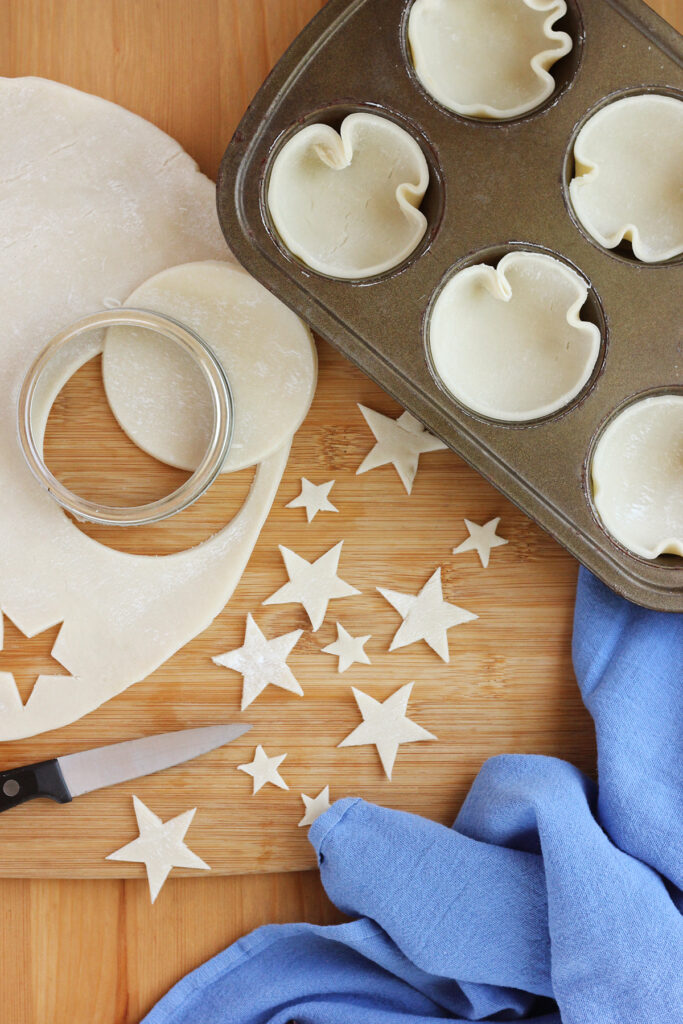
- DOUGH: Using a 3-1/2 inch cookie cutter, or large glass or mason jar lid, cut the pie crust into 12 circles. Gently press one circle into each cup of a cupcake tin, creating a bowl.
- FILL: Scoop 2 tablespoons of the pie filling into each prepared dough cup.
- BAKE: Bake the mini pies for 13-17 minutes, or until the edges are golden and the filling is bubbly.
- COOL: Very carefully remove the pies from the tin and allow to cool before serving.
- OPTIONAL: If you want a festive topping, you can use the leftover dough scraps to cut shapes, like stars, and add before baking.

Helpful Tools
- Muffin Tin: These hold their shape well when placed into a muffin tin (affiliate), also known as a cupcake tin. They are fairly inexpensive and, at the time of writing this post, you can get two for under $20.
- Circle Cutter: I found that a wide mouth mason jar lid (affiliate) measured almost perfectly for this recipe. However, you could also pick up a round cookie cutter (affiliate) for easy measuring.
- Measuring Spoon: While you might be tempted, stick with just 2 tablespoons (affiliate) of filling. Any more and the filling will bubble over the top.

Recipe Notes:
Absolutely! Mini cherry pies can be made ahead of time and frozen for future enjoyment. Once your mini cherry pies are baked and cooled completely, wrap them tightly in plastic wrap or place them in airtight containers. Make sure to label them with the date for easy reference. They can be stored in the freezer for up to 2-3 months.
When you’re ready to enjoy them, simply thaw the frozen mini cherry pies in the refrigerator overnight.
Allow these hand pies to cool completely. Once cooled, place in an airtight container. Store the mini cherry pies in the refrigerator, where they can stay fresh for up to 3-4 days.When you’re ready to enjoy the leftovers, you can eat them cold or reheat them in a preheated oven at 350°F (175°C) for a few minutes until warmed through.
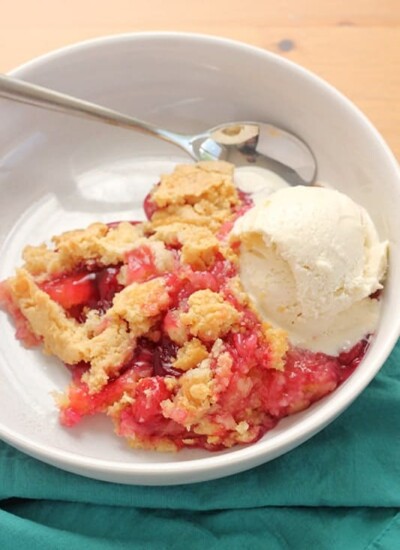
Yes! One of the great things about mini pies is their versatility. You can certainly experiment with different fruit fillings to create a variety of flavors. Here are some delicious fruit options you can use as an alternative to cherries: apple, blueberry, peach, strawberry, and mixed berry.
Yes. Simply use the leftover scraps of the pie dough to create your lattice pie crust topping.
Yep! This recipe specifically breaks down how to make this recipe in a muffin tin! Perfect for anyone that finds themselves craving pie without a pie dish on hand.
More Delicious Cherry Recipes

Still Hungry? Follow One Sweet Appetite on Instagram, Pinterest, and Facebook!
Want to save this recipe?
Enter your email below & we’ll send it to your inbox. Plus get great new recipes from us every week!

Mini Cherry Pie
Ingredients
- 2 ready to bake 9 inch pie crusts
- 1 (21oz) can cherry pie filling
Instructions
- Remove the dough from the refrigerator and allow it to come to a temperature that allows you to roll it out without cracking. Preheat the oven to 425 °F.
- Using a 3-1/2 inch cookie cutter, or large glass or mason jar lid, cut the pie crust into 12 circles. Gently press one circle into each cup of a cupcake tin, creating a bowl.
- Scoop 2 tablespoons of the pie filling into each prepared dough cup.
- Bake the mini pies for 13-17 minutes, or until the edges are golden and the filling is bubbly.
- Very carefully remove the pies from the tin and allow to cool before serving.
Optional
- If you want a festive topping, you can use the leftover dough scraps to cut shapes, like stars, and add before baking.
Nutrition
The nutrition facts provided are calculated using a third-party tool and are estimates only. Actual nutritional content may vary based on the ingredients and brands you use, as well as portion sizes. For accurate results, please consult a registered dietitian or nutritionist.