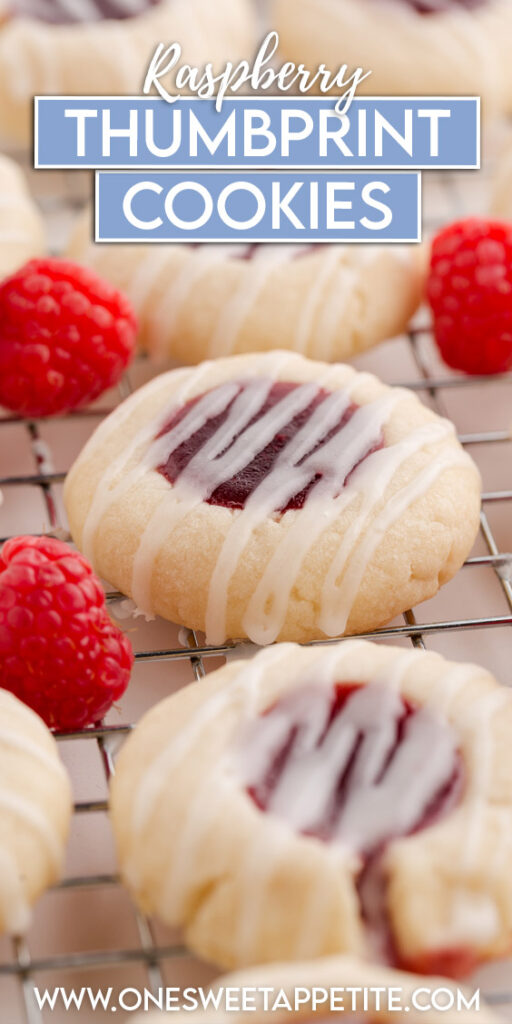
Raspberry Thumbprint Cookies
This post may contain affiliate links.
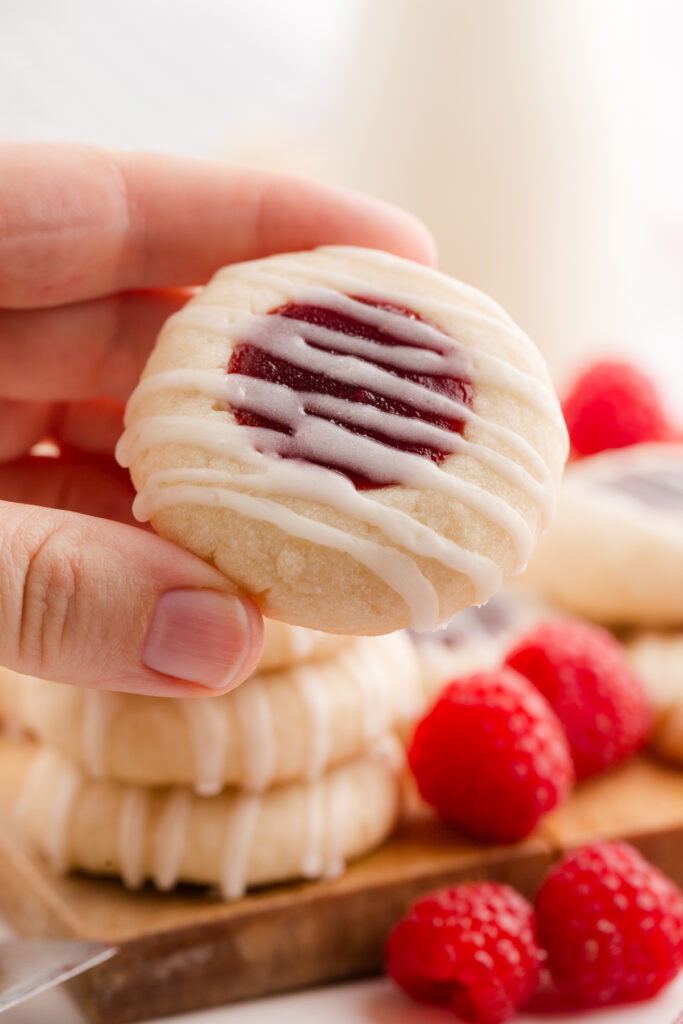
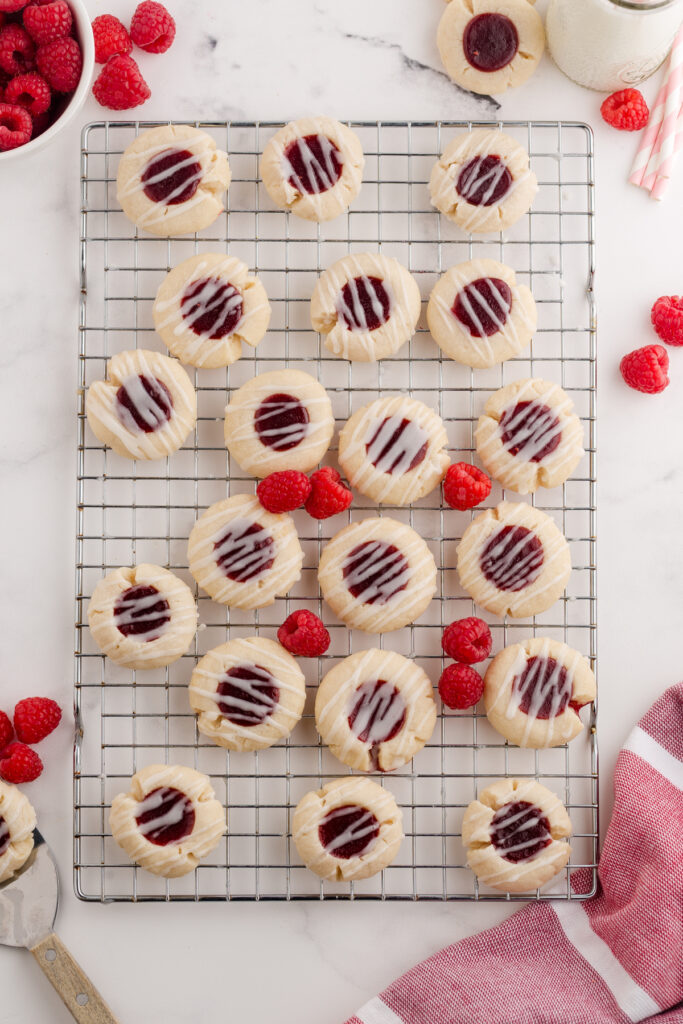
These Raspberry Thumbprint Cookies are the kind of treat that make you feel like a baking Rockstar. Buttery, melt-in-your-mouth cookies meet a perfectly sweet-tart raspberry jam center—it’s basically dessert perfection in a bite. Whether you’re whipping these up for a holiday tray or just a midweek pick-me-up, they’ll have everyone asking for the recipe (and maybe seconds).
As far as cookie recipes go, this one falls into the “holiday cookie” category for me. If you are building your cookie trays consider making my Almond Biscotti, soft Ginger Cookies, and Chocolate Crinkle Cookies.
What Makes These Bakery Worthy
- Ingredient Accessibility: No fancy or hard-to-find ingredients here—just pantry staples and a touch of magic!
- Tested and Perfected: This recipe was a labor of love. I made it seven times before I felt it was good enough to share, and have since made it three more times!
- Crowd-Pleaser: Perfect for parties, holidays, or just impressing your friends and family.
Every holiday cookie collection needs that one go-to that screams “nostalgia with minimal effort.” Enter Raspberry Thumbprint Cookies. The buttery, melt-in-your-mouth shortbread with just the right pop of sweet‑tart jam in the center. Think of them as your personal holiday MVP: dependable, delightful, and disappearing faster than Aunt Carol’s candy cane martini.
What makes these cookies truly worth doubling (or tripling) is how many times I tested them. Seven recipes deep before that “this-is-it” moment, plus a few more runs since for extra holiday cred. You don’t need fancy tools or exotic ingredients; just a scoop, your thumb, and some good‑quality raspberry jam.

Before You Start Baking
Making this cookie with raspberry jam is all about simple, quality ingredients coming together to create magic. Here’s what you’ll need and a quick tip for each:
- Butter: Go for unsalted butter at room temperature for that perfectly creamy texture. Not sure if it’s soft enough? Press it gently with your finger—it should leave an indent without melting.
- Powdered Sugar: This gives the cookies a melt-in-your-mouth texture. For the smoothest dough, sift it before mixing.
- Almond or Vanilla Extract: Almond extract gives a nutty depth, while vanilla keeps it classic. Not sure which to choose? Go almond for a more unique twist!
- Flour: All-purpose flour is your best bet. Measure it properly by fluffing it with a spoon, scooping it into your measuring cup, and leveling it off. No packed flour here!
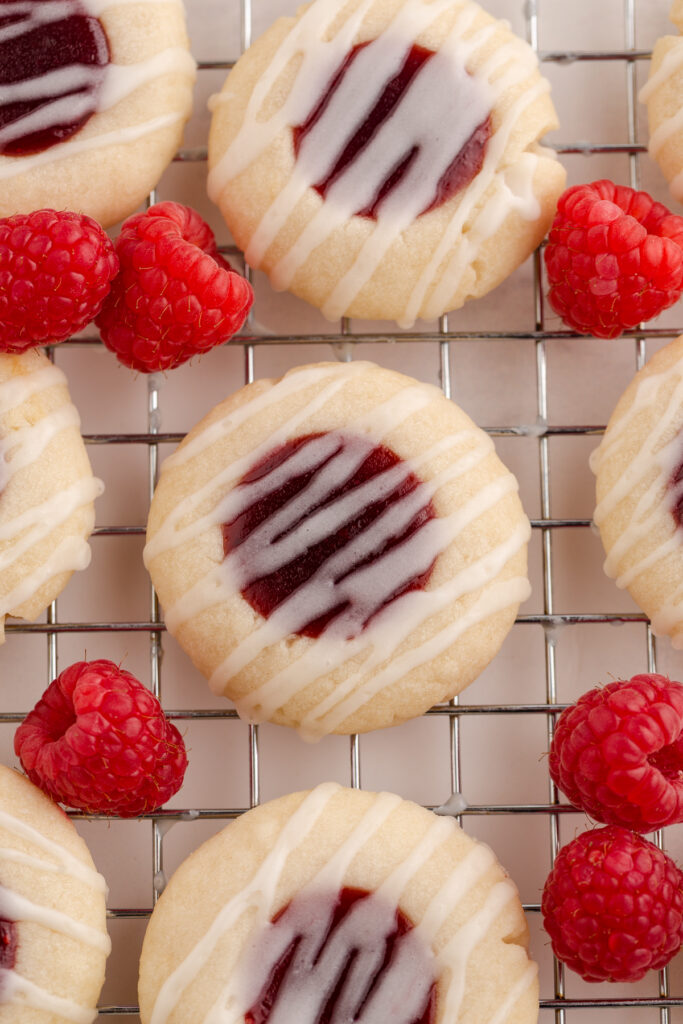
- Raspberry Jam: The star of the show! Use a high-quality jam for the best flavor. Pro tip: Give it a quick stir before filling the cookies to make it easier to spoon into the thumbprint.
Using simple ingredients in just the right way makes these cookies unforgettable. A little extra care (like sifting or stirring) goes a long way in ensuring perfection with every bite!

Jesseca’s Recipe Review
These thumbprint cookies are the kind of recipe that remind me why I love holiday baking so much. They’re simple but elegant, and the balance of buttery shortbread with a burst of raspberry jam hits that sweet spot between nostalgic and impressive. I’ve made these for neighbors, parties, and plenty of cookie trays, and they always get requested again the following year, which tells me they’ve earned “classic” status in my kitchen.
Tip from Jesseca:
Chill your dough before baking to help the cookies hold their shape and keep those cute little jam-filled centers from spreading too much. If you want bakery-style shine, warm the jam slightly before spooning it in, it spreads smoother and looks picture-perfect.
Variations
Want to mix things up? These almond Raspberry Thumbprint Cookies are super versatile, making it easy to adapt the recipe to your cravings or pantry staples. Here are some fun variations to try:
- Switch the Jam: Not a raspberry fan? No problem! Try strawberry, apricot, or blackberry jam. You can even mix and match flavors for a colorful cookie tray.
- Add a Citrus Twist: Mix in a teaspoon of lemon or orange zest to the dough for a fresh, zesty flavor that complements the jam beautifully.
- Go Nutty: Roll the cookie dough balls in finely chopped nuts, like almonds or pecans, before baking for added crunch and flavor.
- Chocolate-Lover’s Dream: Swap the jam for a dollop of chocolate ganache or Nutella. Decadent and perfect for chocoholics!
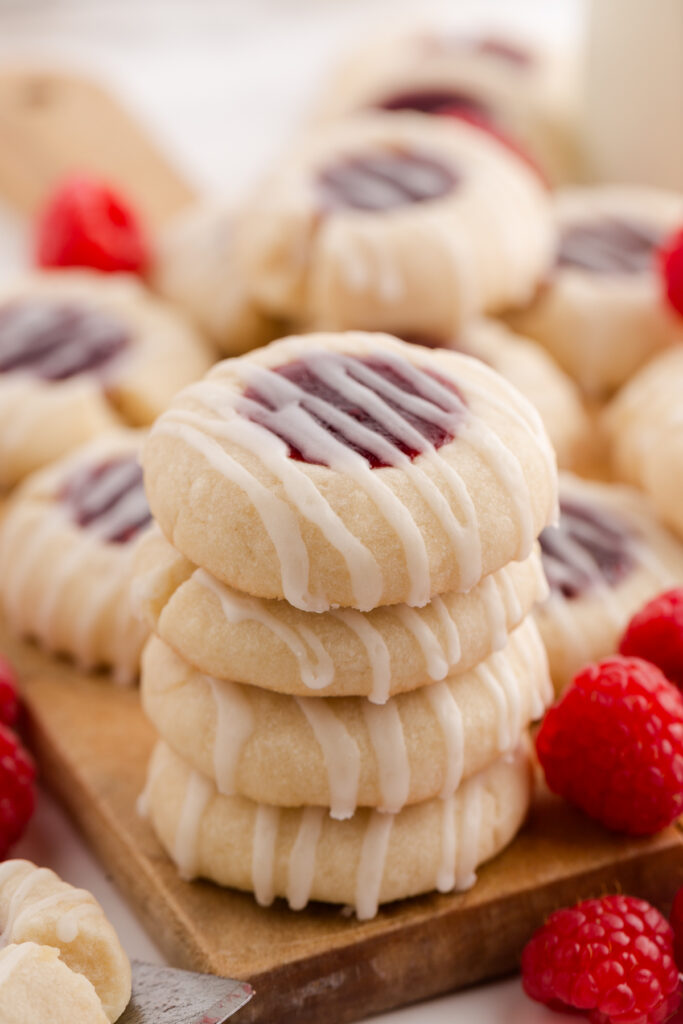
- Festive Sprinkle Fun: Add a sprinkle of powdered sugar or edible glitter after the cookies cool for a holiday-ready treat.
These variations let you put your own spin on a classic recipe while keeping things simple and delicious. Don’t be afraid to experiment—there’s no wrong way to enjoy these buttery bites of goodness!
Raspberry Thumbprint Cookie Recipe
These cookies with raspberry preserves are buttery, sweet, and ridiculously easy to make. With just a handful of ingredients, you’ll have a batch of crowd-pleasing cookies in no time!
- Preheat your oven to 325°F and line two baking sheets with parchment paper.
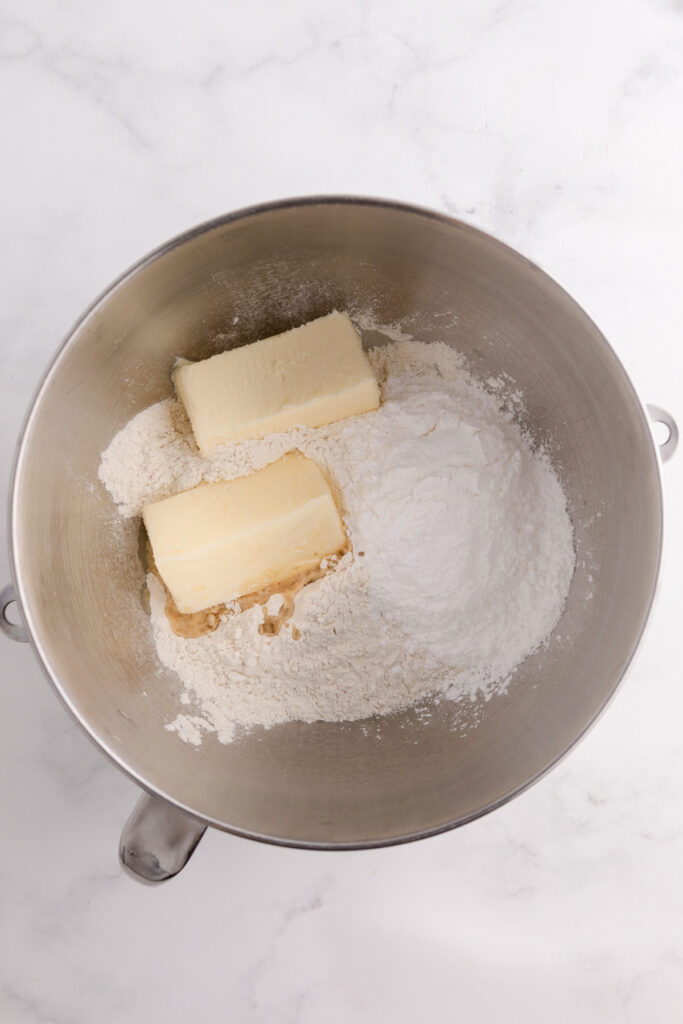
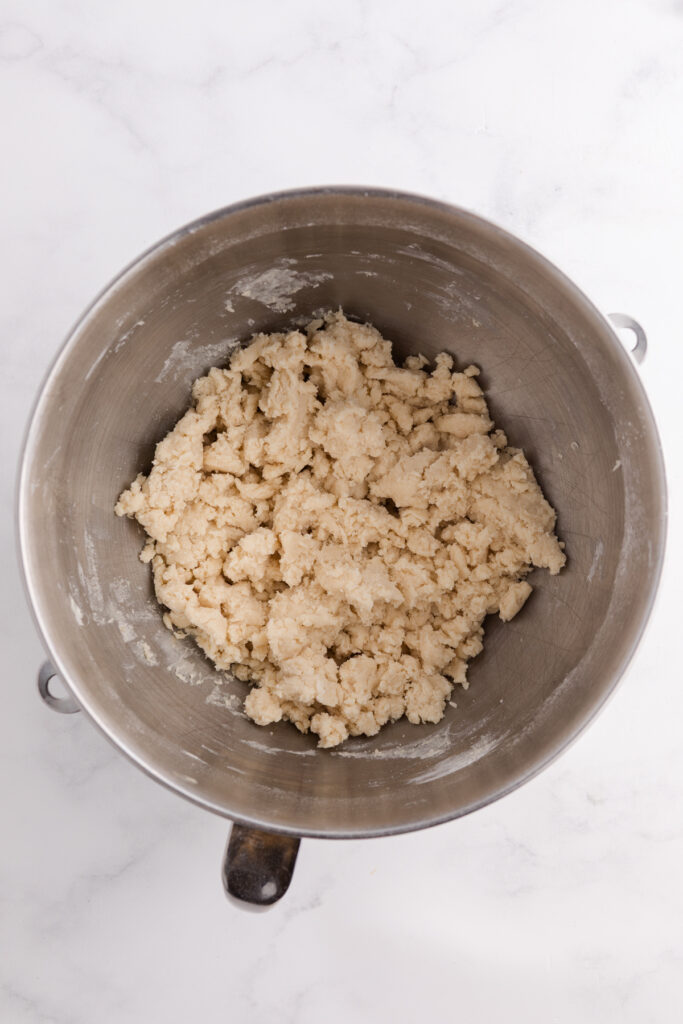
- Mix the Dough: Combine butter, sugar, vanilla (or almond extract), and flour in a stand mixer. The dough will look crumbly but should hold together when pressed.
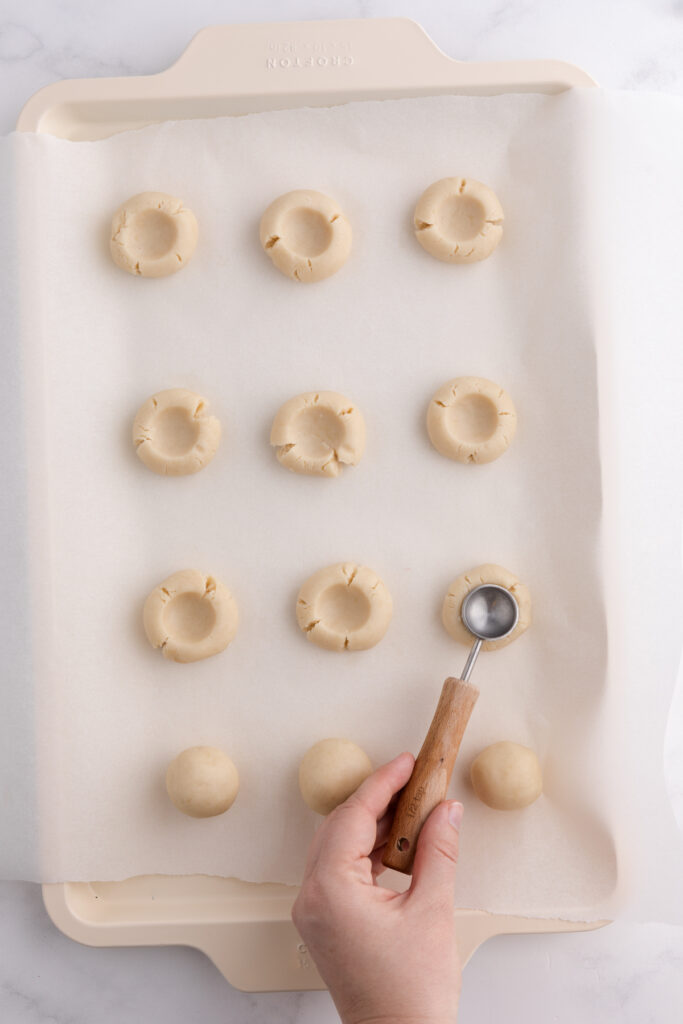
- Shape and Fill: Roll dough into 1-1.5 inch balls, press an indent in the center using your thumb or a measuring spoon, and fill with jam.
- Bake for 12-14 minutes or until the edges are lightly golden.
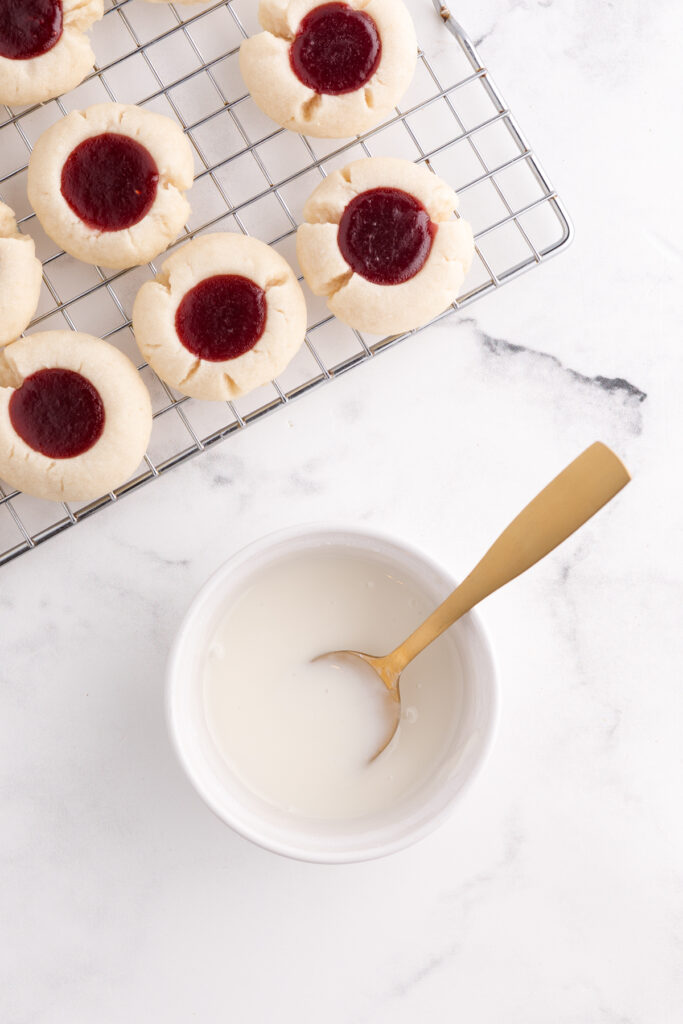
Optional: Drizzle with a glaze once cooled for extra sweetness.
These cookies are as simple as they are delicious—perfect for holidays, gifting, or satisfying your sweet tooth!
Storage and Freezing Instructions
Storing:
Keep your Thumbprint Cookies fresh by storing them in an airtight container at room temperature. They’ll stay soft and delicious for up to 5 days—if they last that long! If you live in a warmer climate, consider refrigerating them to keep the jam center from getting too sticky.
Freezing Baked Cookies:
Let the raspberry thumbprint cookies cool completely before placing them in a single layer on a baking sheet. Freeze until firm (about 1-2 hours), then transfer to a freezer-safe container or bag. They’ll stay fresh in the freezer for up to 3 months. When ready to enjoy, let them thaw at room temperature for about 15 minutes.
Freezing Unbaked Dough:
Want to bake fresh cookies on demand? Shape the dough into balls and make the indentations, but don’t add the jam yet. Freeze the dough balls on a baking sheet until solid, then transfer to a freezer-safe bag or container. When ready to bake, add jam to the frozen dough (no need to thaw!) and bake as directed, adding an extra 1-2 minutes to the bake time.
With these tips, you can enjoy Raspberry Thumbprint Cookies whenever the craving strikes!
Recipe FAQs
If the dough isn’t holding together when pressed, add 1-2 teaspoons of milk or water to help it come together. Be careful not to add too much!
Absolutely! Any flavor of jam or preserves works. Strawberry, apricot, or blackberry are great options. Just avoid ones with too many large fruit chunks.
Don’t overfill the indents—about 1/2 teaspoon of jam is perfect. Also, make sure the indents are deep enough to hold the jam securely.
Your butter might have been too soft, or the dough too warm. Chill the shaped dough balls for 10-15 minutes before baking to help them hold their shape.
Yes! This recipe scales up easily, so feel free to double or triple it for a crowd. Just make sure your mixer can handle the extra dough.
Want to save this recipe?
Enter your email below & we’ll send it to your inbox. Plus get great new recipes from us every week!

Raspberry Thumbprint Cookies
Ingredients
- 1 cup butter
- 3/4 cup powdered sugar
- 1/2 teaspoon vanilla
- 2 cups flour
- 1/2 cup seedless raspberry jam
Optional Glaze
- 1/2 cup powdered sugar
- 1 teaspoon milk
- 1/4 teaspoon vanilla
Instructions
- Preheat your oven to 325°F. Line two baking sheets with parchment paper and set them aside. Using lightly colored baking sheets helps ensure even baking and prevents the bottoms from over-browning.
- In the bowl of a stand mixer fitted with the paddle attachment, combine the butter, powdered sugar, vanilla (or almond extract), and flour. Start the mixer on low speed and blend until the dough looks crumbly. It might not look like traditional dough, but when pressed together in your hand, it should hold its shape.
- Scoop the dough into 1-1.5 inch portions and roll each into a ball. Place them on the prepared baking sheets, spacing them about 2 inches apart.
- Use your thumb or the back of a 1/2 teaspoon measuring spoon to create a small indent in the center of each ball. Fill the indent with about 1/2 teaspoon of raspberry jam, being careful not to overfill to avoid spillage during baking.
- Bake in the preheated oven for 12-14 minutes or until the edges of the cookies are lightly golden. Remove from the oven and allow the cookies to cool on the baking sheets for 5 minutes before transferring them to a wire rack to cool completely.
Optional Glaze
- Whisk the ingredients for the glaze and drizzle over the top of cooled cookies.
Nutrition
The nutrition facts provided are calculated using a third-party tool and are estimates only. Actual nutritional content may vary based on the ingredients and brands you use, as well as portion sizes. For accurate results, please consult a registered dietitian or nutritionist.