
Peanut Butter Blossoms
This post may contain affiliate links.
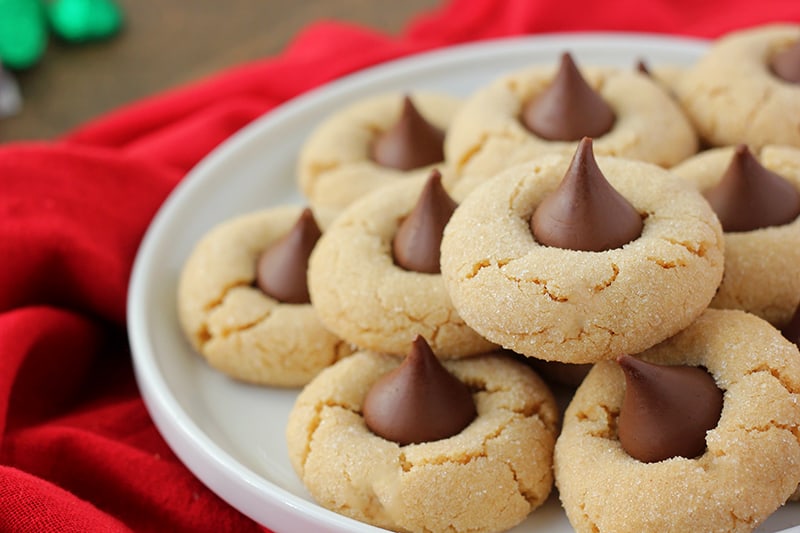
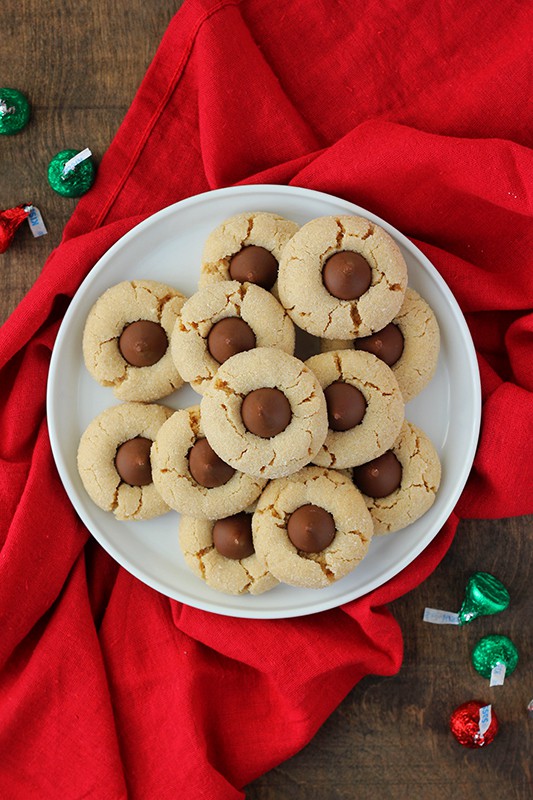
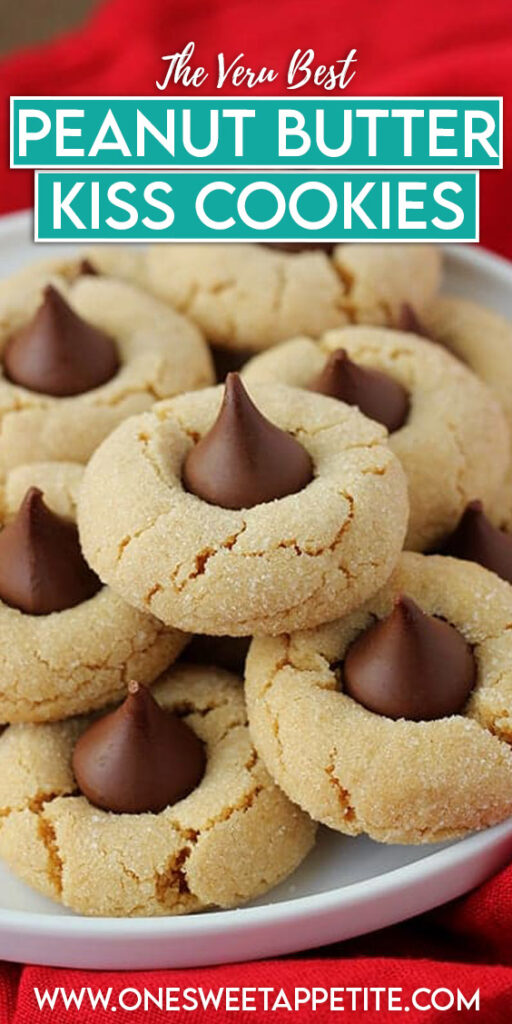
These Peanut Butter Kiss Cookies are a holiday favorite and proof that chocolate and peanut butter were made for each other! Hershey kiss candies are pressed into a thick and warm cookie giving you the perfect blossom!
This post was originally published December 5, 2013. It has since been updated to include fresh photos and helpful tips.
Recipe Features
- Freezer Friendly: You can freeze this recipe two different ways, which makes it incredibly handy for the holiday season.
- Simple Recipe: This is considered a beginner cookie recipe. Practically no-fail producing light and fluffy cookies every single time.
- Perfect Flavor: The balance of peanut butter and chocolate is perfect.
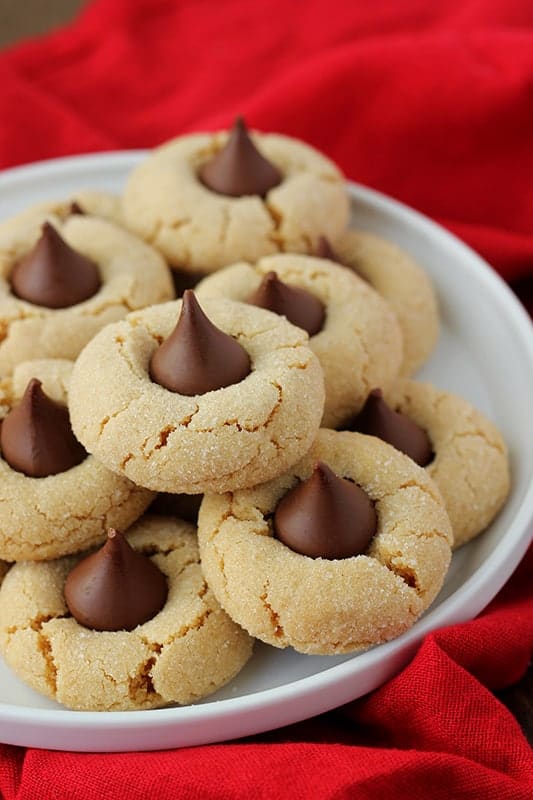
These peanut butter blossom cookies are a holiday staple in our home! They’re made every year and always the first to disappear from the cookie tray. The soft peanut butter cookie topped with a gooey Hershey’s kiss is simply irresistible.
I don’t know how these were deemed a holiday cookie, but I look forward to these all year. Peanut butter isn’t my typical go-to when I think of cookie recipes, but there is something about this one that I cannot help but love. The cookie itself is soft, fluffy, and not too sweet. Pair that with the classic milk chocolate candy kisses and it is a match made in heaven.
Easy Peanut Butter Blossoms Ingredients:
When it comes to the cookie ingredients, the list follows a classic peanut butter cookie closely. Here is what you will need:
- Butter or shortening: I’ve made this recipe with both, each producing delicious results. The biggest difference you will get is in the puff of the cookie. Butter will produce a slightly flatter result while shortening helps keep the soft fluffy shape.
- Peanut butter: Creamy peanut butter is king. While I love crunchy on a PB&J, creamy produces a soft flavor packed cookie that will not disappoint. We’re big fans of Jif.
- Sugar: Ready for a my secret? I split the sugar between white and brown. The combination of the two gives you the perfect sweetness with the added bonus of molasses flavor, which takes these cookies from good to great.
- Vanilla extract: Vanilla helps to balance the flavors of the peanut butter with the sugars and chocolate. Opt for pure vanilla extract if you can.
- Egg: Eggs add structure to the cookie. They help hold everything together while adding to the leavening of the overall dough.
- Milk: Use 2% milk or higher for this cookie dough.
- All-purpose flour: I have only made these cookies with white, or all-purpose, flour.
- Leavening Agents: These are baking soda and baking powder. If you haven’t recently, be sure to check the expiration dates of both. You need to replace them about 1 year after they have been opened for optimal freshness.
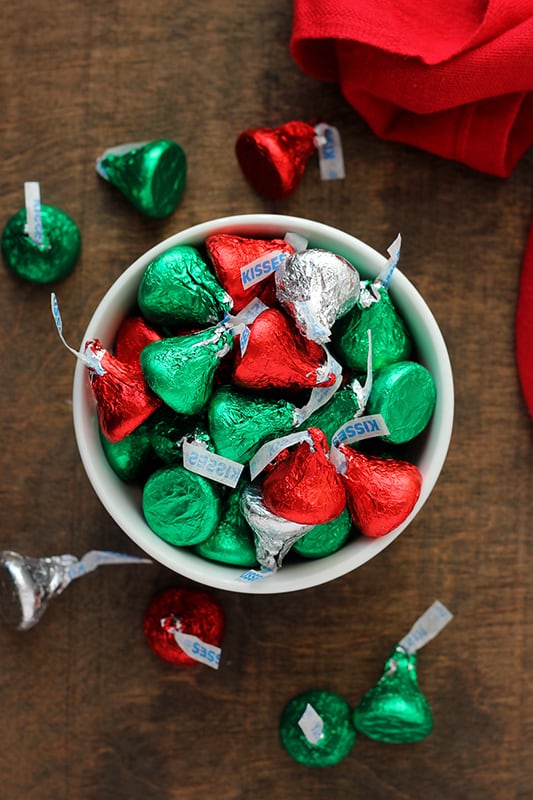
- Chocolate kiss cookies: The perfect finishing touch. One chocolate per cookie, with the wrapper removed.
Should I Use Butter Or Shortening In My Cookies?
When making cookies I will typically stick with butter. I like the flavor it gives and do not keep shortening on hand. However, in recipes like this one where the shape is super important (you want a puffy cookie), I stick with shortening. Why?
Glad you asked.
Butter melts at a lower temperature than shortening, which means your cookies will flatten more than ideal. Having a puffy cookie is preferred so you can have a good base to press the candy into.
How To Make The Best Peanut Butter Blossoms Cookies
- PREP: Preheat the oven to 350 degrees. Line two cookie trays with either parchment paper or silicone baking mats. Set aside for later use.
- CREAM: Combine the butter, peanut butter, and both sugars into the bowl of a stand mixer that is fitted with the paddle attachment. Beat on medium speed for 2 minutes, or until light and creamy. Scrape the sides of the bowl.
- MIX: Add the egg, milk and vanilla. Stir for one more minute and then add the flour, baking powder, and baking soda. Stir for 1 minute, or until the dough forms.
- SHAPE: Scoop 2 tablespoons of dough, I like to use a cookie scoop, and roll into a circle. Roll each dough ball into the remaining 1/4 cup of sugar and place on the prepared baking sheet, about 2 inches apart.
- BAKE: Bake the cookies for 10 to 12 minutes, or until the edges begin to pull from the pan and the cookie is just lightly browned at the edges.
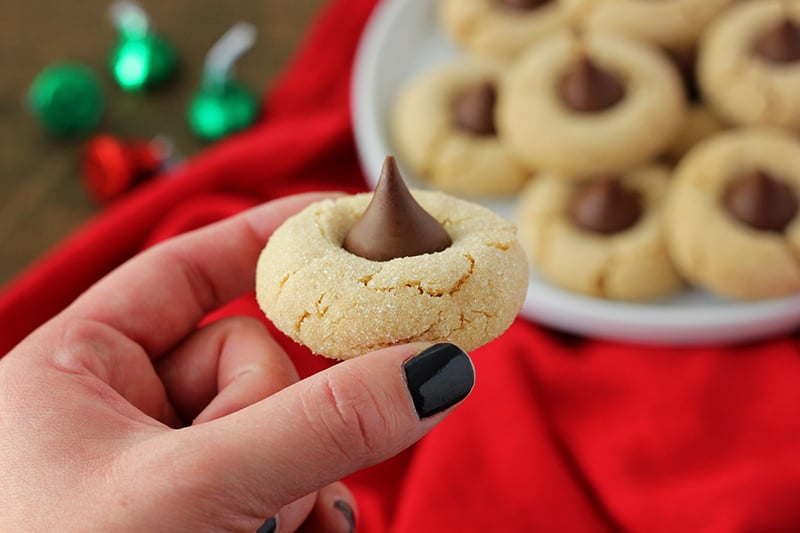
- PRESS: Immediately press one chocolate candy into the center of each cookie, while they are fresh from the oven. Remove from the pan to a wire rack and allow to cool.
Helpful Tools
- Cookie Scoop: A quality cookie scoop (affiliate) is an amazing addition to your baking supplies. Each cookie comes out the same size every single time.
- Baking Trays: I am a big fan of my Nordic Ware pans (affiliate). I have both the half sheet and full pan sizes and they are amazingly easy to clean.
- Silicone Baking Mats: Parchment paper is king in my kitchen, but only when both of my silicone baking mats (affiliate) are dirty. They are SO great for so many things and worth the $13 for a set of 3.
Recipe Notes:
When making cookies I will typically stick with butter. I like the flavor it gives and do not keep shortening on hand. However, in recipes like this one where the shape is super important (you want a puffy cookie), I stick with shortening. Why?
Butter melts at a lower temperature than shortening, which means your cookies will flatten more than ideal. Having a puffy cookie is preferred so you can have a good base to press the candy into.
We have found that peanut butter blossoms last around 3-4 days when stored properly. After that they start to harden and the flavor will be less than ideal.
Yes, but you want to freeze the dough vs the cooked cookies. I have a great tutorial on how to freeze cookie dough with some great tips, but here is a quick breakdown:
Scoop and shape your cookie dough into rounds.
Place close together on a parchment lined baking tray.
Freeze for 1 hour.
Remove and store in a freezer safe bag or air tight container. Be sure to label and date.
Love cookies around the holidays? Be sure to try some of these other holiday favorites! Gingerbread Cookies, Chocolate Crinkle Cookies, Wreath Cookies, and Chocolate Peanut Butter Buckeyes.
Want to save this recipe?
Enter your email below & we’ll send it to your inbox. Plus get great new recipes from us every week!

Peanut Butter Kiss Cookies
Ingredients
For the Cookies
- 1/2 cup butter (or shortening)
- 1/2 cup peanut butter (creamy not chunky)
- 1/2 cup granulated sugar
- 1/2 cup brown sugar
- 1 large egg
- 2 tablespoons milk
- 1 teaspoon vanilla extract
- 1¾ cup all-purpose flour
- 1 teaspoon baking powder
- 1/8 teaspoon baking soda
For the Topping
- 1/4 cup granulated sugar
- 24 Kiss Chocolate candies
Instructions
- Preheat the oven to 350 degrees. Line two cookie trays with either parchment paper or silicone baking mats. Set aside for later use.
- Combine the butter, peanut butter, and both sugars into the bowl of a stand mixer that is fitted with the paddle attachment. Beat on medium speed for 2 minutes, or until light and creamy. Scrape the sides of the bowl.
- Add the egg, milk and vanilla. Stir for one more minute and then add the flour, baking powder, and baking soda. Stir for 1 minute, or until the dough forms.
- Scoop 2 tablespoons of dough, I like to use a cookie scoop, and roll into a circle. Roll each dough ball into the remaining 1/4 cup of sugar and place on the prepared baking sheet, about 2 inches apart.
- Bake the cookies for 10 to 12 minutes, or until the edges begin to pull from the pan and the cookie is just lightly browned at the edges.
- Immediately press one chocolate candy into the center of each cookie, while they are fresh from the oven. Remove from the pan to a wire rack and allow to cool.
Notes
Nutrition
The nutrition facts provided are calculated using a third-party tool and are estimates only. Actual nutritional content may vary based on the ingredients and brands you use, as well as portion sizes. For accurate results, please consult a registered dietitian or nutritionist.


These look yummy! How many does this recipe make?
24 cookies
I LOVE these! They are definitely one of my all time favorite cookies! 🙂
These are still one of my all time favorite kinds of cookies. But now I always use the hugs. I should make some this weekend
I love these kinds of cookies, but who am I kidding? I love anything peanut butter and chocolate!!! YUM!