
Cranberry Pie
This post may contain affiliate links.
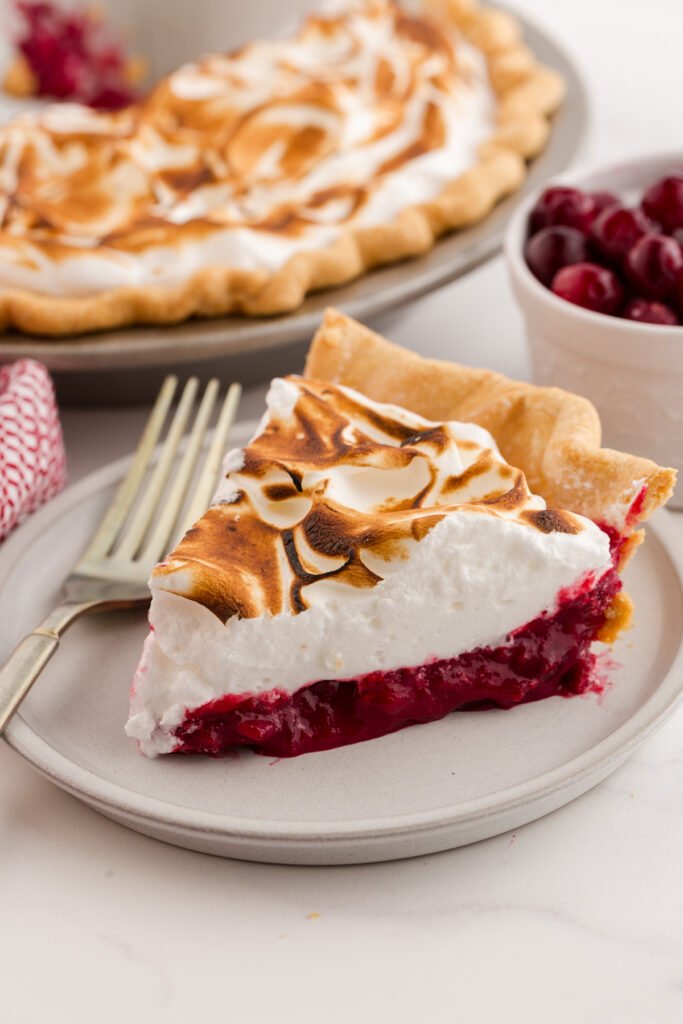
This cranberry pie recipe takes everything you love about classic holiday desserts and gives it a bright, tart twist. It’s the kind of pie that looks bakery-perfect without requiring fancy skills, and it’s absolutely made for Thanksgiving and Christmas dessert tables.
Cranberry is such a classic holiday flavor! Try adding in more delicious recipes onto your menu with my Cranberry Bliss Bars, Cranberry Champagne Cocktail, and Cranberry Vinaigrette.
Here’s Why It Works
- Festive Flavor: The perfect balance of sweet and tart flavor makes this the ultimate holiday pie. If you love cranberry sauce, this will be your new favorite dessert.
- Simple, Classic Technique: There’s no top crust, no lattice top to fuss over, just pure, glossy cranberry goodness.
- Make-Ahead Friendly: The flavor actually deepens the next day. Store it in the fridge overnight and serve it chilled for that perfect slice.
- Cozy, Unexpected: It’s different from pumpkin or pecan, but still delivers all those comforting holiday flavors everyone craves.
I’ve made a lot of pies over the years, but this one surprised me. The first time I tested it, I wasn’t expecting the filling to taste this fresh . It’s tart but balanced with just enough sweetness and that hint of orange that makes every bite pop. The texture reminds me of a cross between curd and jam, thick enough to slice but soft enough to melt into the crust. It’s a little showy, but in the best way. Every time I set it on the table, someone asks for the recipe before dessert’s even over.
What I love most is that it’s practical, too. You can prep it a day ahead and keep it in the fridge until you’re ready to serve, which makes it perfect for busy Thanksgiving mornings. The flavors only get better as it chills, and that bright, ruby color looks stunning next to pumpkin or pecan pie. It’s become my go-to when I want something that feels classic but a little unexpected. A pie that brings something new to the table without adding stress to the baking lineup.
Before You Start Baking
Pull out your pie plate, a large bowl, and get ready to fill your kitchen with holiday magic.
For the pie filling:
- Fresh cranberries: Bright, tart, and loaded with natural pectin for that perfect set. This is the base to your filling ingredients.
- White sugar: Balances the tartness and creates that glossy jam-like texture.
- Orange juice or orange zest: Add brightness and a subtle citrus note that rounds out the tart flavors.
- Egg yolks: Help thicken the filling and give it a smooth, custard-like consistency.
- Butter: Stirred in at the end for richness and shine.
- All-purpose flour: Used in the crust or for light dusting to keep your dough from sticking.
For the crust:
- Enough pie dough to fit your pie plate (store-bought or homemade pie crust. Both work great).
Optional toppings:
- Toasted pecans for crunch.
- A dollop of whipped cream or a scoop of vanilla ice cream when serving.


Jesseca’s Recipe Review
This cranberry pie has earned a permanent spot at my Thanksgiving table. It’s simple, striking, and offers just the right tartness to balance all those rich holiday dishes. I love how the filling stays vibrant even the next day, and the orange zest gives every bite a subtle brightness.
Tip from Jesseca:
If you want to impress, brush the crust edges with a little melted butter and sugar before baking for extra sparkle and make this one of the most remembered pie recipes.

Variations and Substitutions
- Add crunch: Sprinkle chopped pecans over the filling before baking.
- Crust swaps: Try a gingersnap or graham cracker crust for a cozy flavor twist.
- Make it meringue-topped: If you loved the original cranberry meringue pie, whip up a quick topping and bake until golden.
- Shortcut version: Use cranberry sauce instead of homemade filling. Stir in a splash of orange juice and a pinch of ginger and cinnamon to brighten it up.
- Dairy-free option: Swap butter for coconut oil.

Cranberry Pie Recipe
You’ll cook down a quick filling, thicken it with a silky egg mixture, and top it with a fluffy meringue before giving it a golden finish under the broiler. Here’s the basic flow:
- Cook the filling: Simmer the fresh cranberries, sugar, and orange liqueur over medium heat until soft and jammy.
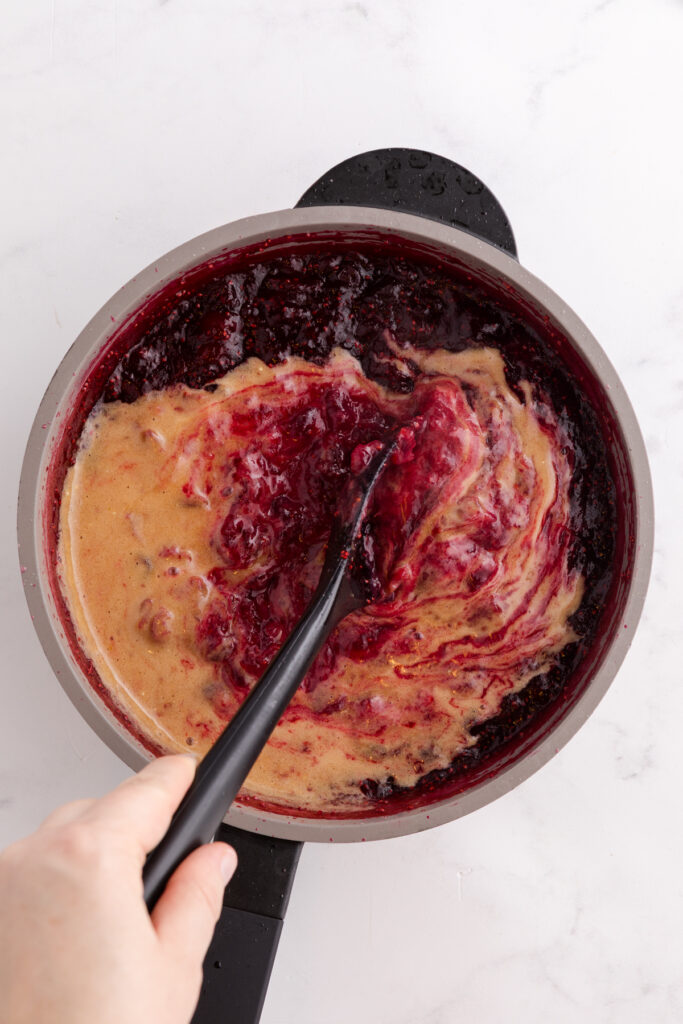
- Thicken: Whisk egg yolks with cornstarch and temper them with a little hot cranberry mixture, then add back to the pan. Cook until thickened and pudding-like consistency.
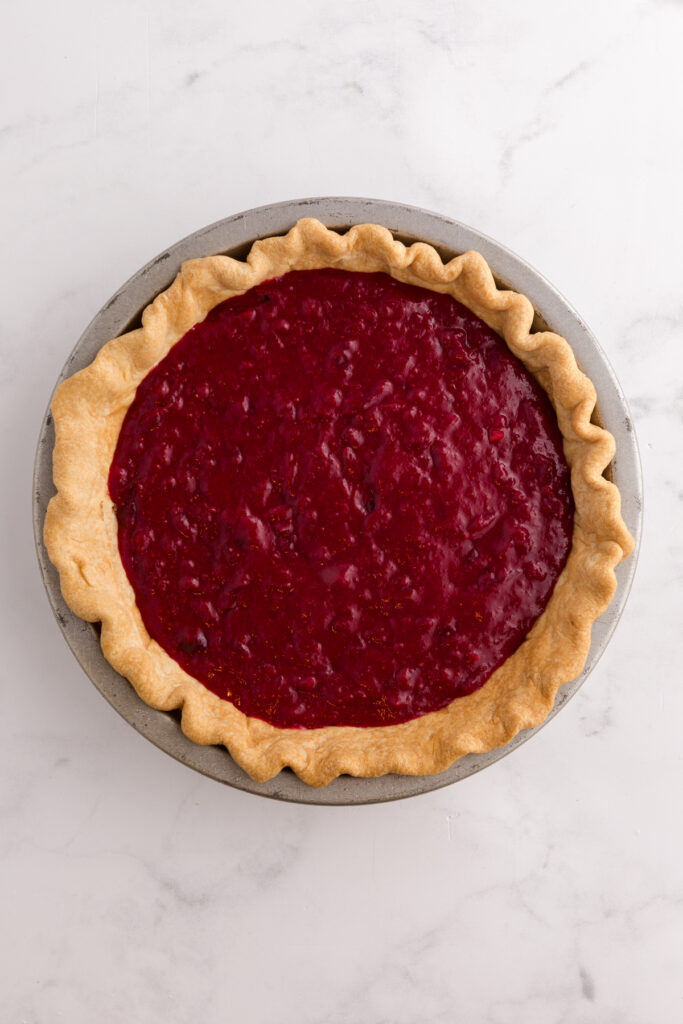
- Finish the filling: Stir in vanilla and butter, then pour into a baked pie crust.
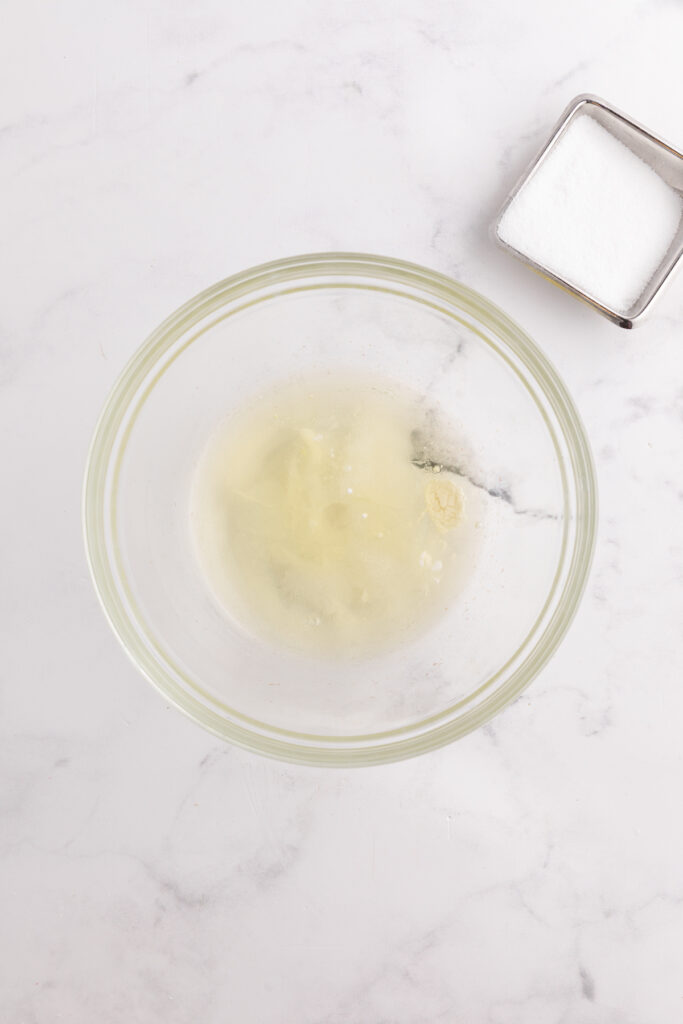
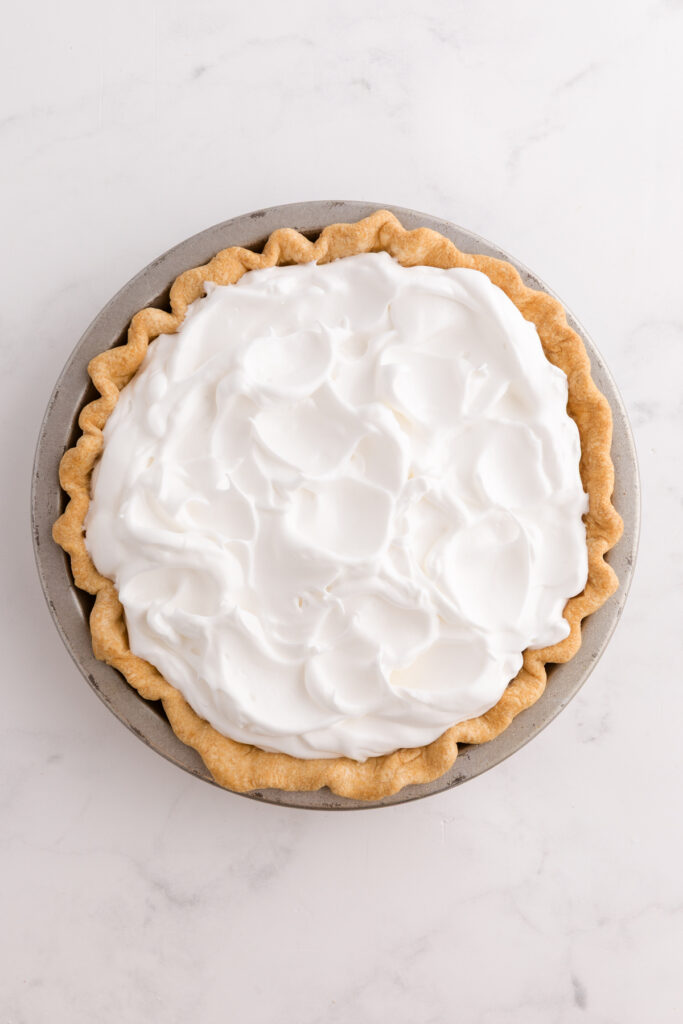
- Make the meringue: Whip egg whites with cream of tartar and sugar until glossy peaks form.
- Assemble: Spread meringue over the top of the pie and broil until beautifully golden.
That’s it! Bright cranberry and cloud-like meringue in just a handful of steps.

Recipe FAQs
Yes! Frozen cranberries work just as well. No need to thaw. Just add a couple of extra minutes of cook time since they release more liquid.
Fresh orange juice or a splash of orange extract makes a great substitute. You can also leave it out entirely if you prefer an alcohol-free version.
Meringue can release liquid if it’s undercooked or if sugar wasn’t fully dissolved. To prevent this, add sugar gradually while beating egg whites and be sure the meringue is sealed to the crust before broiling.
Yes, you’ll want a pre-baked crust to keep it from getting soggy. If using homemade, bake at 375°F for 10–12 minutes with pie weights or dried beans before adding the filling.
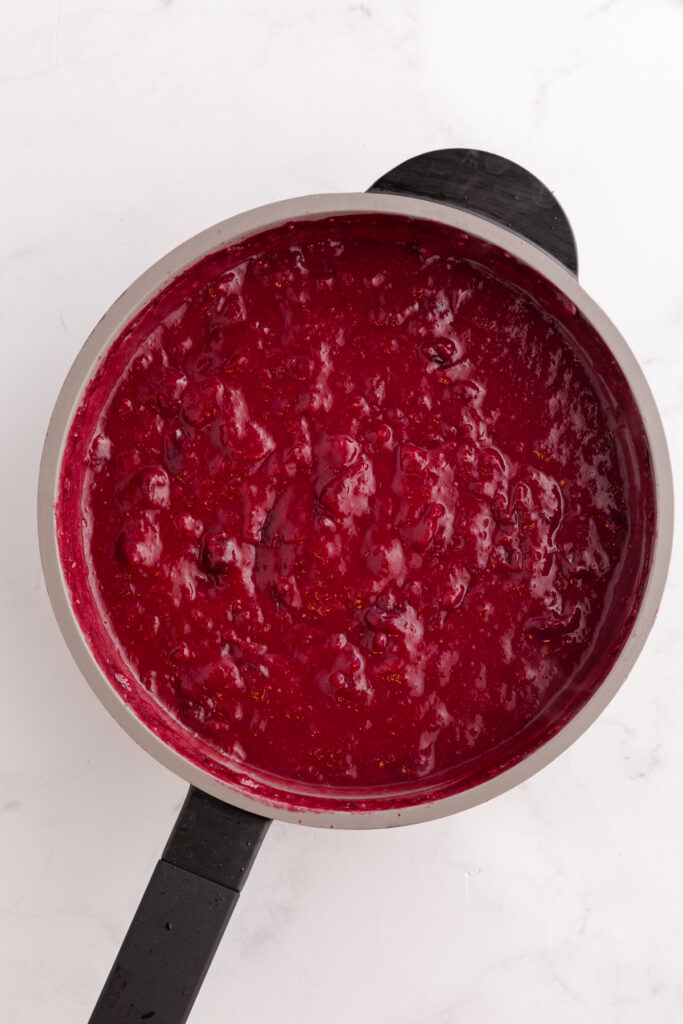
The cranberry mixture should coat the back of a spoon and hold its shape when stirred. It will continue to firm as it cools, so don’t worry if it looks a little loose in the pan.

Storage and Make-Ahead Instructions
This pie is at its best the day it’s made, but you can absolutely plan ahead. This pie will not fair well in the freezer.
- Make ahead: The filling can be prepared up to 2 days in advance. Store it in an airtight container in the refrigerator, then reheat gently and assemble the pie when you’re ready to bake. For the full pie, you can also assemble it a day ahead. Cover and refrigerate until serving.
- Storage: Once baked, cover the pie loosely with foil or plastic wrap and refrigerate. It will keep for about 2–3 days. The meringue may soften slightly over time, but the flavor stays bright and fresh.
- Serving tip: For the cleanest slices, let the pie chill for at least 2 hours before cutting. A hot knife wiped clean between slices helps keep the layers neat.

Want to save this recipe?
Enter your email below & we’ll send it to your inbox. Plus get great new recipes from us every week!

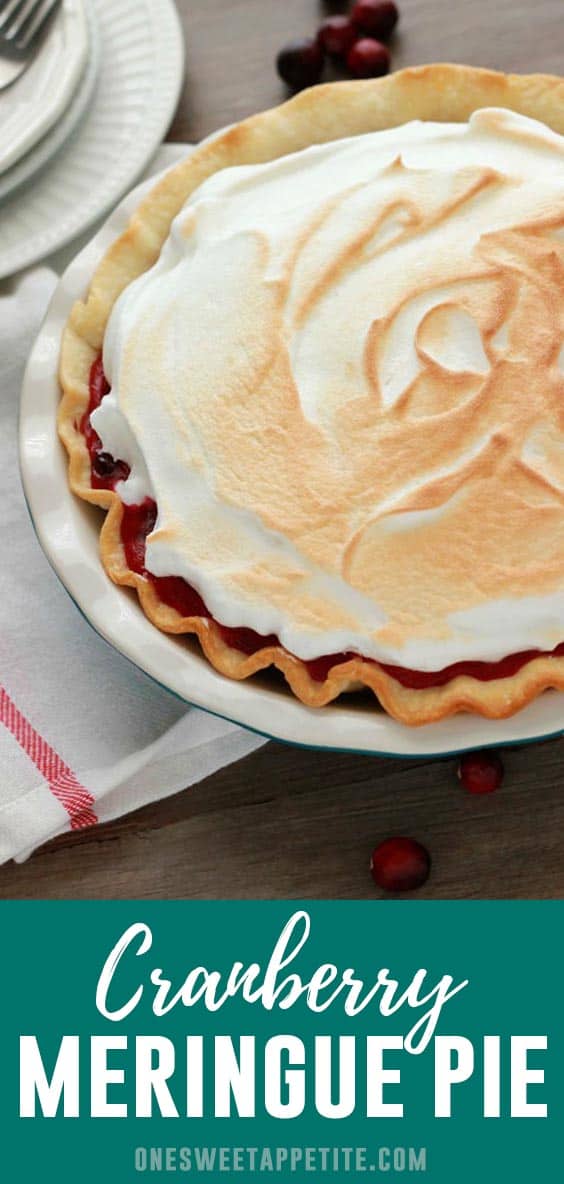
Cranberry Meringue Pie
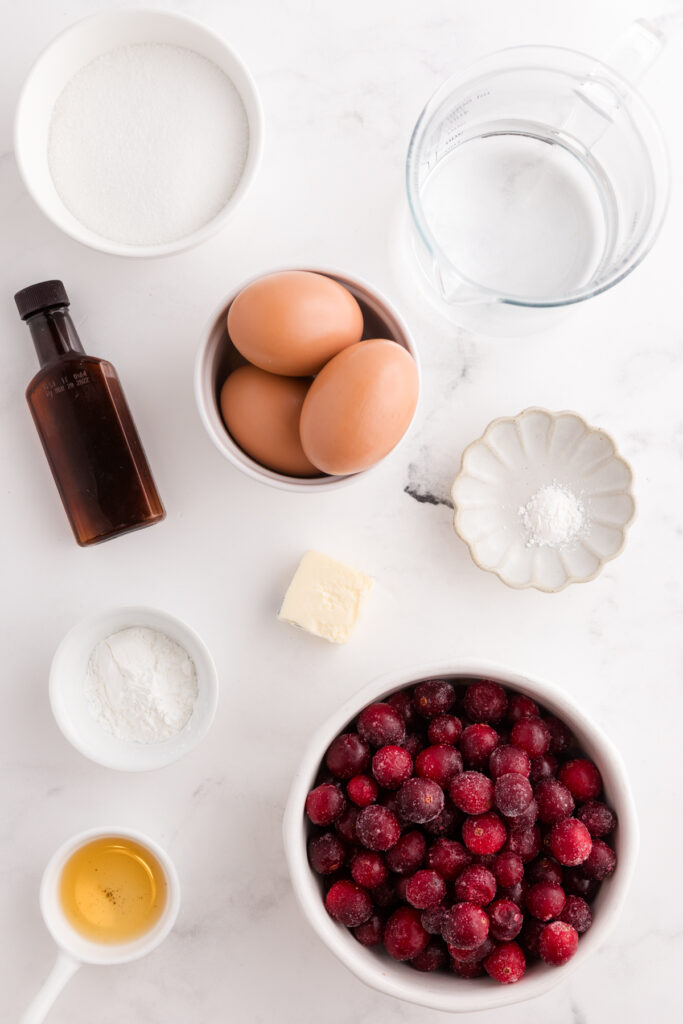
Ingredients
- 1¼ cup sugar (divided)
- 1 cup water
- 4 cups fresh cranberries (washed and dried)
- 1 tablespoon orange juice (or orange liquor )
- 3 large eggs (divided)
- 1 tablespoon cornstarch
- 1/4 teaspoon salt
- 1 teaspoon vanilla extract
- 1 tablespoon butter
- 1/4 teaspoon cream of tartar
- 9 ” pie crust (baked)
Instructions
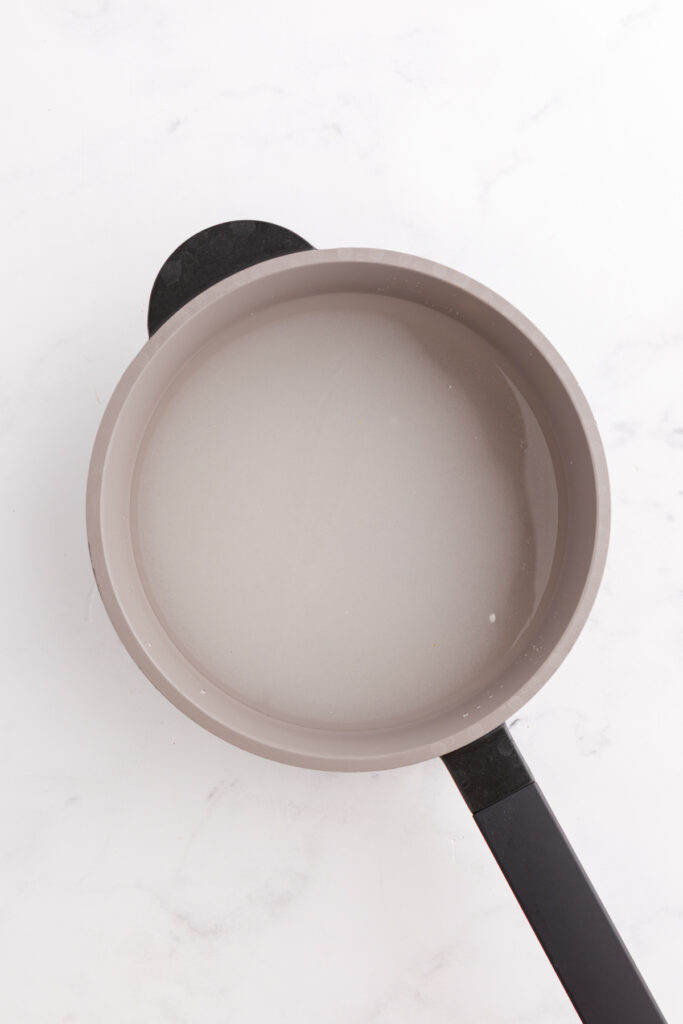
- In a heavy-bottom saucepan, combine the water and 1 cup sugar. Cook over high heat until the sugar has fully dissolved.
- Stir in the cranberries and orange liqueur. Reduce the heat to medium and cook for about 10 minutes, stirring occasionally, until the berries burst and the mixture thickens slightly.
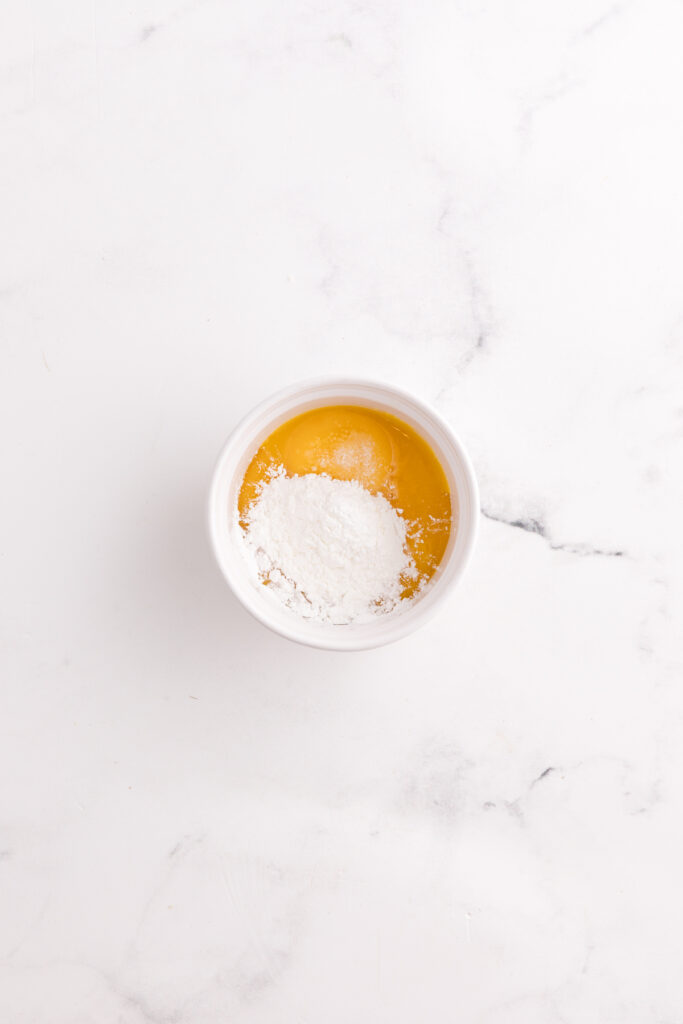
- In a small bowl, whisk together the egg yolks, cornstarch, and salt until smooth. Slowly drizzle in a small amount of the hot cranberry mixture while whisking constantly. This prevents the yolks from scrambling.
- Pour the tempered yolk mixture back into the saucepan with the cranberries. Simmer for about 5 minutes, stirring often, until the filling thickens and coats the back of a spoon. It should look glossy and feel a bit like warm jam.
- Remove from heat, then stir in the vanilla extract and butter until completely smooth.
- Pour the filling into your prepared, baked pie crust and let it sit at room temperature for 30 minutes, then transfer it to the refrigerator to chill. This step is key. The cranberry filling continues to thicken as it cools, giving you those perfect clean slices later.
- In a clean mixing bowl, whisk the egg whites (not yolks) and cream of tartar until foamy.
- Gradually add the remaining sugar, beating continuously until stiff, glossy peaks form. Spread the meringue evenly over the cooled filling, making sure it touches the crust to seal.
- Broil for 1–2 minutes, watching closely, until the meringue is lightly golden.
Equipment
Nutrition
The nutrition facts provided are calculated using a third-party tool and are estimates only. Actual nutritional content may vary based on the ingredients and brands you use, as well as portion sizes. For accurate results, please consult a registered dietitian or nutritionist.


Can you use a graham cracker crust
Absolutely.
Just noting a typo- in your instructions where you describe making the meringue, it says egg yolks instead of egg whites. 🙂