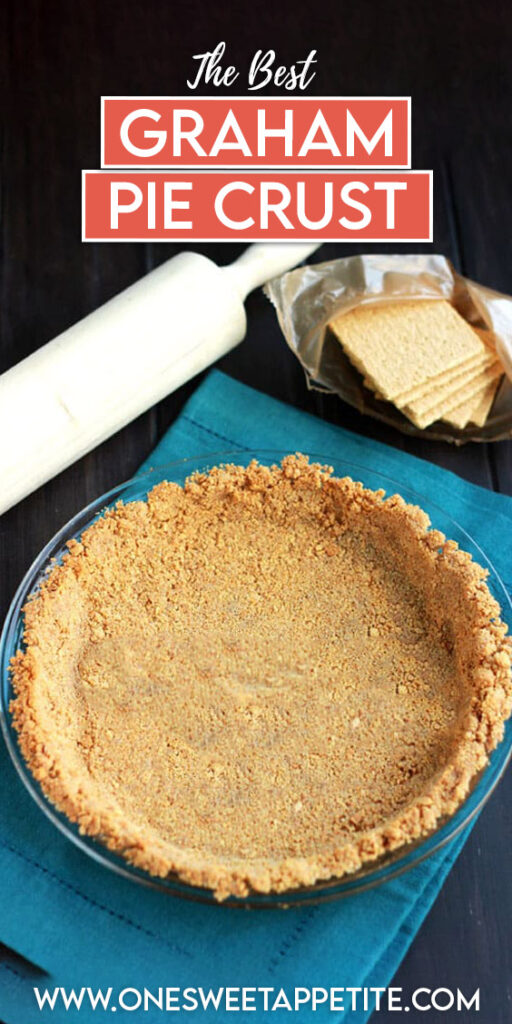
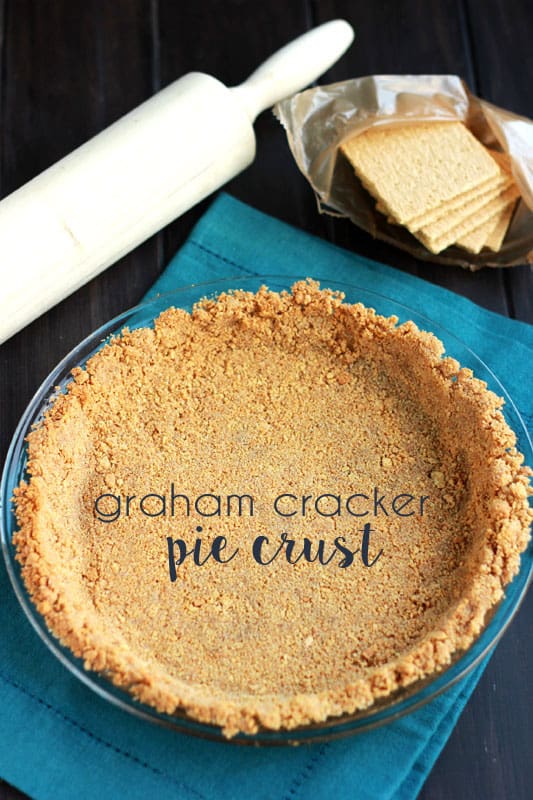
Graham Cracker Pie Crust
This post may contain affiliate links.
This graham cracker crust recipe is the secret weapon every home baker needs. It’s quick, foolproof, and transforms into the buttery, crunchy base that makes cheesecakes, pies, and bars irresistible. This guide will walk you through every step so your desserts start off strong.
Searching for a more classic style? Try my Homemade Pie Crust Recipe. Perfectly baked to buttery perfection. Be sure to check out some of my favorite pies too! Caramel Apple Pie, Banana Cream Pie Bars, Mexican Chocolate Pie
What Makes This Recipe a Win
- No-bake dessert base – Perfect for cheesecakes and cream pies without ever turning on the oven.
- Classic pie crust recipe – A staple that pairs with everything from chocolate pudding pie to key lime.
- Make-ahead pie crust – Can be prepared days in advance or frozen for later use.
- Beginner baking recipe – No special skills needed, just mix, press, and chill or bake.
There’s something timeless about a graham cracker crust recipe. It’s the simple, sweet foundation that makes so many pies and cheesecakes shine. With just a few pantry staples and minutes of prep, you can create a crust that’s buttery, crisp, and dependable every single time.
This is the same recipe my grandma used to make, and it’s one I’ve relied on for years in my own kitchen. It’s proven, trusted, and versatile enough to work for everything from holiday cheesecakes to quick no-bake pies. Once you try it, you’ll never go back to store-bought.
Before You Start Baking
A great homemade graham crust starts with simple pantry staples. Each one plays an important role in building that signature sweet, buttery crunch. Here’s what you’ll need and how to make them work their best:
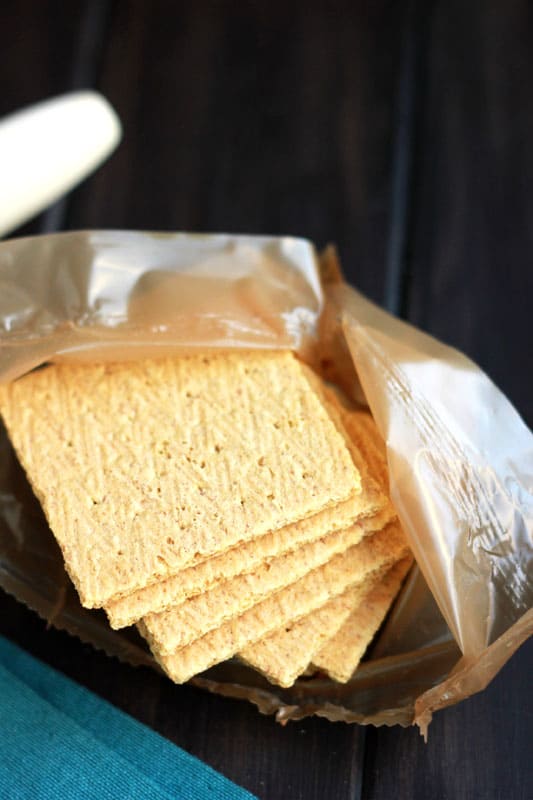
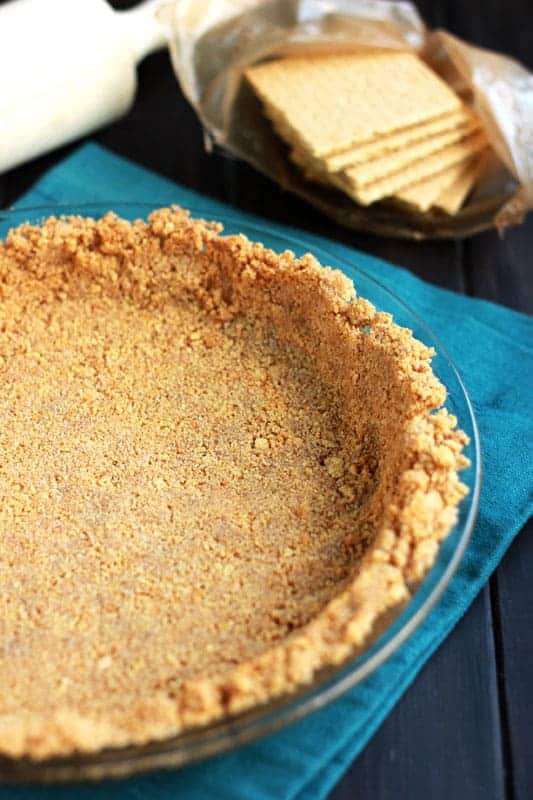
- Graham crackers – Crush them into fine crumbs for the best texture. A food processor makes this quick, but a zip-top bag and rolling pin work too.
- Sugar – Just a touch sweetens the crust and helps it set. Granulated sugar works perfectly.
- Cinnamon – Optional, but adds a warm flavor that makes the crust taste homemade and a little more special.
- Butter – Melted butter is the glue that holds everything together. Unsalted gives you more control, but salted works if that’s what you have.
That’s it. Four simple ingredients that come together in minutes. Once you’ve got them mixed and pressed into your pan, you’ll have the perfect base for almost any dessert.

Jesseca’s Recipe Review
This graham cracker crust recipe is one I reach for over and over because it never fails. It’s buttery, crisp, and tastes like the perfect starting point for just about any dessert. From cheesecakes to cream pies. Simple, reliable, and always a crowd-pleaser.
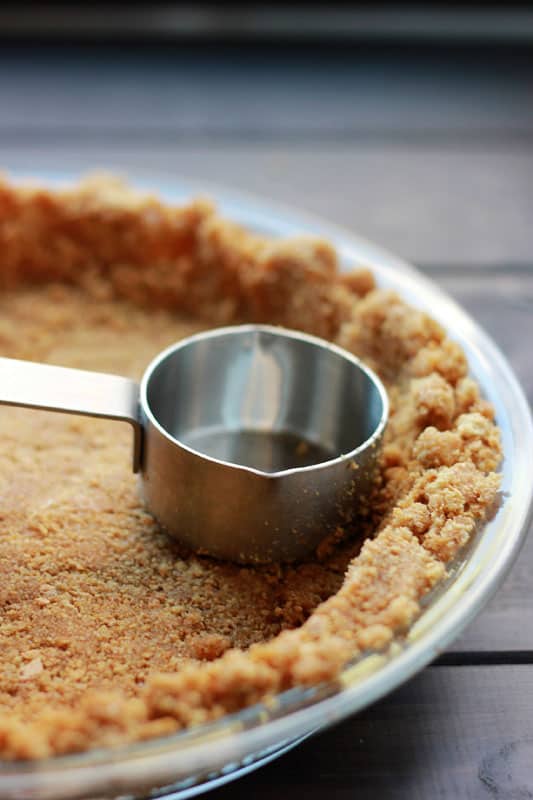
Tip from Jesseca:
Use the bottom of a flat measuring cup to press the crumbs firmly and evenly into the pan. This gives you a tighter, sturdier crust that holds up beautifully once sliced.
Variations and Substitutions
One of the best things about a graham cracker crust is how easy it is to customize. A few swaps can completely change the flavor and vibe of your dessert:
- Cookie swap – Replace graham crackers with crushed Oreos, gingersnaps, vanilla wafers, or Biscoff cookies for a whole new flavor profile.
- Sugar options – Brown sugar adds a deeper, caramel-like sweetness. Coconut sugar works too if you want a less refined option.
- Spice it up – Skip the cinnamon or swap it for nutmeg, pumpkin spice, or even a pinch of cardamom to match the season or filling.
- Butter substitute – Dairy-free butter or coconut oil can be used if you need a non-dairy version. Just note coconut oil will add a light coconut flavor.
No matter how you mix it up, the basic formula stays the same: crumbs, sugar, spice, and fat. Stick to those ratios, and your crust will hold together beautifully every time.
Homemade Graham Cracker Crust Recipe
Making crust is quick and beginner-friendly. With just a handful of ingredients and a few simple steps, you’ll have a sturdy, flavorful base ready for any dessert.
- Mix dry ingredients – Combine graham cracker crumbs, sugar, and cinnamon in a bowl.
- Add butter – Stir in melted butter until the mixture looks like damp sand.
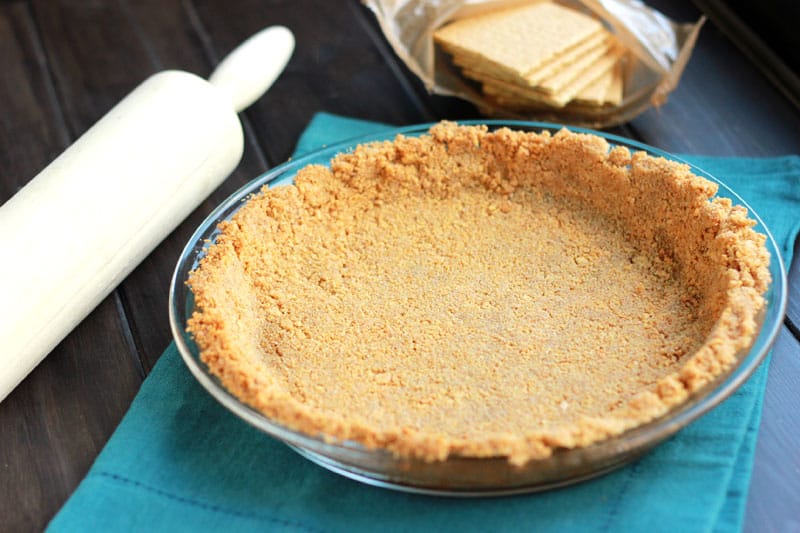
- Press into pan – Firmly press into a 9-inch pie pan using the back of a spoon or measuring cup.
- Chill or bake – Refrigerate for no-bake desserts, or pre-bake for baked recipes.
That’s it! A perfect crust that works for cheesecakes, cream pies, and more.
Helpful Tools
- Food Processor: Using a food processor (affiliate) or blender (affiliate) is so incredibly helpful to crumble the graham crackers into the perfect crumb. You can also use a zip top bag and a rolling pin (affiliate) to pound into fine crumbs.
- Pie Dish: This recipe is used with a 9″ pie dish (affiliate) but can also be sued with 9-10″ springform pans (affiliate). Which can come in handy if you are using this graham cracker crust recipe for cheesecake.
- Measuring Cups: Not only do you use these to measure the ingredients, but a dry measuring cup set (affiliate) is super handy to press the crust firmly into the pan.
Recipe FAQs
This usually means it wasn’t packed firmly enough or it needs more butter. Use the bottom of a measuring cup to really press the crumbs down, and double-check that all crumbs are evenly moistened.
Not always. For no-bake pies and cheesecakes, chilling the crust for at least 2 hours is enough to set it. For baked pies, a short pre-bake helps prevent sogginess once the filling is added.
You can substitute with Oreos, gingersnaps, Biscoff cookies, or vanilla wafers. Just follow the same ratios of crumbs, sugar, and butter.
Lightly grease the pan or line the bottom with parchment paper if you want to lift slices out cleanly.
Storage and Make-Ahead Instructions
One of the best parts about this graham cracker crust is that it can be made ahead of time, saving you stress on baking day.
- Make ahead – Prepare the crust up to 2 days in advance. For no-bake pies, cover tightly with plastic wrap and store in the refrigerator until you’re ready to fill. For baked crusts, let them cool completely, then wrap and store at room temperature.
- Refrigerate – If filled, most pies with a graham cracker crust should be refrigerated, especially if the filling is cream- or custard-based.
- Freeze – You can freeze an unbaked or pre-baked crust. Wrap it tightly in plastic wrap and a layer of foil, then store for up to 3 months. Thaw overnight in the refrigerator before adding your filling.
With these options, you can prep your crust when it’s convenient and have it ready to go whenever dessert time comes around.
Want to save this recipe?
Enter your email below & we’ll send it to your inbox. Plus get great new recipes from us every week!
Graham Cracker Crust
Ingredients
- 1 ½ cup graham cracker crumbs
- 1/4 cup granulated sugar
- 1/2 teaspoon cinnamon (optional)
- 6 tablespoons melted butter
Instructions
- In a medium mixing bowl, whisk together the graham cracker crumbs, sugar, and cinnamon until fully combined. This ensures the sweetness and spice are evenly distributed.
- Pour in the melted butter. Using a fork, stir (or “cut in”) the butter until the crumbs are evenly moistened and the mixture resembles wet sand.
- Transfer the crumb mixture into a 9-inch pie pan. Using the back of a large spoon or the bottom of a measuring cup, firmly press the mixture into an even layer across the bottom and up the sides of the pan. Take your time to pack it tightly—this helps the crust hold together when sliced.
- For a no-bake pie or cheesecake, cover and refrigerate the crust for at least 2 hours before filling to let it set.
- For baked pies, preheat the oven to 350°F. Bake the crust for 7–8 minutes, or as directed in your recipe, until lightly golden and fragrant. Allow it to cool before adding the filling.
Notes
Nutrition
The nutrition facts provided are calculated using a third-party tool and are estimates only. Actual nutritional content may vary based on the ingredients and brands you use, as well as portion sizes. For accurate results, please consult a registered dietitian or nutritionist.
More Recipes Using Graham Crackers
- Peanut Butter Bars
- No Churn Strawberry Cheesecake Ice Cream
- Banana Cream Cheesecake
- Easy Cheesecake Bars