
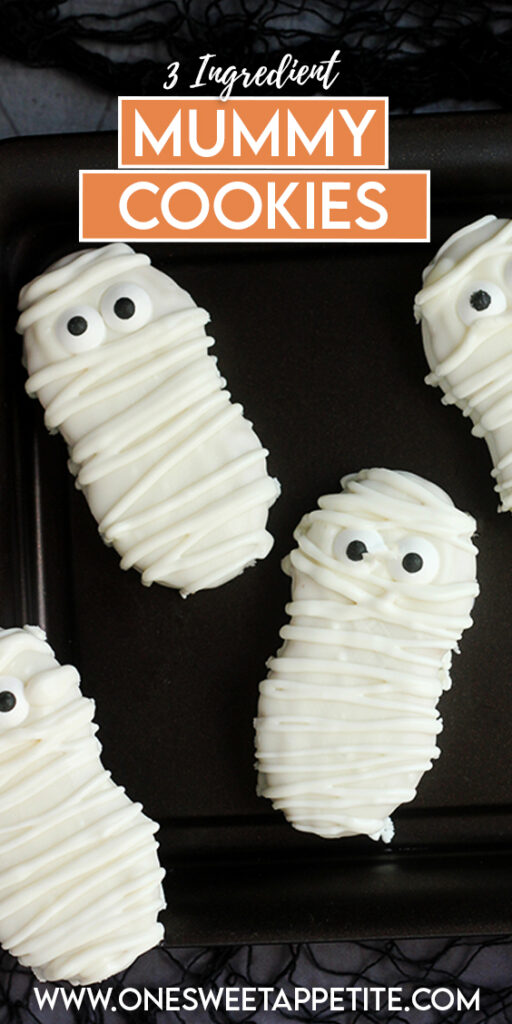
Mummy Cookies
This post may contain affiliate links.
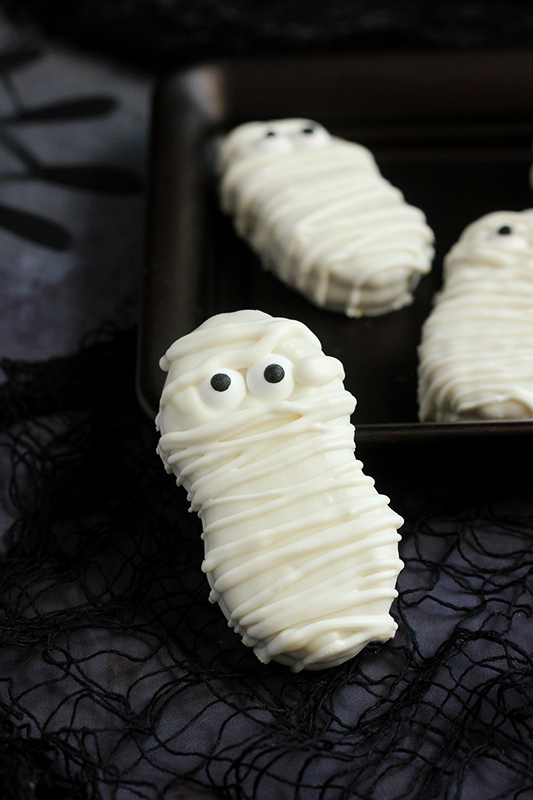
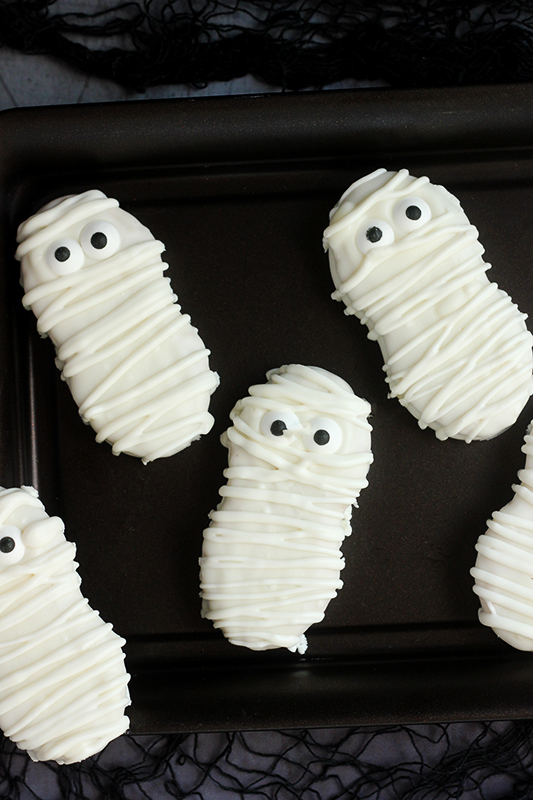
Nutter Butter Mummy Cookies are the kind of spooky snack that looks like it took effort—but we’re really just playing dress-up with cookies and white chocolate. These little mummies are so easy, even the kids can help (which also means they’ll be covered in sugar and proud of it).
Halloween recipes are some of the top viewed on my site! Be sure to check out my favorites: Spider Cookies, Halloween Punch, and Mummy Strawberries!
Why You’ll Love This Recipe
- Easy Halloween Treats: Perfect for last-minute party prep with minimal ingredients and zero baking required.
- No-Bake Halloween Desserts: These spooky cookies come together without turning on the oven—win!
- Halloween Recipes for Kids: Fun to make and decorate, these cookies are a hit with little helpers.
- Cute Halloween Food Ideas: Festive and photo-ready, these cookies bring instant charm to any treat table.
These nutter butter halloween cookies are the kind of Halloween treat that looks impressive but takes almost no effort. With just three ingredients and zero baking, they’re the perfect last-minute dessert that even the kids can help make (messy fingers and all).
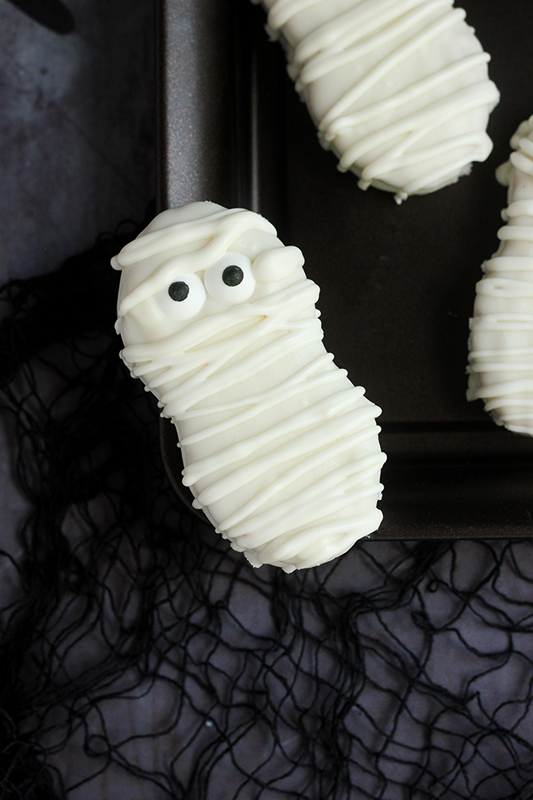
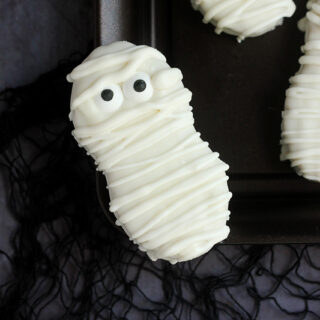
The creamy white chocolate coating, candy eyes, and playful drizzle give them that cute-but-creepy vibe everyone loves this time of year. Whether you’re prepping for a party or just want a fun afternoon activity, these little mummies are sure to disappear fast!
Ingredients You’ll Need
You only need three ingredients to bring these adorable mummy nutter butter to life—and zero baking skills, which is honestly the best kind of Halloween magic. Here’s what you’ll need:
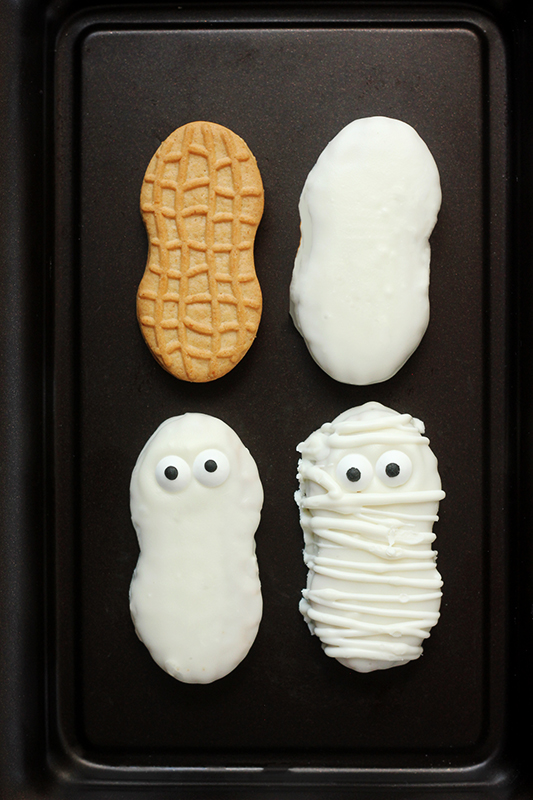
- Nutter Butter Cookies – These peanut-shaped sandwich cookies are the perfect base. Their shape makes them look like tiny wrapped-up bodies—no effort required.
- White Chocolate – Use white chocolate chips or candy melts. If the chocolate’s too thick after melting, stir in a teaspoon of coconut oil to thin it out for easier drizzling.
- Candy Eyes – You can find these in the baking aisle or online. Pro tip: press them into the chocolate before it hardens or you’ll have ghost cookies instead of mummies.
That’s it! Simple ingredients, spooky payoff. Keep extras on hand—these vanish faster than you’d expect.

Jesseca’s Recipe Review
These Nutter Butter Mummy Cookies are a total hit in my house—festive, fast, and just the right amount of spooky-cute. My teenager gave them an eye-roll (because mummies, obviously) but still managed to eat three before I could even snap a photo.
Tip from Jesseca:
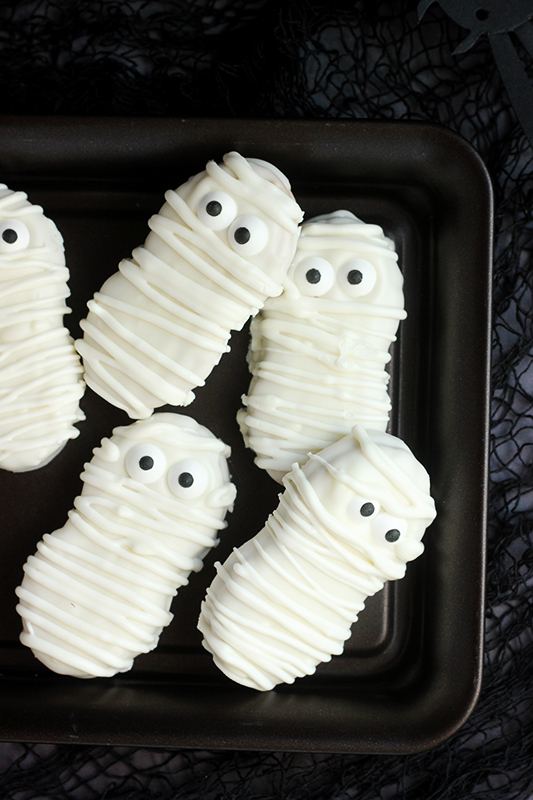
Dip the cookies completely in white chocolate for a cleaner “wrapped” look, then drizzle extra on top for texture. It’s the mummy glow-up they deserve.
Substitutions and Variations
Want to get creative with your creepy cookies? There’s plenty of room to play with this recipe:
- Cookies – No Nutter Butters? No problem. Try Milano cookies, oval vanilla wafers, or even homemade sugar cookies cut into mummy-ish shapes.
- Chocolate – White candy melts are a great swap for white chocolate. Almond bark works too and is a little more forgiving when melting.
- Eyes – Out of candy eyes? Use mini chocolate chips, black gel icing, or a dot of melted dark chocolate for spooky peepers.
You can also add flavor by mixing a little cinnamon or pumpkin spice into the melted chocolate—or make zombie mummies with green candy melts. Basically, if it’s sweet and wrapped in white drizzle, it’s fair game.
Easy Nutter Butter Halloween Cookies
These cookies are so easy, it’s almost scary. The setup is simple, and the decorating is actually fun (bonus if you’ve got little hands to help). Here’s a quick look at how to bring these spooky treats to life:
How to Make Nutter Butter Mummy Cookies
- Prep your space – Lay out parchment paper and get your cookies and candy eyes ready.
- Melt the chocolate – Microwave white chocolate or candy melts on defrost for 1 minute. Stir. If it’s still lumpy, go another 15 seconds.
- Dip & decorate – Fully coat each cookie in melted chocolate, tap off the excess, and place on parchment. Add candy eyes right away.
- Drizzle for the mummy effect – Melt a bit more chocolate in a zip-top bag, snip the corner, and drizzle over the cookies.
- Let them set – Let the chocolate harden at room temp before serving or storing.
That’s it! Minimal mess, max cuteness. Perfect for Halloween parties, school treats, or just an afternoon sugar rush.
Storage and Make-Ahead Instructions
These Halloween Cookies are the perfect make-ahead Halloween treat. The chocolate coating helps them stay fresh and festive for days!
- To store: Place the cookies in a single layer in an airtight container. If stacking, add a sheet of parchment or wax paper between layers to prevent sticking. Keep at room temperature for up to 5 days.
- To make ahead: You can make these cookies up to 3 days in advance of your party or event. Just be sure they’re fully set before storing, and keep them in a cool, dry spot so the chocolate doesn’t melt or get tacky.
Bonus? They actually travel really well—so go ahead and pack a few in the lunchbox or bring them to your Halloween bash.
Tips for Working With White Chocolate:
White chocolate can be a little high-maintenance, but once you know how to handle it, it’s smooth sailing (and even smoother coating). Here’s how to keep it creamy and clump-free:
- Use the defrost or low-power microwave setting – White chocolate burns fast, so low and slow is key. Start with 1 minute, stir well, then continue in short bursts.
- Always stir between intervals – Even if it doesn’t look melted, give it a good stir. Sometimes the heat is hiding in the middle.
- Thin if needed – If your chocolate is too thick, add a teaspoon of coconut oil or shortening to help it coat the cookies evenly.
- Avoid water like the plague – A single drop of moisture can make white chocolate seize and turn into a grainy mess. Make sure all bowls and utensils are completely dry.
- Use good quality chocolate or candy melts – Cheap chips can be harder to melt and more prone to clumping. Candy melts are the easiest for beginners and give a nice, smooth finish.
Treat it right, and white chocolate will give your mummies the glow-up they deserve.
Recipe FAQs
Sure! Your mummies will just be a little more dark and mysterious. Milk or dark chocolate works fine—just know the drizzle might not pop as much visually.
No problem! You can use mini chocolate chips, black gel icing, or even a dot of melted dark chocolate piped from a bag to make eyes.
Nope! These cookies are best stored at room temperature. Just keep them in an airtight container in a cool spot.
Stir in a teaspoon of coconut oil or shortening to thin it out. This helps it coat the cookies more smoothly.
Yes! These cookies are perfect for making 2–3 days in advance. Just be sure the chocolate is fully set before storing.
At room temp, it takes about 30–60 minutes. You can pop them in the fridge for 10–15 minutes to speed things up.
Still Hungry? Follow One Sweet Appetite on Instagram, Pinterest, and Facebook!
Want to save this recipe?
Enter your email below & we’ll send it to your inbox. Plus get great new recipes from us every week!
Easy Halloween Mummy Cookies
Ingredients
- 1 bag white candy melts
- 20 Nutter Butter cookies
- 40 candy eyes (mini M&M candies, or round sprinkles)
Instructions
- Line a baking sheet or counter with parchment paper. Arrange the Nutter Butter cookies and candy eyes within easy reach.
- Place white chocolate chips or candy melts into a microwave-safe glass bowl. Heat on the defrost setting for 1 minute.
- Stir well. If lumps remain, continue heating in 15-second intervals, stirring each time, until smooth. Avoid overheating.
- One at a time, dip each cookie into the melted chocolate until fully coated. Use a fork to lift the cookie out and gently tap the fork on the edge of the bowl to remove any excess chocolate.
- Immediately place the dipped cookie onto the parchment paper. While the chocolate is still wet, press two candy eyes onto the upper half of the cookie.
- Repeat until all cookies are dipped and decorated.
- Place ½ cup white candy melts and 1–2 teaspoons of shortening into a zip-top bag. Microwave on defrost for 30 seconds.
- Squeeze the bag to mix. If the chocolate isn’t fully melted, heat in 10–15 second intervals until smooth.
- Snip a small corner off the bag and drizzle the chocolate back and forth over the cookies to create a wrapped mummy effect.
- Allow the cookies to sit at room temperature until the chocolate is fully hardened, about 30–60 minutes depending on your environment.
Notes
- If the chocolate starts to harden while you are working, microwave it for an additional 10 seconds.
- Add a bit of shortening to the chocolate if you find it is too thick. This helps thin it out and make it easier for dipping.
Nutrition
The nutrition facts provided are calculated using a third-party tool and are estimates only. Actual nutritional content may vary based on the ingredients and brands you use, as well as portion sizes. For accurate results, please consult a registered dietitian or nutritionist.


This is sooo cute! and so easy too. Love this ❤
Thank you for sharing 🙂
My pleasure! Thank you for taking the time to comment.
These are so cute!!!