Eggnog Recipe
This post may contain affiliate links.
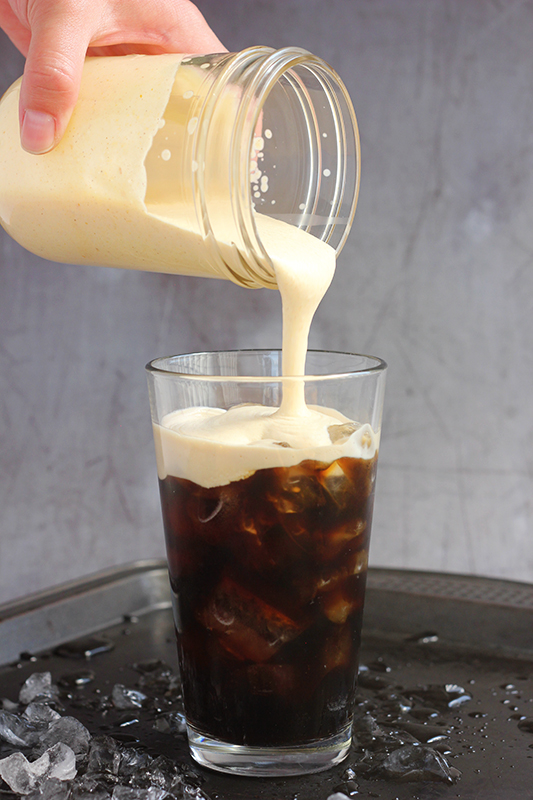
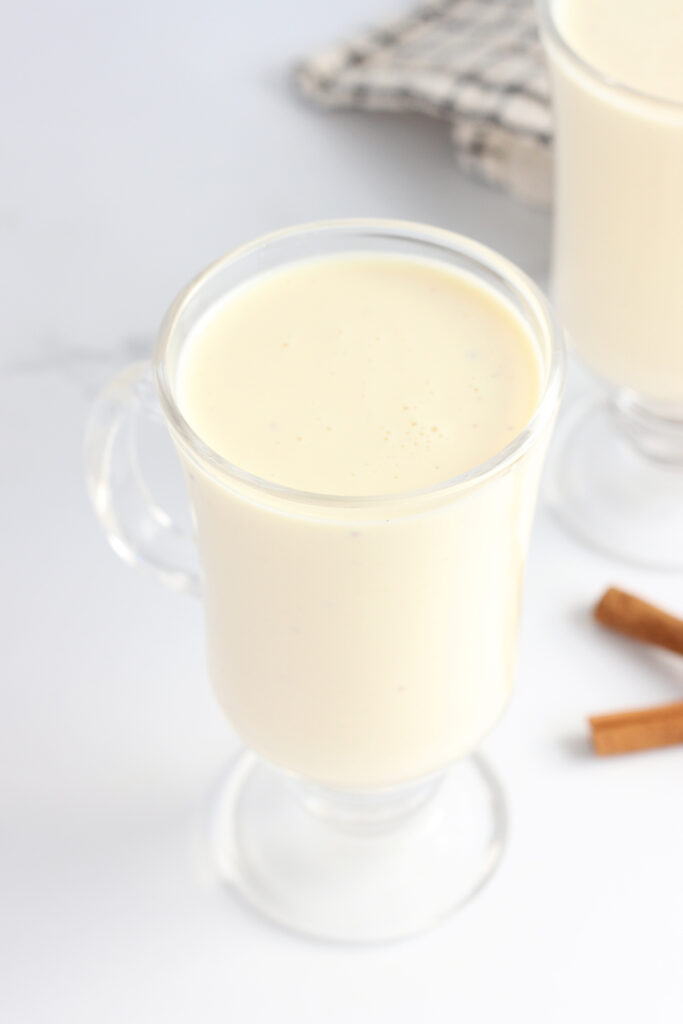
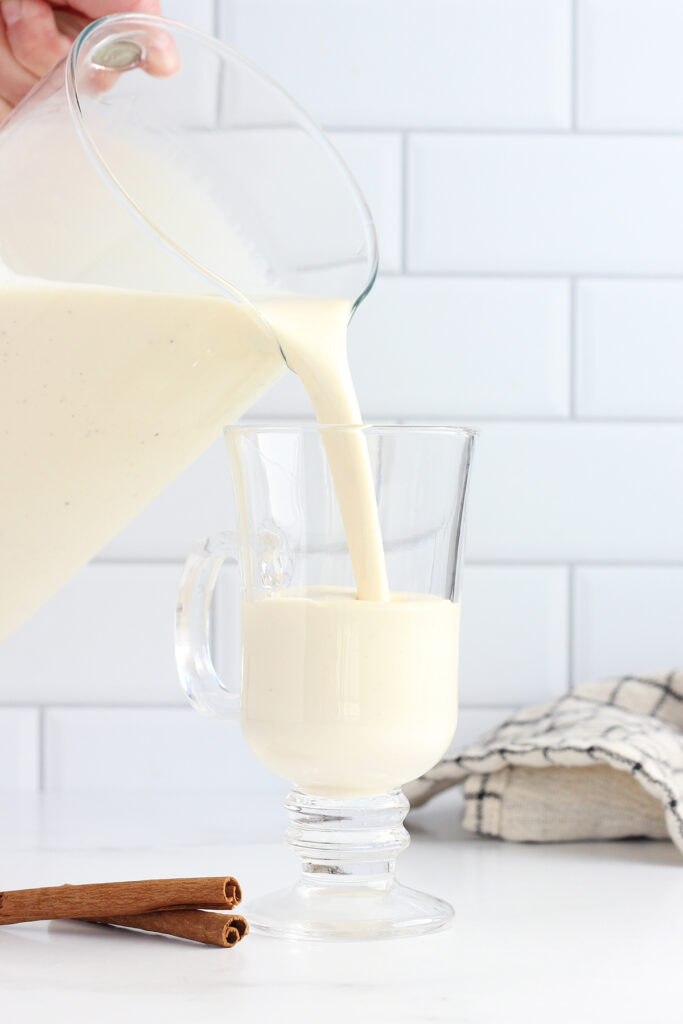
This Homemade Eggnog is rich, creamy, and filled with warm holiday spice. Made from scratch with milk, cream, cinnamon, and nutmeg, this festive drink has a velvety texture that feels indulgent but approachable. It’s easier to make than you’d think, and the flavor is so much better than store-bought.
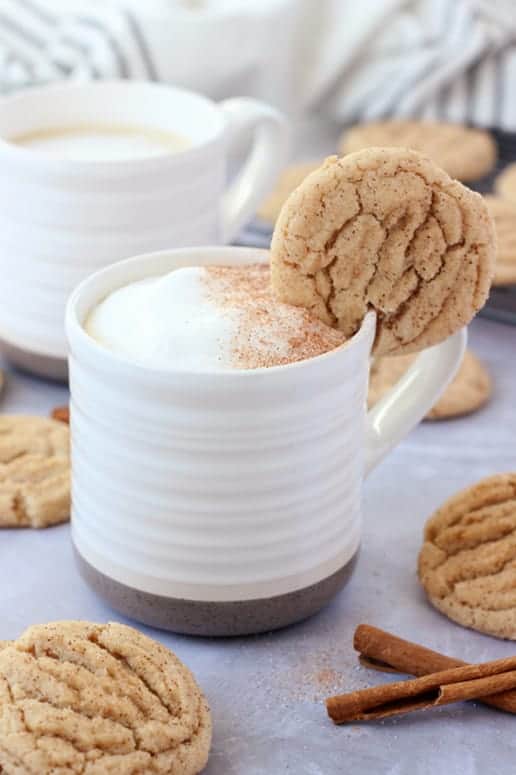
I adore the flavor combination of eggnog and gingerbread! If you haven’t already, try serving this classic eggnog with my gingerbread biscotti, gingerbread pancakes, or the classic gingerbread cookie!
Bookmark-Worthy Because…
- Classic holiday drink – A timeless recipe that instantly feels festive.
- Better than store-bought – Fresh spices and real cream give it unmatched flavor.
- Make-ahead friendly – Chill overnight for deeper flavor and less prep the day you serve it.
- Crowd-pleasing recipe – Great for holiday parties or cozy family nights.
Eggnog has always been one of my favorite holiday traditions. The first time I tried making it at home, I was surprised at how simple the process really was. Slowly tempering the eggs is the key, and once you master that, the rest comes together effortlessly.
I’ve tested this recipe multiple times to make sure it’s foolproof. The result is always smooth, creamy, and spiced just right. Sharing recipes like this lets me give you not just a festive drink, but a little piece of tradition you can enjoy with family and friends year after year.
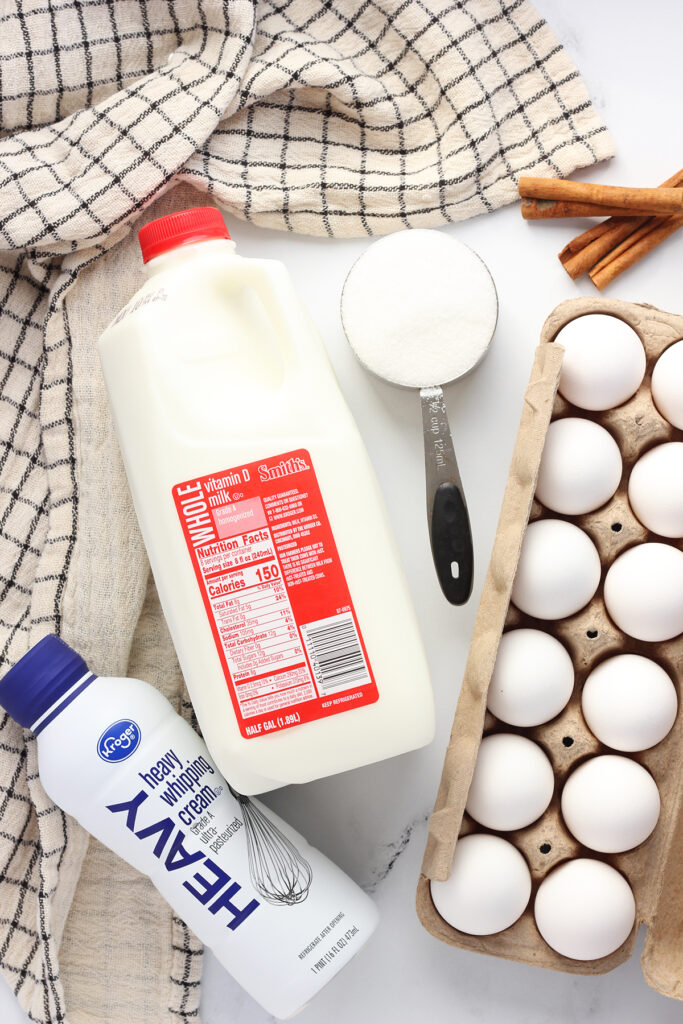
Eggnog Ingredients
A few basic pantry and fridge staples come together to make eggnog from scratch:
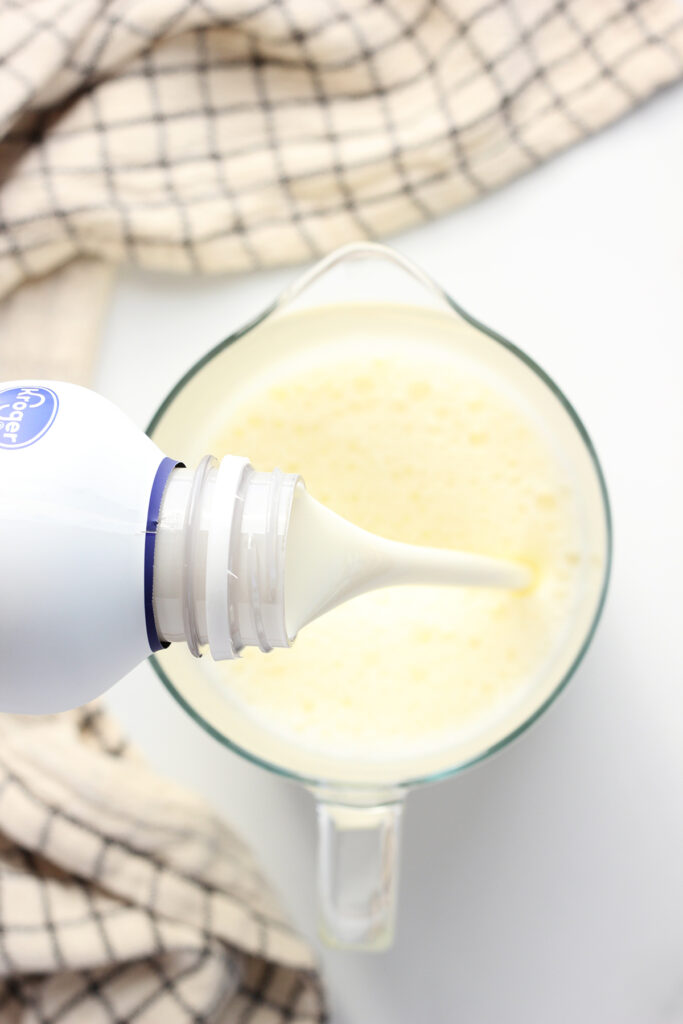
- Whole milk – Gives the drink a creamy base without being too heavy.
- Cinnamon sticks – Infuse gentle spice as the milk warms.
- Whole cloves – Add warmth and depth of flavor.
- Egg yolks – The secret to that signature thick and velvety texture. Don’t toss those whites! You can use them to make meringue cookies or lemon pie bars!
- Sugar – Sweetens the mix and balances the spice.
- Heavy cream – Makes the eggnog extra rich and luscious.
- Vanilla extract – Rounds out the flavors with smooth warmth.
- Ground nutmeg – Classic finishing spice for eggnog.
Every ingredient is easy to find and works together to create a holiday drink that feels special without extra effort.

Jesseca’s Recipe Review
This eggnog is hands down the best I’ve ever had. It’s smooth, creamy, and perfectly spiced—like the holidays in a glass. I love making it a day in advance so it’s ready to pull out of the fridge for guests.
Tip from Jesseca:
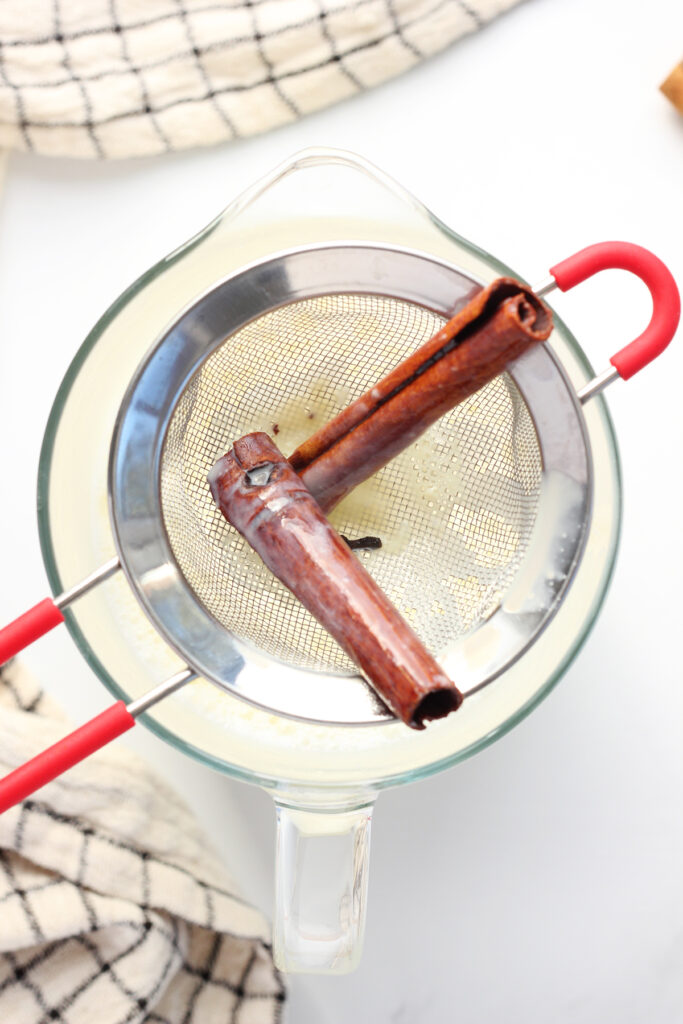
Use a fine mesh strainer after cooking to catch any bits of egg that may have cooked too quickly, this guarantees a silky-smooth drink.
Variations and Substitutions
- Add a splash of bourbon, rum, or brandy for a boozy version.
- Swap heavy cream for half-and-half for a lighter eggnog.
- Use almond extract instead of vanilla for a subtle twist.
- Top with whipped cream and an extra sprinkle of nutmeg before serving.
- Try cinnamon sugar instead of plain nutmeg for a sweeter finish.

How To Make Eggnog
This recipe looks fancy but comes together with a few simple steps:
- Warm the milk and spices. Heat milk, cinnamon sticks, and cloves until steaming (not boiling).
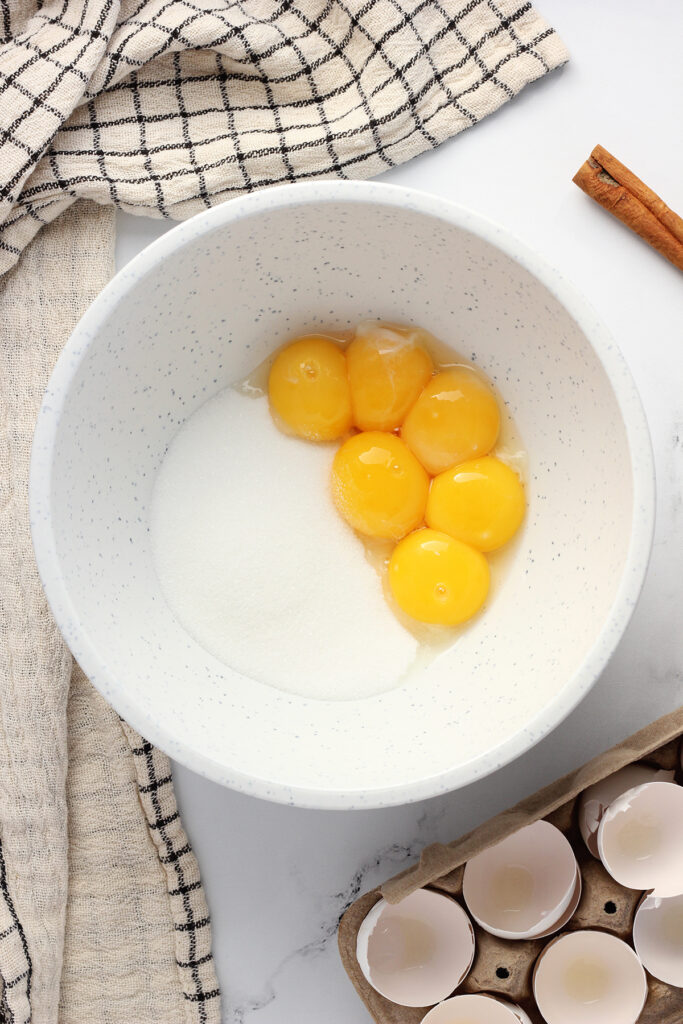
- Whisk the eggs and sugar. In a separate bowl, whisk yolks and sugar until smooth.
- Temper the eggs. Slowly add warm milk to the eggs while whisking constantly.
- Combine and cook. Return egg mixture to the saucepan and cook until thickened (about 10–15 minutes).
- Strain and finish. Remove spices, stir in cream, vanilla, and nutmeg. Chill overnight before serving.
It’s all about getting that Goldilocks zone of “just right,” where it’s thick but not turning into a custard. And remember, keep that heat low to avoid any curdling drama. Once it’s done, let it cool before stashing it in the fridge. Patience is a virtue, my friends!
Helpful Tools
- Whisk: For that flawless blend of yolks, sugar, and spices.
- Saucepan: A medium-sized one should do. Make sure it has a heavy bottom for even heat distribution.
- Ladle: Perfect for slowly adding warm milk to your egg mixture (aka tempering) without spilling all over your counter.
- Thermometer: Optional but recommended for making sure your eggnog hits a safe temperature, usually around 160°F (71°C).


How To Temper Eggs So They Don’t Curdle
- Whisk the Eggs: In a separate bowl from the warm milk, whisk the egg yolks and sugar together until smooth.
- Start: Using a ladle or a cup, slowly pour about a half-cup of the warm milk mixture into the egg-sugar mix, all while whisking constantly. You’re introducing them, getting them comfortable.
- Keep it Smooth: Continue this process, adding another half-cup of warm milk to the eggs, and whisking the whole time. This raises the temperature of the eggs gradually, so they don’t freak out and curdle.
- Merge the Parties: Once you’ve mixed in a couple of cups of warm milk, the eggs should be acclimated to the heat. Now you can slowly whisk the egg mixture back into the saucepan with the eggnog base.


Recipe FAQs
Heating your mixture to 160°F (71°C) makes it food-safe. Alternatively, use pasteurized eggs.
You can, but be warned: you’ll sacrifice creaminess. Whole milk is the VIP for a reason.
About 4-5 days. But honestly, it’s so good it’ll probably disappear before then.
Want to make eggnog with alcohol? Try a dark rum, bourbon, or cognac. It’s your party; you pick. Any way you go you’ll be sure to have a boozy eggnog that is delicious.
Storage and Make-Ahead Instructions
- Refrigerator: Store covered for up to 3 days.
- Freezer: Not recommended—the texture changes too much.
- Make-ahead: Best when chilled overnight, so it’s a perfect recipe to prepare the day before serving.
Want to save this recipe?
Enter your email below & we’ll send it to your inbox. Plus get great new recipes from us every week!

The Best Eggnog Recipe
Ingredients
- 3 cups whole milk
- 2 cinnamon sticks
- 2-3 whole cloves
- 6 large egg yolks
- 1 cup sugar
- 2 cups heavy cream
- 2 teaspoons vanilla extract
- 1/4 teaspoon ground nutmeg
Instructions
- Add the milk, cinnamon sticks and whole cloves to a saucepan. Heat over low/ medium heat until warm, but not simmering. You want to see steam but do not bring to a boil.
- Seperate the eggs and place the yolks into a small bowl. Add the sugar to the bowl with the egg yolks. Whisk together until combined and smooth.
- Using a ladle or a cup, slowly pour about a half-cup of the warm milk mixture into the egg-sugar mix, all while whisking constantly.
- Continue this process, adding another half-cup of warm milk to the eggs, and whisking the whole time. This raises the temperature of the eggs gradually, so they don’t freak out and curdle.
- Once you’ve mixed in a couple of cups of warm milk, the eggs should be acclimated to the heat. Now you can slowly whisk the egg mixture back into the saucepan with the eggnog base.
- Stir the egg yolk mixture into the warm milk.
- Continue to cook on low heat, stirring the entire time, until the mix has thickened. Aim for about 10-15 minutes on low heat, stirring constantly. You’re looking for the mixture to thicken just enough to coat the back of a spoon, or 160°F (71°C).
- Remove the pan from the heat. Strain into a new container with a lid, or a large bowl, to remove the cinnamon sticks and cloves. Stir in the heavy cream, vanilla extract, and the nutmeg.
- Let it come the eggnog mixture come to room temperature and refrigerate overnight.
- That’s it! You just made an easy eggnog recipe that is incredibly delicious!
The nutrition facts provided are calculated using a third-party tool and are estimates only. Actual nutritional content may vary based on the ingredients and brands you use, as well as portion sizes. For accurate results, please consult a registered dietitian or nutritionist.