Mixed Berry Cobbler
This post may contain affiliate links.
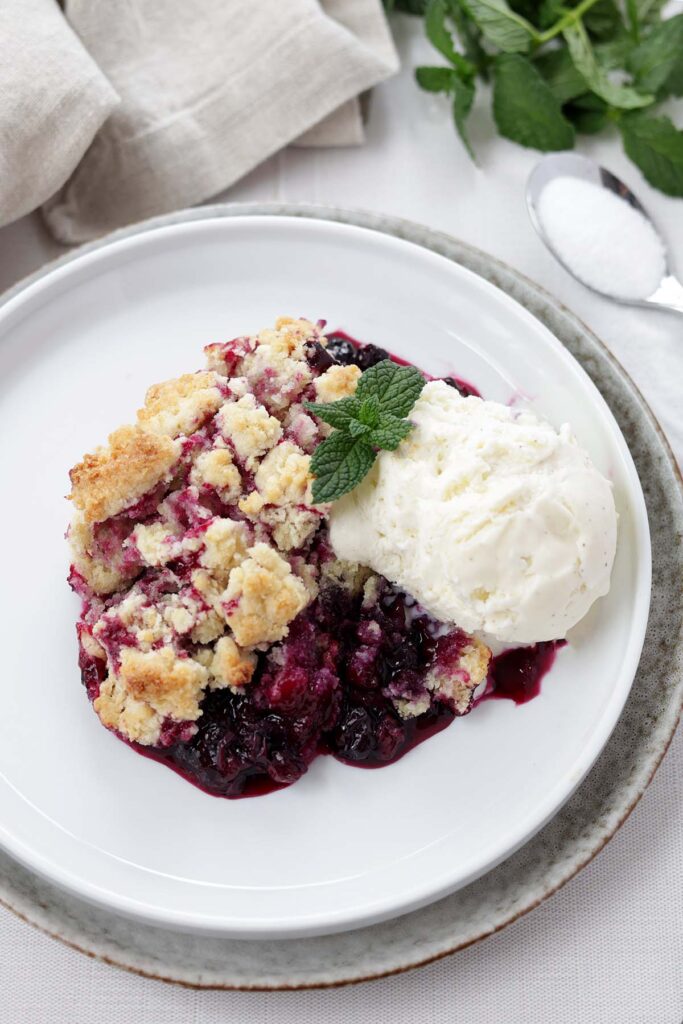
This Mixed Berry Cobbler is the kind of dessert that looks like you tried way harder than you did and that’s exactly why you need it. Juicy berries, a golden buttery topping, and zero stress? It’s the ultimate low-effort, high-reward treat that’s basically begging to be topped with ice cream.
Why You’ll Love This Recipe
- Make-ahead dessert: It’s the perfect dessert to prep ahead for gatherings, holidays, or busy weeknights.
- Old-fashioned cobbler recipe: A classic dessert with nostalgic flavor and simple ingredients.
- Comfort food dessert: Warm, fruity, and topped with a buttery crust—it’s comfort food at its finest.
- Fourth of July dessert idea: Red, juicy berries and a golden topping make this a festive holiday pick.
This Mixed Berry Cobbler is the ultimate no-fuss dessert. It’s made with simple ingredients, comes together in one pan, and is packed with juicy berries and a buttery, golden topping that’s impossible to resist. Whether you use fresh or frozen fruit, it turns out perfect every time.
It’s sweet, slightly tart, and just the right amount of cozy. Bonus? You can make it ahead and serve it warm or chilled. Either way, don’t skip the scoop of vanilla ice cream on top.
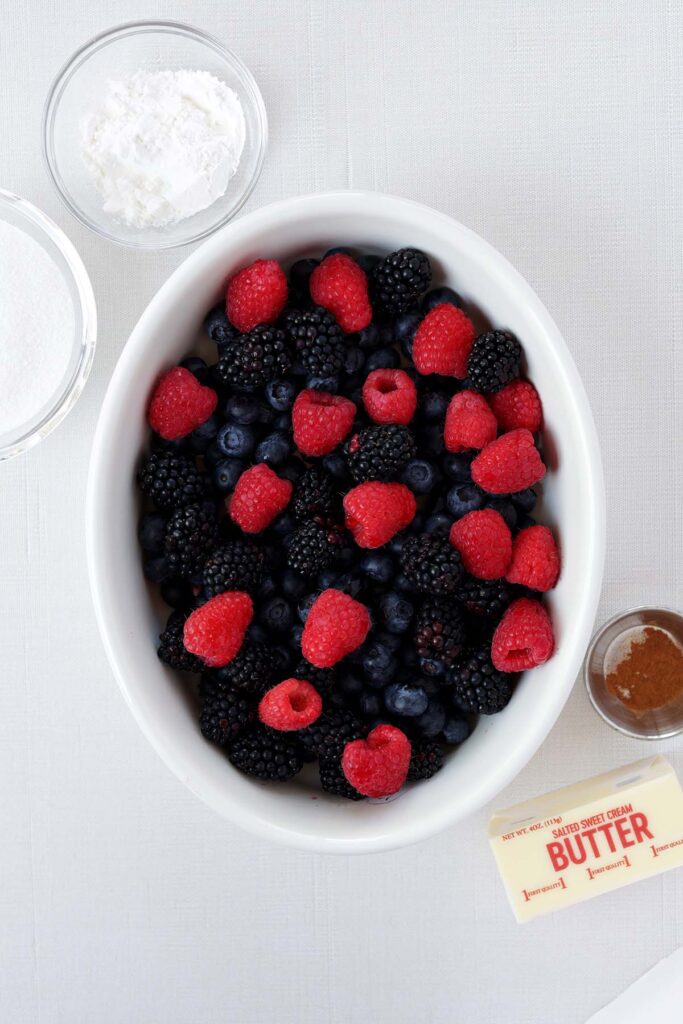
Ingredients You’ll Need
Before you dive in, take a quick look at what you’ll need. This cobbler comes together with pantry staples and fresh (or frozen!) berries, making it perfect for last-minute summer cravings or an easy weeknight dessert. And don’t skip the helpful notes. Each one makes a difference!
- All-Purpose Flour – The base of your cobbler topping. Make sure to spoon and level for accurate measuring.
- Granulated Sugar – Sweetens both the berries and the topping. You can adjust slightly depending on how sweet your berries are.
- Baking Powder – Gives the topping a light lift. Make sure it’s fresh. Expired baking powder = flat topping.
- Salt – Just a pinch balances out the sweetness and brings out flavor in the berries.
- Butter – Cold, cubed, and unsalted is best. It creates that golden, biscuit-like topping that everyone fights over.
- Cornstarch – Thickens the berry juices so your cobbler isn’t a soupy mess.
- Mixed Berries – Fresh or frozen both work! Think strawberries, blueberries, raspberries, and blackberries.
- Cinnamon – Adds just a hint of warmth that pairs perfectly with the fruit.
- Lemon Juice – Brightens everything and keeps the filling from tasting too heavy.
- Vanilla Extract – Adds cozy, bakery-style depth to both the berries and the topping.
That’s it. Simple, straightforward, and packed with flavor. Keep these ingredients on hand and you’ll be five minutes away from cobbler bliss whenever the craving strikes.

Jesseca’s Recipe Review
This best berry cobbler is everything I love in a dessert. Easy, low-maintenance, and tastes like summer in a dish. The topping is perfectly golden and just the right amount of sweet, and the berry filling? Chef’s kiss. I’ve made it more times than I can count, and it never lasts more than a day in our house.
Tip from Jesseca:
Don’t skip the foil-lined baking sheet! Cobblers love to bubble over, and this saves your oven (and your mood). Also, a sprinkle of raw sugar on top before baking gives the crust a sweet little crunch that’s totally worth it.

Substitutions and Variations
One of the best parts about this Berry Cobbler is how flexible it is. Whether you’re using what’s in season or just cleaning out the freezer, here are a few easy ways to switch things up:
- Use Frozen Berries: No fresh berries? No problem. Make this berry cobbler with frozen fruit!
Frozen mixed berries work just as well. No need to thaw, just add a couple of extra minutes to the stovetop cooking time. - Switch Up the Fruit: Not a berry fan? Try chopped peaches, cherries, apples, or even rhubarb. You can also mix in a little of each for a unique flavor combo.
- Lower the Sugar: If your fruit is extra sweet, you can cut the sugar in both the filling and topping by ¼ cup without sacrificing flavor.
- Add a Crunch: Sprinkle chopped nuts, oats, or a little raw sugar on top before baking for a bit of texture and sparkle.
- Add a Flavor Twist: A splash of almond extract in the filling or a pinch of cardamom in the topping gives it a subtle, unexpected upgrade.
Don’t be afraid to get creative! This recipe is super forgiving and perfect for adapting to whatever you’ve got on hand.

Easy Berry Cobbler Recipe
This is the best berry cobbler recipe. No fancy tools, no complicated steps. Just juicy berries, a buttery biscuit topping, and a few minutes of prep before your kitchen smells like summer.
- Preheat and prep. Heat your oven to 400°F and line a baking sheet with foil (this catches any bubbling berry goodness).
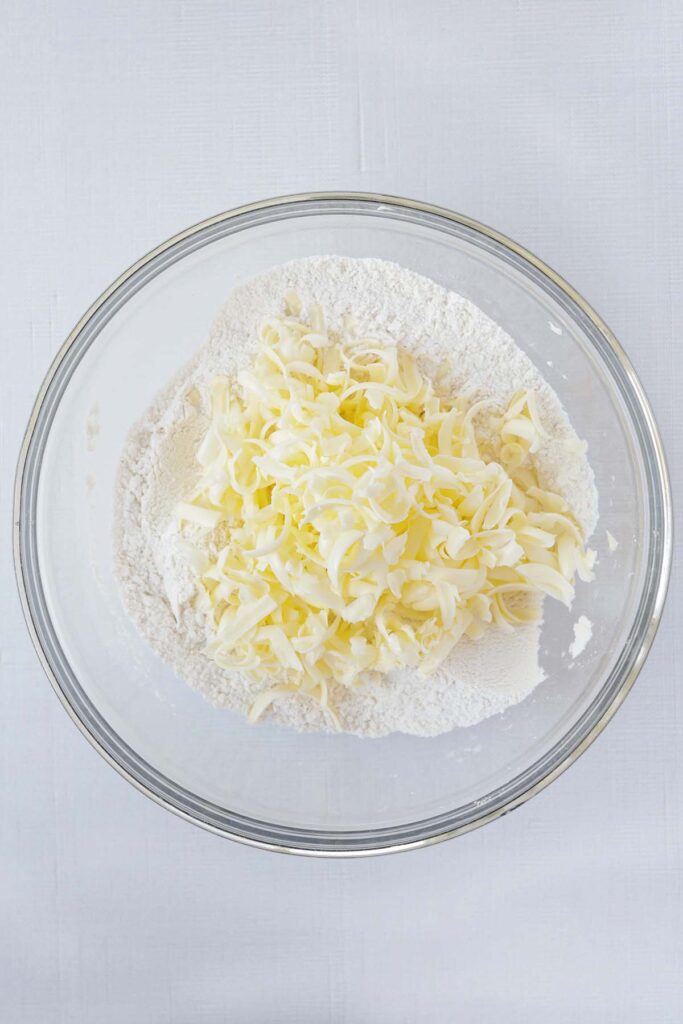
- Make the topping. In a bowl, whisk together flour, sugar, baking powder, and salt. Cut in cold butter until crumbly. Stir in boiling water with a wooden spoon until dough forms.
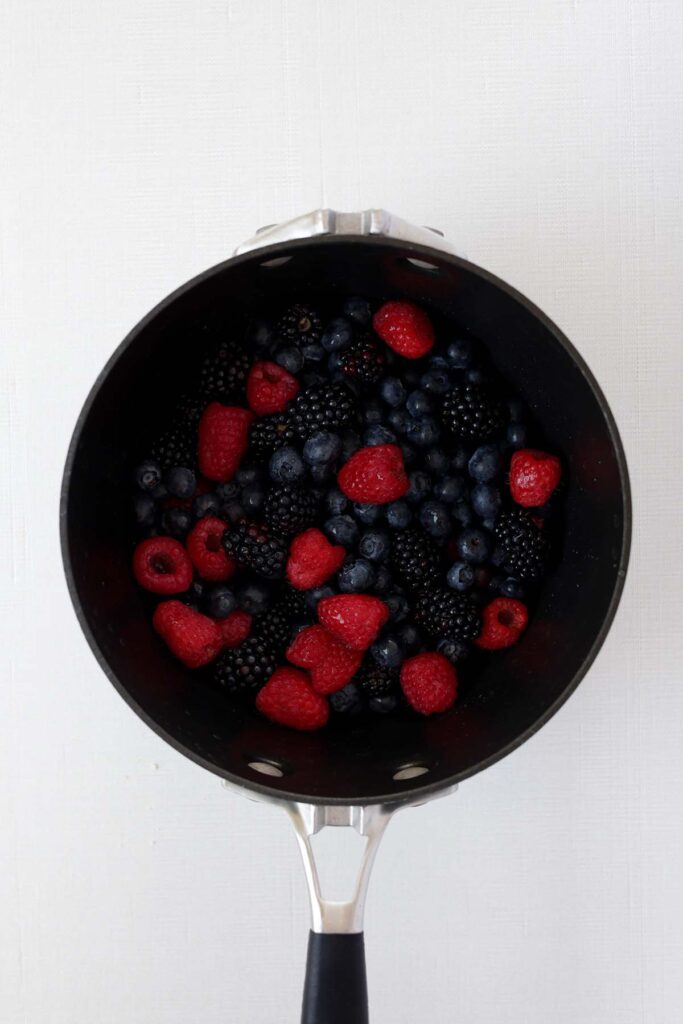
- Cook the filling. In a saucepan, mix berries with sugar, lemon juice, cinnamon, and vanilla. Stir in a cornstarch + water slurry and bring it to a boil until thickened.
- Assemble. Pour the berry mixture into a 9-inch baking dish and spoon the topping evenly over the top.
- Bake. Set the dish on the foil-lined tray and bake for 25 minutes, or until golden and bubbling.
That’s it! This recipe is cozy, nostalgic, and perfect for making ahead or enjoying fresh out of the oven with a scoop of vanilla ice cream.


Recipe FAQs
Yes! Frozen berries work great. No need to thaw them. Just increase the cooking time slightly on the stove to help them break down and thicken.
A mix of strawberries, blueberries, raspberries, and blackberries is ideal. You can use just one type, but the combo gives it a sweet-tart balance that really shines.
The filling may not have cooked long enough to activate the cornstarch thickener. Be sure to bring the berries to a full boil on the stove and let it simmer until slightly thickened before baking.
The topping should be golden brown and the berry filling should be bubbling up around the edges. If the center still looks doughy, give it a few more minutes in the oven.
Warm, with a scoop of vanilla ice cream or a dollop of whipped cream. It’s also delicious chilled straight from the fridge!
Storage and Make-Ahead Instructions
This easy Berry Cobbler is a dream for prep-ahead bakers. You can make both the filling and topping up to a day in advance. Store them separately in the fridge, then assemble and bake when you’re ready to serve. Want to go a step further? Assemble the full cobbler, cover it tightly, and refrigerate unbaked for up to 12 hours. Just add a few extra minutes to the bake time if going straight from cold.
After Baking:
Once baked, let the cobbler cool completely before covering. It can be stored:
- In the fridge for up to 4 days. Just cover the baking dish tightly with foil or transfer leftovers to an airtight container.
- In the freezer for up to 2 months. Freeze in individual portions or as a whole cobbler. Thaw overnight in the fridge and reheat in the oven at 350°F until warmed through.
To Reheat:
Pop it in the oven at 350°F for 10–15 minutes to crisp up the topping again. The microwave works in a pinch, but the topping may lose its crunch.
Whether you’re prepping for a gathering or planning for leftovers, this cobbler keeps beautifully, and may taste even better the next day.

Want to save this recipe?
Enter your email below & we’ll send it to your inbox. Plus get great new recipes from us every week!

Mixed Berry Cobbler
Ingredients
Topping
- 1½ cup all-purpose flour
- 1/2 cups white sugar (divided)
- 1½ teaspoon baking powder
- 3/4 teaspoon salt
- 8 tablespoons cold butter (cut into pieces)
- ¼ cup + 2 T boiling water
Berry Filling
- 4 cups fresh berries (rinsed and drained)
- 3/4 cup sugar
- 1/4 teaspoon cinnamon
- 1 tablespoon lemon juice
- 1/2 teaspoon vanilla
- 2 tablespoons cornstarch
- ¼ cup cold water
Instructions
Topping
- Preheat the oven to 400°F (200°C). Line a baking sheet with foil to catch any overflow during baking.
- In a large bowl, whisk together the flour, sugar, baking powder, and salt. Add the cold, cubed butter and cut it into the dry ingredients using a pastry cutter or your fingers until the mixture resembles coarse crumbs.
- Pour in the boiling water and stir with a wooden spoon until the dough begins to come together. Set aside.
Berry Filling
- In a medium saucepan, combine the berries, ¾ cup sugar, lemon juice, cinnamon, and vanilla.
- In a small bowl, stir together the cornstarch and cold water until smooth. Pour the cornstarch slurry into the berry mixture and stir well.
- Bring the mixture to a boil over medium heat, stirring occasionally, until the sugar has dissolved and the mixture has thickened slightly (about 3–5 minutes).
- Remove the berry filling from the heat and pour it into a 9-inch baking dish. Spoon the biscuit topping evenly over the berries—it’s okay if it doesn’t completely cover the filling.
- Place the baking dish on the prepared foil-lined sheet and bake for 25 minutes, or until the topping is golden brown and the filling is bubbling around the edges.
- Let the cobbler cool slightly before serving. It’s delicious warm, especially with a scoop of ice cream or whipped cream.
The nutrition facts provided are calculated using a third-party tool and are estimates only. Actual nutritional content may vary based on the ingredients and brands you use, as well as portion sizes. For accurate results, please consult a registered dietitian or nutritionist.