
Frozen Yogurt Bites
This post may contain affiliate links.
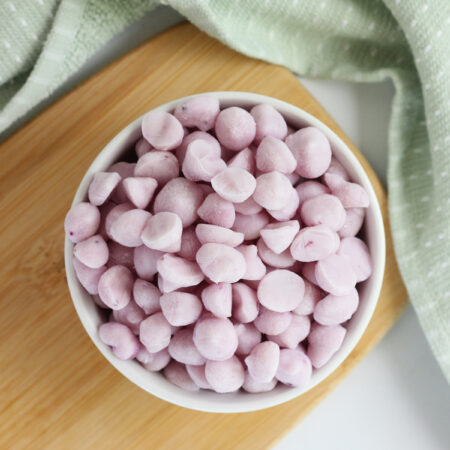
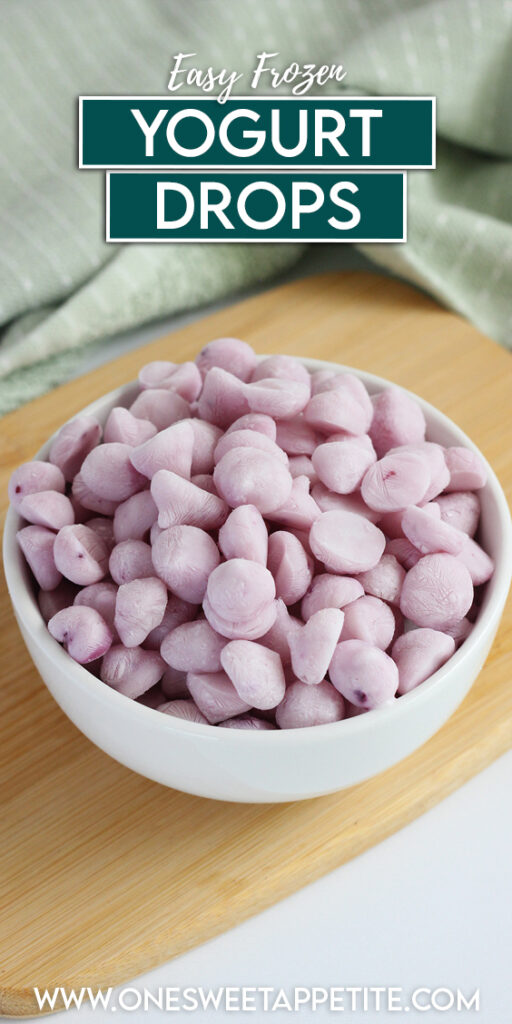
Frozen Yogurt Bites! These bite-sized goodies are the perfect blend of creamy yogurt and sweet fruit, making them an irresistible snack for any time of the day. Plus, they’re super easy to whip up! Whether you’re hosting a summer party or just need a healthy snack on hand, these frozen yogurt bites are sure to be a hit.
Searching for more super simple snack ideas? Try my Apple Peanut Butter and Jelly, Frosted Grapes, and Cereal Raisin Clusters!

Recipe Features
- No-Fail: These could not be easier to make. Mix your favorite yogurt with pureed fruit for an insanely delicious snack.
- Healthy: This simple snack can be healthy with the use of Greek yogurt and fresh fruits.
- Perfect for Toddlers: This was a GAME CHANGER for my son when he was younger. We always had a stash on hand for when he was in need of something to munch on.
Finding a quick and healthy snack recipe can be a challenge. Our usual default is apples or sugar peas. But what do you do when you are seriously craving ice cream and need a sweet fix? These frozen yogurt drops are so tasty and incredibly easy to whip up. They are a great alternative to ice cream and are a kid approved healthy recipe!
All you need is your favorite fresh fruit and a coordinating yogurt flavor. Five minutes of your time will give you a summertime snack that the entire family will love!
Yogurt Bite Ingredients
Because these are so simple, and require only two ingredients, they are a fantastic kid friendly recipe! To this day, my teenage son will whip up a batch all on his own! Here are the ingredients you need to get started:
- Yogurt: You can use a plain Greek yogurt for a healthier option that gives you control of the sweeteners added (optional) or you can opt for flavored yogurts to match your choice of fruit. Whichever you decide to use, I suggest sticking with Greek for a better finished texture.
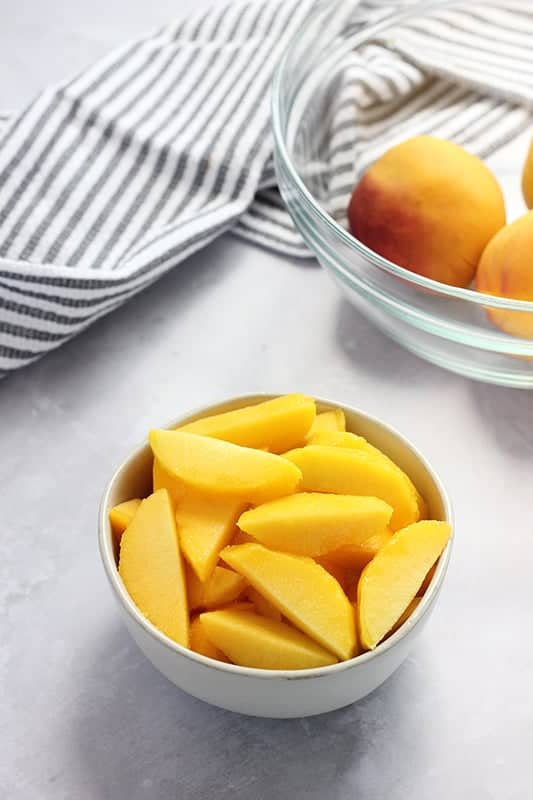
- Fruit: Fresh in season fruit is AMAZING and so tasty, but you can also use slightly thawed fruit too! Pick whichever is convenient for you and your family. OR opt for baby food! It makes this recipe even quicker.
- Sweetener: Now, I said this is a two ingredient recipe and I mean that. However, if your fruit is tart or out of season you might need to help sweeten it up. A bit of honey or sugar is helpful to get that delicious flavor profile.
Note: If you plan to use honey, make sure you double check with your pediatrician before giving to children under the age of 1.
How to Make Frozen Yogurt Bites
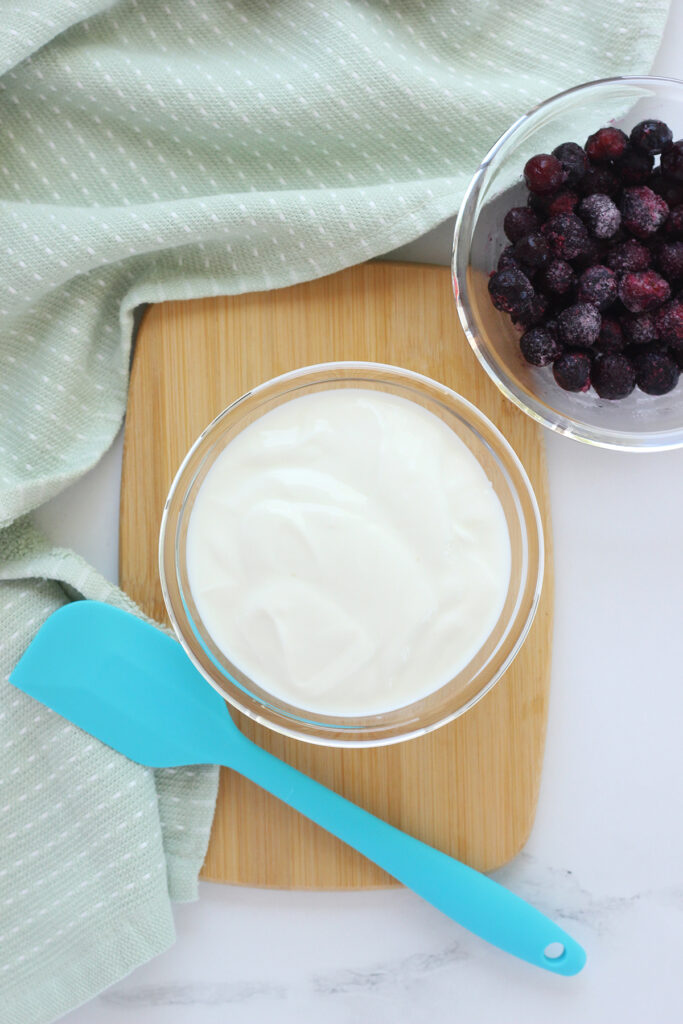
- PREP: Start by lining one or two baking trays with parchment paper, or a silicone baking mat, and set aside for later.
- BLEND: If using fresh/slightly thawed frozen fruit, place in a blender or food processor and pulse until smooth.
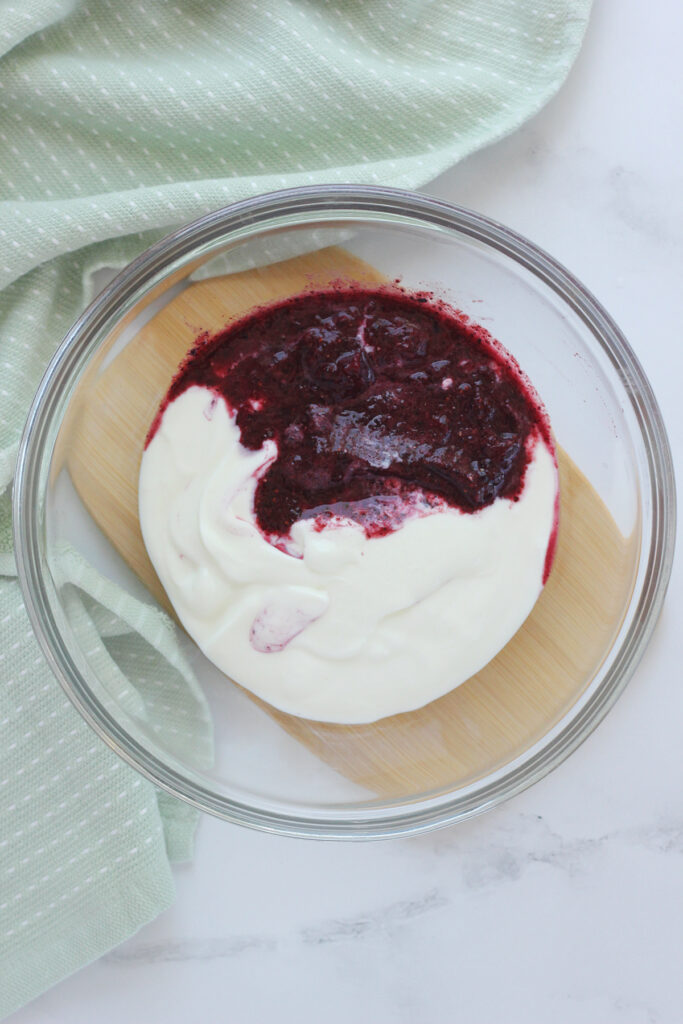
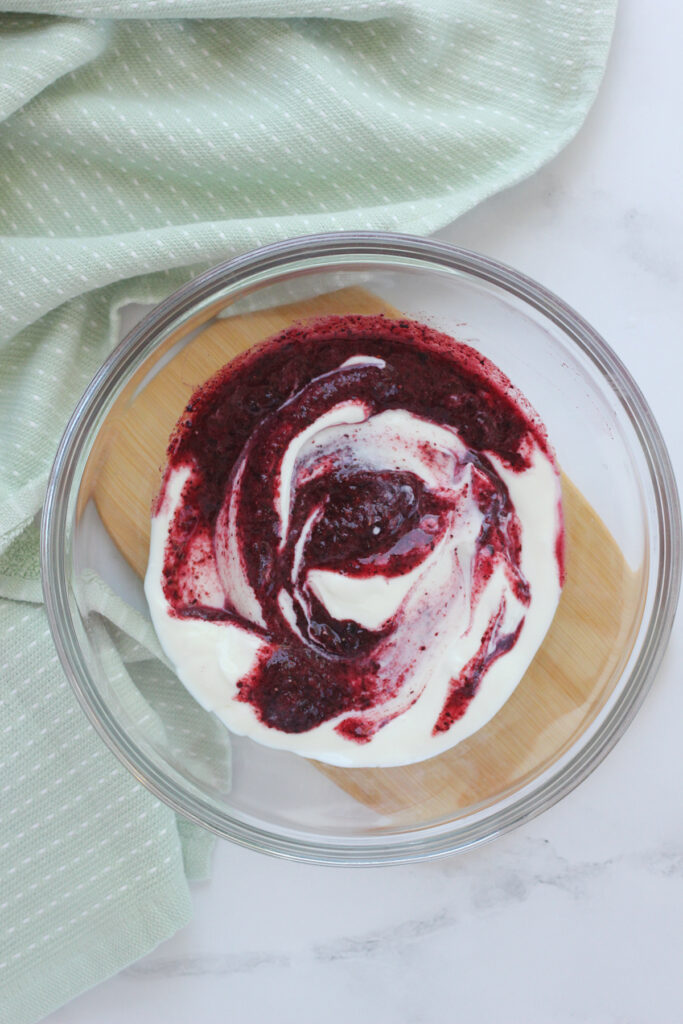
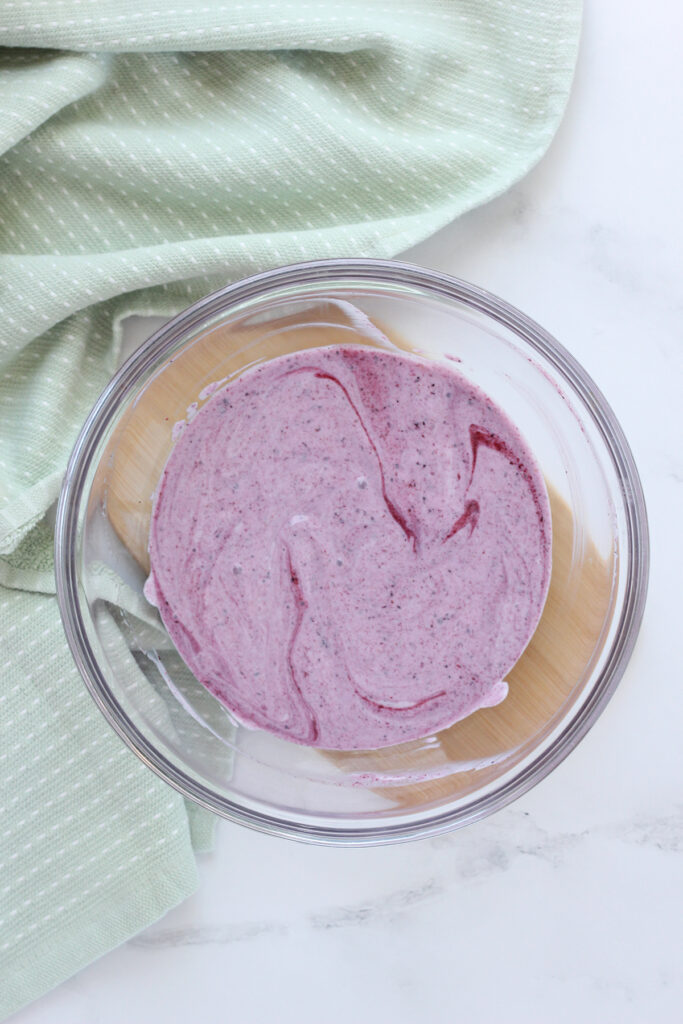
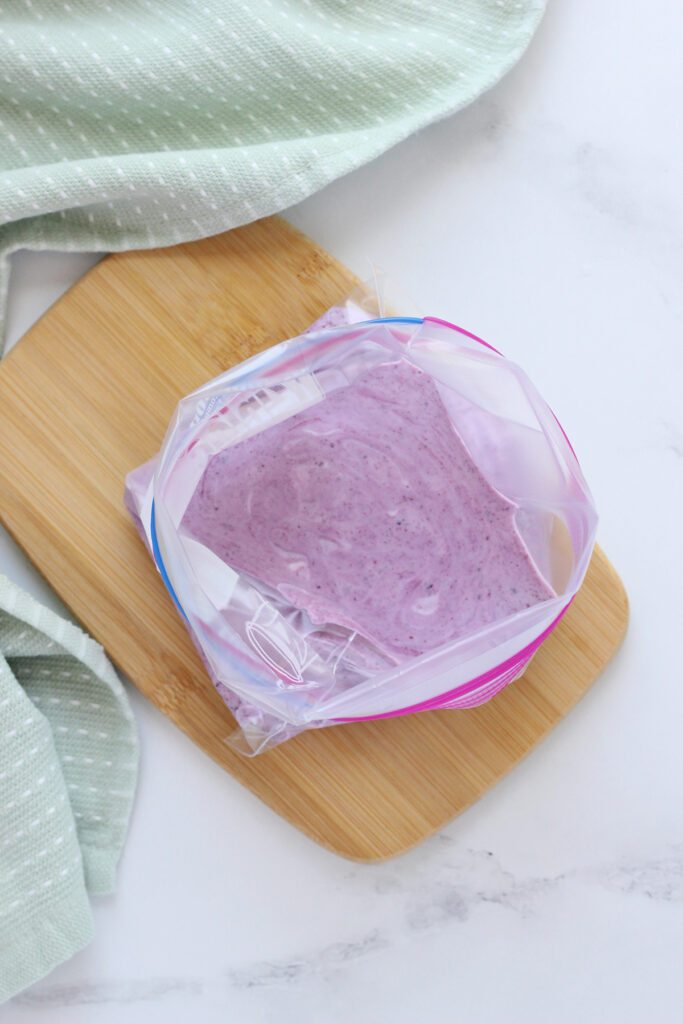
- MIX: Place the fruit and yogurt in a small mixing bowl. Add sweetener if desired. Stir until the mixture is fully combined.
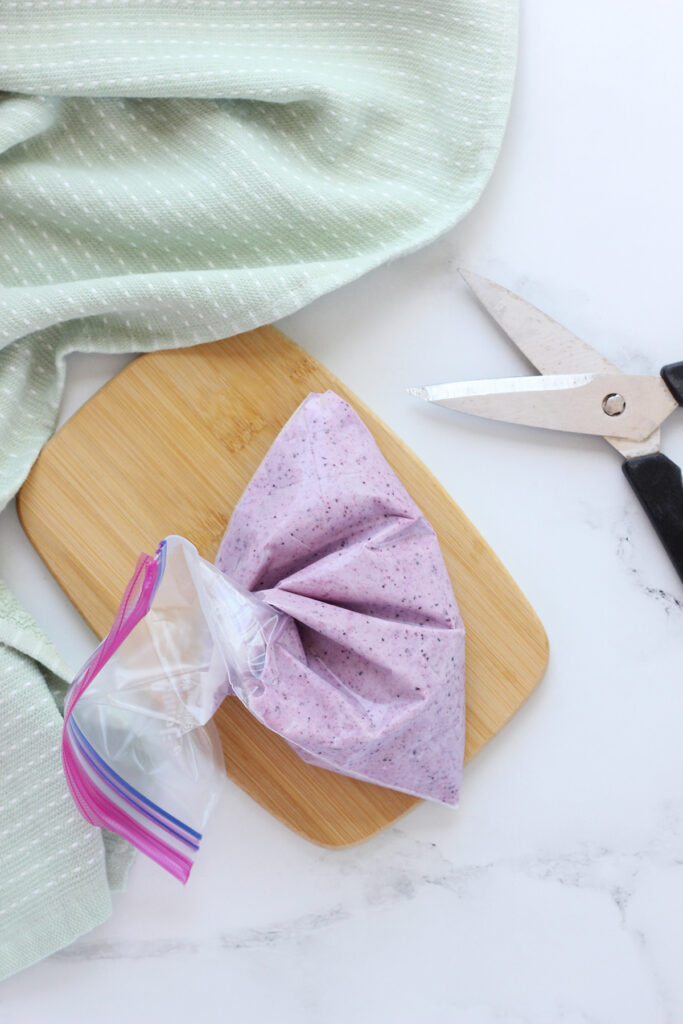
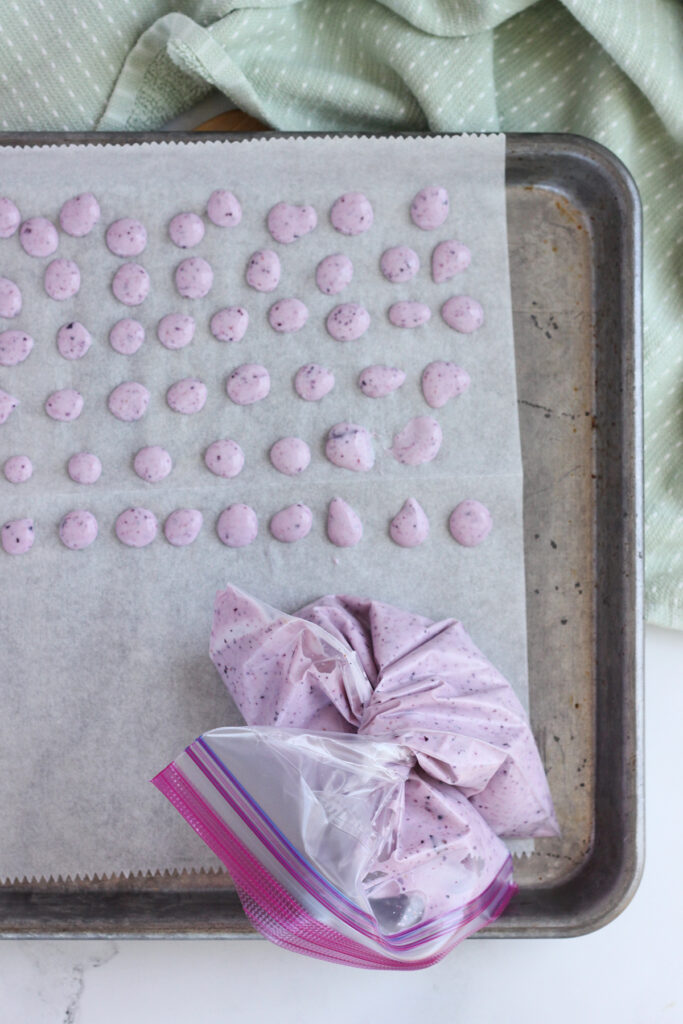
- PIPE: Spoon the mixture into a quart sized zip top bag. Gently snip one corner of the bag and begin to pipe small bite sized circles onto the prepared trays.
- FREEZE: Continue until all of the yogurt has been used. Place the trays in the freezer and allow to freeze until solid, about 1 to 2 hours.
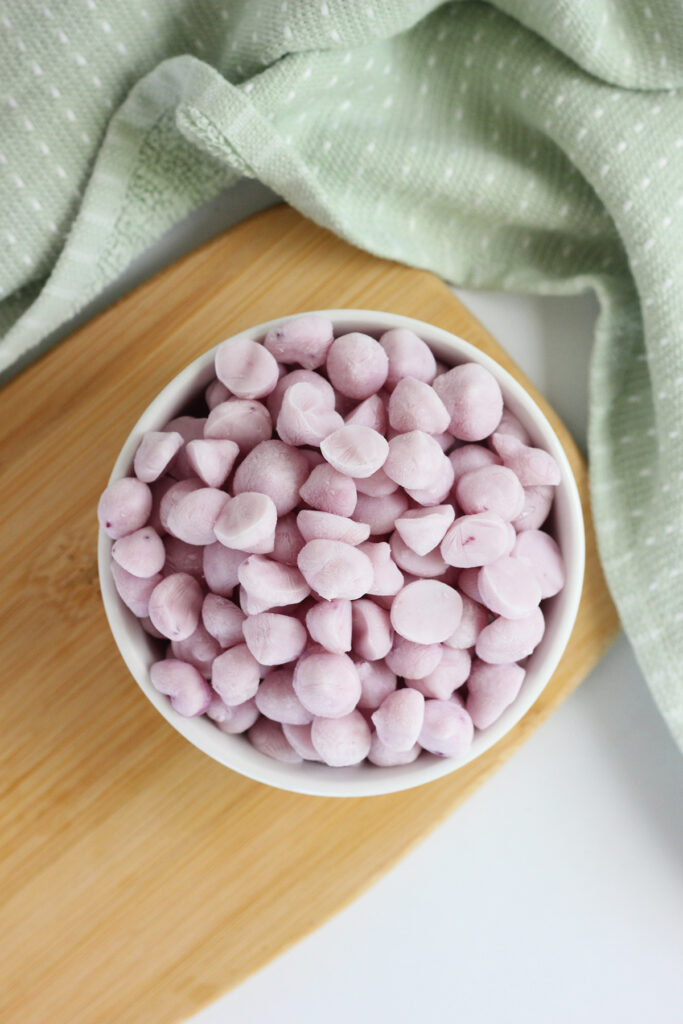
- ENJOY: Remove the frozen bite sized pieces from the tray and place in a freezer safe container. Store inside the freezer until you are ready to eat.
Helpful Tools
- Cookie Sheet : Cookie Sheets (affiliate) are so helpful when making something this simple. You want to make sure you have a solid surface when sticking these yogurt drops into the freezer.
- Parchment Paper : Parchment Paper (affiliate) will make these yogurt drops so easy to take off of your cookie sheet when done freezing!
- Ziplock Bags : Ziplock Bags (affiliate) are key to this recipe, they are so easy to fill and even more perfect for when cleaning up!
Recipe FAQs
You can use any type of yogurt you prefer, whether it’s Greek, regular, or dairy-free. Just make sure it’s a thick consistency to hold the shape of the bites.
Absolutely! Flavored yogurt adds an extra burst of flavor. Just be mindful of the sugar content if you’re looking for a healthier option.
Once the bites are frozen, transfer them to an airtight container or a freezer-safe bag. They can be stored in the freezer for up to 2 months.
Definitely! Feel free to sprinkle some granola, crushed nuts, or mini chocolate chips on top of the yogurt dots before freezing for added texture and flavor.
Want to save this recipe?
Enter your email below & we’ll send it to your inbox. Plus get great new recipes from us every week!
Easy Yogurt Bites
Ingredients
- 1/4 cup blended fruit of choice
- 1 cup plain or vanilla yogurt
- sweetener (optional)
Instructions
- Start by lining one or two baking trays with parchment paper, or a silicone baking mat, and set aside for later.
- If using fresh/slightly thawed frozen fruit, place in a blender or food processor and pulse until smooth.
- Place the fruit and yogurt in a small mixing bowl. Add sweetener if desired. Stir until the mixture is fully combined.
- Spoon the mixture into a quart sized zip top bag. Gently snip one corner of the bag and begin to pipe small bite sized circles onto the prepared trays.
- Continue until all of the yogurt has been used. Place the trays in the freezer and allow to freeze until solid, about 1 to 2 hours.
- Remove the frozen bite sized pieces from the tray and place in a freezer safe container. Store inside the freezer until you are ready to eat.
Notes
- If you are using fruit with seeds, you can remove them after blending by pressing through a fine mesh strainer.
- These will last up to two months if stored properly.
- Only remove small portions from the freezer at a time, to avoid quick melting.
The nutrition facts provided are calculated using a third-party tool and are estimates only. Actual nutritional content may vary based on the ingredients and brands you use, as well as portion sizes. For accurate results, please consult a registered dietitian or nutritionist.


Ive really enjoyed your recipes and camping tips. Although I have a pull behind camper on a permanent site with all the amenities, ( come on girls, I am getting too lazy for that sleeping on the ground stuff:)), I still enjoy watching the kids and their excitement when they arrive. They are allowed free range at the campground where I am located, and they are like birds out of their cages. All smiles and whistles, and games in the spirit of healthy outdoor play. Such a joy to think about. Brought a smile to me on a cold dreary day. Only 40 more days till campground opens for the season. Yippee!
Made these with strawberry yogurt! They were gone with five minutes of being out of the freezer! I made 3 batches in one day! The third bath I made them in simple shapes like stars and hearts those were fun to eat! Love them and very goooooooood!!
This is such a great Idea! I found it off of Pintrest, but I was wondering how long to they stay solid once you pull them out to eat them? I don’t want to end up pulling to many out and have a big mess on my hands 🙂 Thanks!
Not long. On a hot day, you’ll be lucky if they last 15 minutes. I’d treat them like a popsicle. :0)
This idea is so simple and superbe tha i made a post about it in my blog
here’s the link, hope youl’ll enjoy it!
Hugs!
This is AWESOME!!!!!!!!!!! I’m so going to do this!!! Thanks so much for the idea!!! Plus they look so cute!!! (Especially with the purple color!) I’m pinning this so I remember to do this!