
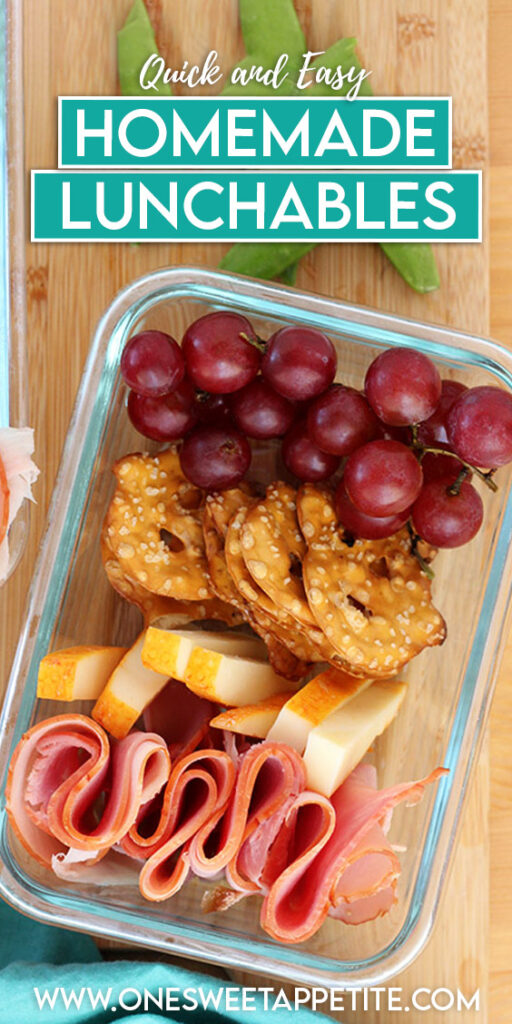
Homemade Lunchables
This post may contain affiliate links.
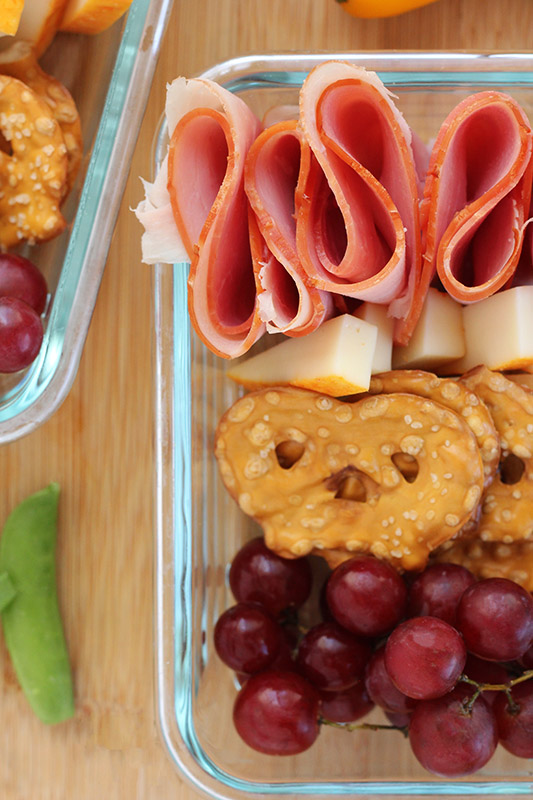
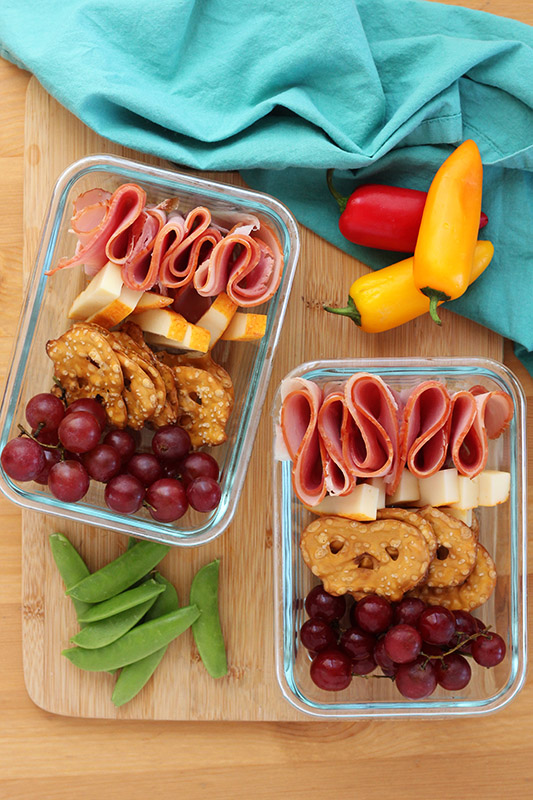
These Easy Homemade Lunchables are the meal prep recipe you never knew you needed! Simple to make and the perfect healthy snack for any occasion. Grab them as you are heading out the door for a protein packed lunch everyone will love.
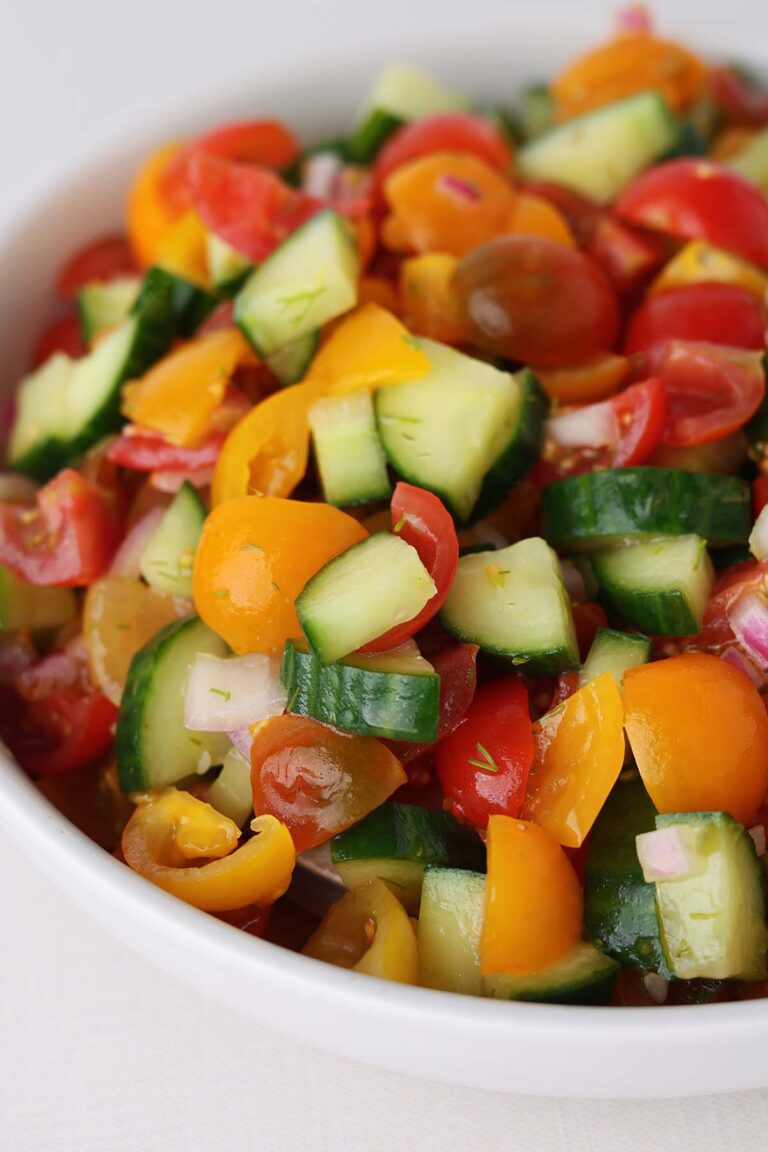
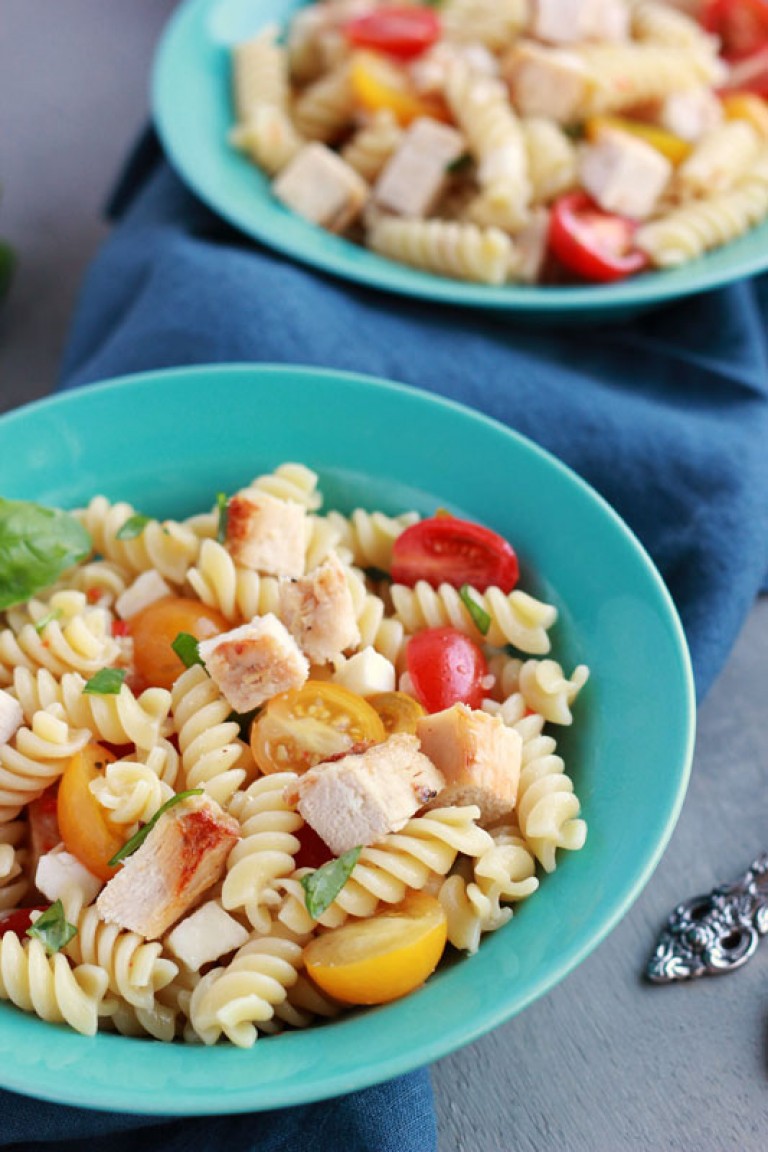
Keep things interesting and switch things up in your lunchable! Add Cinnamon Fruit Dip, Avocado Salsa, or even Pasta Salad for a twist!
Why You’ll Love This Recipe
- Make ahead school lunch: Perfect for packing a couple of days in advance to make mornings smoother.
- Healthy lunchbox idea: Packed with protein, fruit, and veggies—no mystery ingredients here.
- Budget-friendly lunch option: Way cheaper than store-bought and customizable with what you already have.
- No-cook lunch recipe: No stove, no oven—just fresh ingredients and quick assembly.
Homemade Lunchables are the ultimate lunchbox hack. Quick to prep, easy to customize, and way more affordable than the store-bought kind. With a mix of turkey, cheese, fruit, and veggies, they check all the boxes for a balanced, no-fuss meal that even picky eaters will actually eat.
These are perfect for school lunches, road trips, or even a quick work-from-home snack. The best part? You can mix and match ingredients based on what you have in the fridge, so nothing goes to waste and lunch never gets boring.
Ingredients You’ll Need
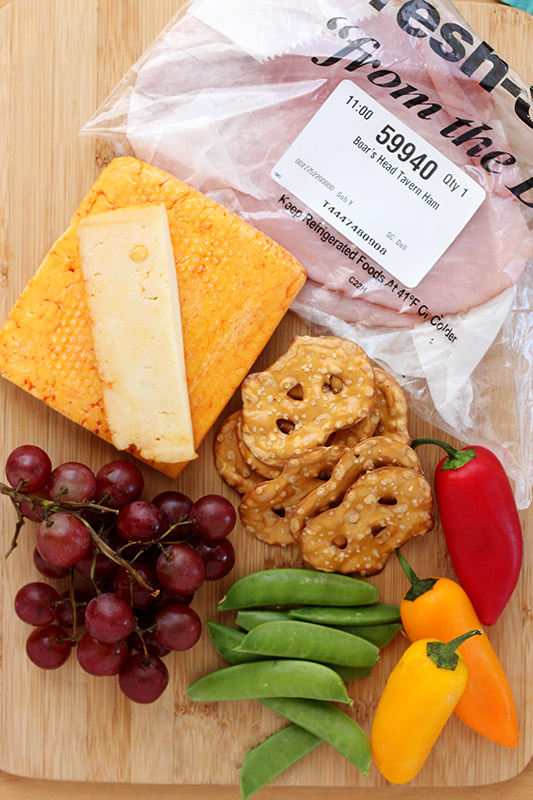
Here’s the funny thing, you don’t have to follow any set ingredient list. You can really pick whatever you want and it will work in the recipe. However, I made a few variations to help get you started. For the basic ham and cheese lunchable recipe, this is what you will need:
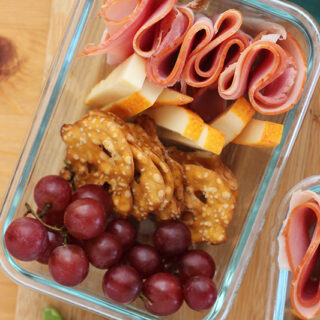
- Lunch Meat: For this box I used ham. If you can, opt for a more quality ham, or one you know your family will like. We are big fans of almost any Boars Head (not sponsored) meat. I used their Tavern Ham, which was sliced for me at the deli inside of Smith’s.
- Cheese: Explore your stores cheese department. In fact, ask a cheese monger (specialist who should be working by the cheese) what they recommend pairing your chosen meat with. For this photo we used a smoked gouda.
- Crackers: This is another that will depend on personal preference. We almost always have pretzel thins on hand, so that’s what we use. I suggest picking items you already know your family loves. While the thins are a low fat option, they don’t provide many nutritional benefits. So if you want to add even more goodness to your box, reach for a healthier cracker option like Good Thins or Cauliflower Crackers.
- Sides: The one thing I ALWAYS wished my store-bought lunchable had. MORE FOOD. We like to pack ours with fresh fruit and veggies like grapes and snap peas.

Jesseca’s Recipe Review
These Homemade Lunchables are a total lifesaver in our house. They take minutes to prep, cost way less than store-bought, and my teen actually looks forward to lunch. Which is saying something. I love that I can customize them based on what we have in the fridge and sneak in a little extra fruit or veggies without any complaints.
Tip from Jesseca:
Keep a bin in the fridge stocked with lunchable-ready ingredients (think pre-sliced cheese, deli meat, fruit, and snackable veggies) so building a lunchbox is just a quick grab-and-go.
Variations and Substitutions
- Ham and Cheddar: A classic that never goes out of stile. Sides for this can include grapes, pasta salad, or sugar snap peas
- Turkey and Provolone: Try serving with a small side of pesto, cucumber slices, and ranch.
- Pepperoni and Mozzarella: This is a great one to serve with mini, or sliced, pita’s and pizza sauce. Toss in some olives and grapes for a winning combination.
More Customization Ideas
- Protein: Choose your favorite deli meats such as turkey, ham, chicken, or roast beef. You can also use vegetarian options like tofu, tempeh, or plant-based deli slices.
- Cheese: Select different types of cheese like cheddar, Swiss, pepper jack, or even crumbled feta or goat cheese for variety. For vegan options, consider using dairy-free cheeses made from nuts or plant-based ingredients.
- Crackers or Bread: Instead of traditional crackers, you can use whole-grain crackers, rice cakes, pita bread, tortilla wraps, or even slices of bread or bagels.
- Fruits and Vegetables: Add a variety of fresh fruits and vegetables such as carrot sticks, cucumber slices, cherry tomatoes, grapes, apple slices, or berries. You can choose what you enjoy or what’s in season.
- Dips and Spreads: Include condiments like hummus, guacamole, salsa, yogurt-based dips, or mustard for added flavor.
- Extras: Consider adding a small handful of nuts, pretzels, olives, hard-boiled eggs, or pickles to round out your homemade Lunchable.
Homemade Lunchables
These lunchables are a total win for easy school lunches or grab-and-go snacks. They’re quick to prep, super customizable, and way more budget-friendly than store-bought. Here’s a fast step-by-step:
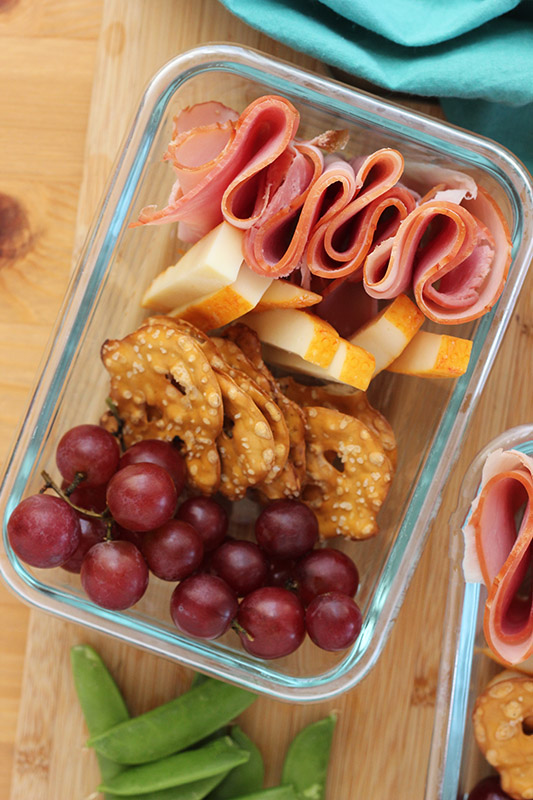
- Portion the ingredients – Divide the turkey, cheddar, grapes, and peas evenly between two meal containers.
- Seal and chill – Close the containers and store them in the fridge for up to 2 days.
- Add crackers later – Keep crackers out until the day you plan to eat so they stay fresh and crunchy.
That’s it! A balanced, kid-approved lunch in minutes. Scroll down for flavor swaps and tips to mix it up all week long.
Helpful Tools
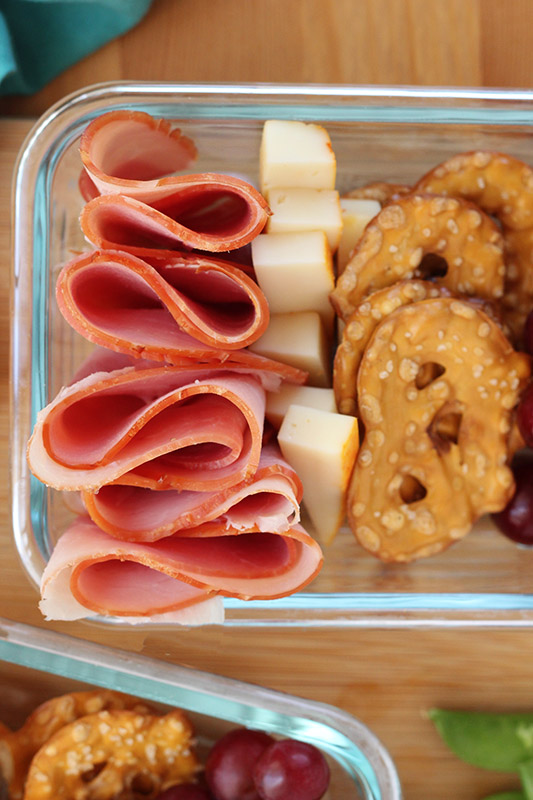
- Packable Containers: I have a set of glass containers (affiliate) that I absolutely love. They come with dividers, which can be ideal for separating the crackers from the more moist ingredients.
- Sauce Containers: These little containers (affiliate) are the perfect size for condiments like ranch, ketchup, or hummus.
- Cookie Cutters: Ok, totally optional, but a fun one if you are making these for kids… Or just like to have fun shapes in your lunchbox. These cutters (affiliate) will cut through meat, cheese, and fruit like butter.
Recipe FAQs
It’s best to keep them to a 2-day window for freshness and food safety. The ingredients may start to lose texture or flavor if stored longer.
Pack them separately in a sealed bag or container. Add them to the lunchbox right before eating or the morning of to keep them crisp.
Yes! Just be sure to pack them with an ice pack or in an insulated lunchbox to keep everything at a safe temperature.
Great for all ages—just adjust the portion sizes and ingredients based on who’s eating. They’re toddler-friendly and teen-approved.
Storage and Make-Ahead Instructions
These are perfect for prepping ahead and make busy mornings way easier.
- To store: Assemble the turkey, cheese, grapes, and peas in airtight containers and refrigerate for up to 2 days. Keep everything cold until ready to eat to ensure freshness and food safety.
- Make-ahead tip: Prep the lunchables up to 2 days in advance, but leave out the crackers. Store them separately in a sealed bag or container and add them the morning of to keep them crisp.
Freezing isn’t recommended for this one—fresh ingredients like grapes and cheese don’t hold up well after thawing. Stick to the fridge for the best results.
Want to save this recipe?
Enter your email below & we’ll send it to your inbox. Plus get great new recipes from us every week!
Homemade Ham and Cheese Lunchables
Ingredients
- 4 oz deli sliced ham
- 4 oz cheddar cheese (or 4 slices)
- 1/2 cup grapes
- 1/2 cup sugar snap peas
- 12 crackers
Instructions
- Divide the sliced turkey, cubed or sliced cheddar cheese, grapes, and peas evenly into two airtight containers. You can use bento-style lunch boxes or divided containers to help keep everything separate and fresh.
- Seal the containers tightly and place them in the fridge. These homemade lunchables will stay fresh for up to 2 days, making them great for quick lunch prep early in the week.
- To keep the crackers crisp, pack them separately and add them to the lunch container the day you plan to eat. This keeps them from absorbing moisture and going soggy.
Notes
- Ham and Cheddar: A classic that never goes out of stile. Sides for this can include grapes, pasta salad, or sugar snap peas
- Turkey and Provolone: Try serving with a small side of pesto, cucumber slices, and ranch.
- Pepperoni and Mozzarella: This is a great one to serve with mini, or sliced, pita’s and pizza sauce. Toss in some olives and grapes for a winning combination.
Nutrition
The nutrition facts provided are calculated using a third-party tool and are estimates only. Actual nutritional content may vary based on the ingredients and brands you use, as well as portion sizes. For accurate results, please consult a registered dietitian or nutritionist.


Where can I find your lunchable container?
Hi Natalie, this container is no longer made but I found a very similar one here: https://amzn.to/3CgiDq8
What? This is genius! So simple and perfect.