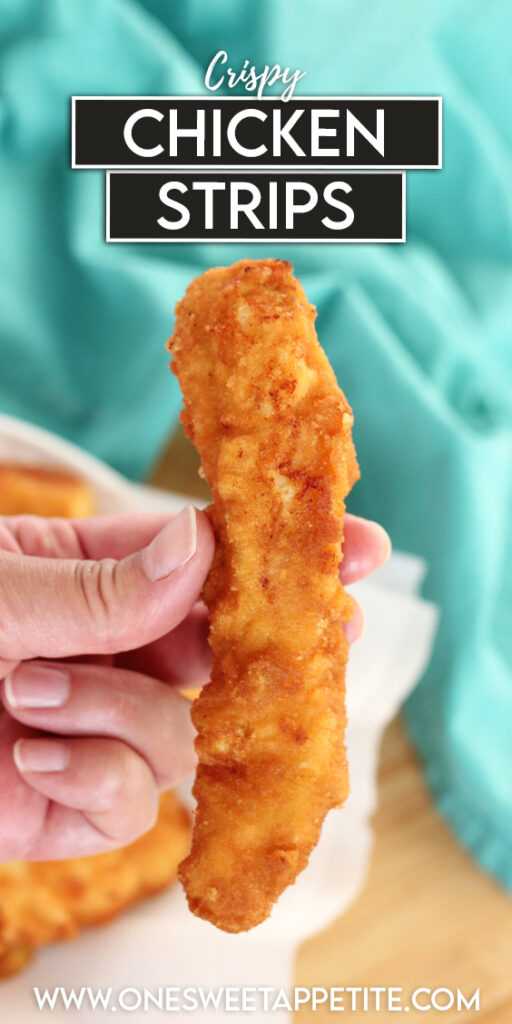
These easy Chicken Strips take the crispy game to a whole new level by coating each chicken piece with a magical blend of spices and rice crisp cereal! With each delightful bite, you’ll experience of symphony of crunch and flavor that will make your tastebuds sing a chorus of joy!
Make it a meal and serve these with a side of macaroni and cheese, cheesy potato casserole, or roasted vegetables!
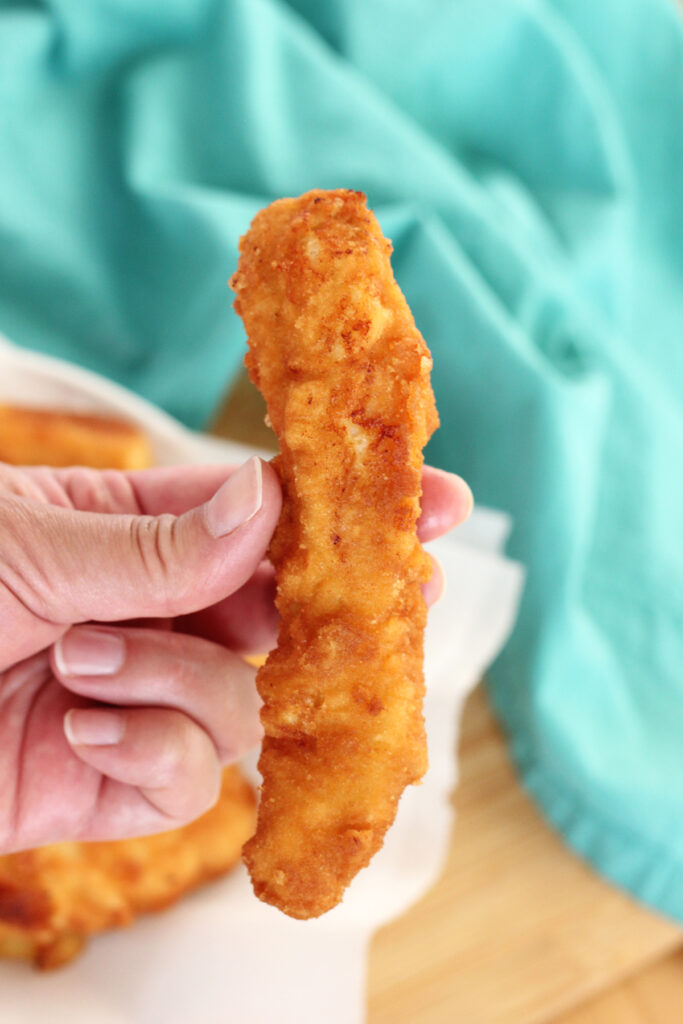
Why You’ll Love These Fried Chicken Strips
- Easy: You will be shocked when you realize just how simple it is to make this recipe!
- Freezer Friendly: Yes, you can FREEZE this recipe! More details in the post below.
- Easy to Customize: The seasonings we used are my personal favorite, however you can easily adapt to fit your go-to flavor profile! These would be incredible with Cajun seasoning!
This recipe was passed down to me from my aunt, who lovingly made these for me far too often when I was growing up. She lived across the street and I would impatiently wait for her car to pull up from work and scream across the road begging her to make me chicken. Every. Single. Day. Lucky for me, she did make me chicken often and it’s now a family favorite recipe we’re excited to share.
These strips are so addictive, they might just break the world record for causing uncontrollable cravings. So grab a plate, prepare to be dazzled, and let the Rice Krispy-licious adventure begin! Warning: Extreme finger-licking and a longing for seconds are highly likely.
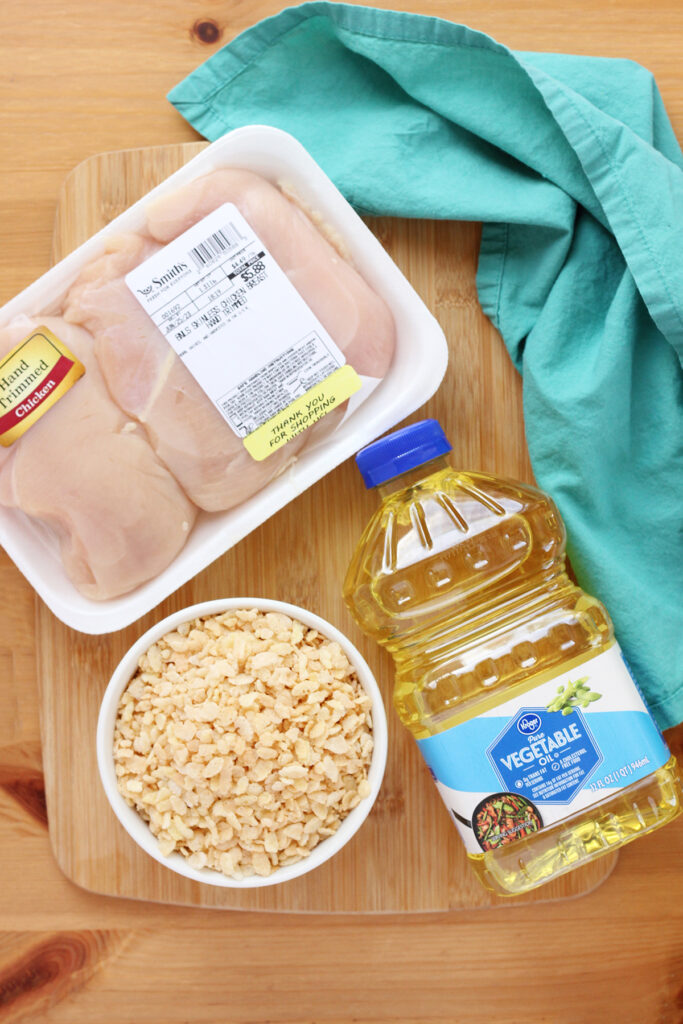
Homemade Chicken Fingers Ingredients
The secret to that perfectly crisp exterior might surprise you. It’s cereal! But not just any cereal. Here is everything you will need to make this recipe.
- Chicken: I like to use chicken breast that I slice into strips. However, you can purchase pre sliced tenders in most grocery stores to help save time.
- Seasonings: The original recipe was incredibly easy and simple using only seasoning salt. We have added a little flare to the mix with the addition of garlic powder, pepper, and paprika. However, you can make it using any of your favorite seasonings!
- Flour: Just a touch of flour to help keep in moisture and allow the outside coating to stick.
- Eggs: An egg wash works as a binder for the crispy outside coating.
- Cereal: I really like to use rice krispies that have been ran through a blender to form a very fine powder. You will be amazed at how crispy these chicken strips get!
- Oil: My aunt swears by Wesson Vegetable oil. You can use any vegetable oil for this recipe.
Fried Chicken Strip Recipe
Leftovers? Use this in my Copycat KFC Bowls!
- PREP: Slice the chicken breast into strips. Pat dry with a paper towel on both sides. It’s important to get the chicken dry to help the seasoning stick.
- SEASON: Combine the seasoning salt, garlic powder, pepper and paprika in a small bowl. Mix to combine. Sprinkle evenly over the chicken strips, coating both sides.
- DIP: Place the flour into a shallow dish or bowl. In a second bowl whisk the eggs with a few tablespoons of water. Add the blended cereal to the final dish. Dip the chicken into the flour and coat fully. Transfer to the egg wash, turning to ensure it covers the entire chicken. Finally, add it to the cereal and toss to get it to cover the entire piece. Place on a working tray while you finish the remaining chicken pieces.
- FRY: Heat 1 to 1 1/2 inches of oil in a deep pot (this helps keep the mess down while frying) over medium/high heat. Once hot (about 650 to 375 degrees F), add the chicken in a single layer, making sure not to crowd the pan, and cook for 3-4 minutes per side or until golden brown and the chicken reaches an internal temperature of 165 F.
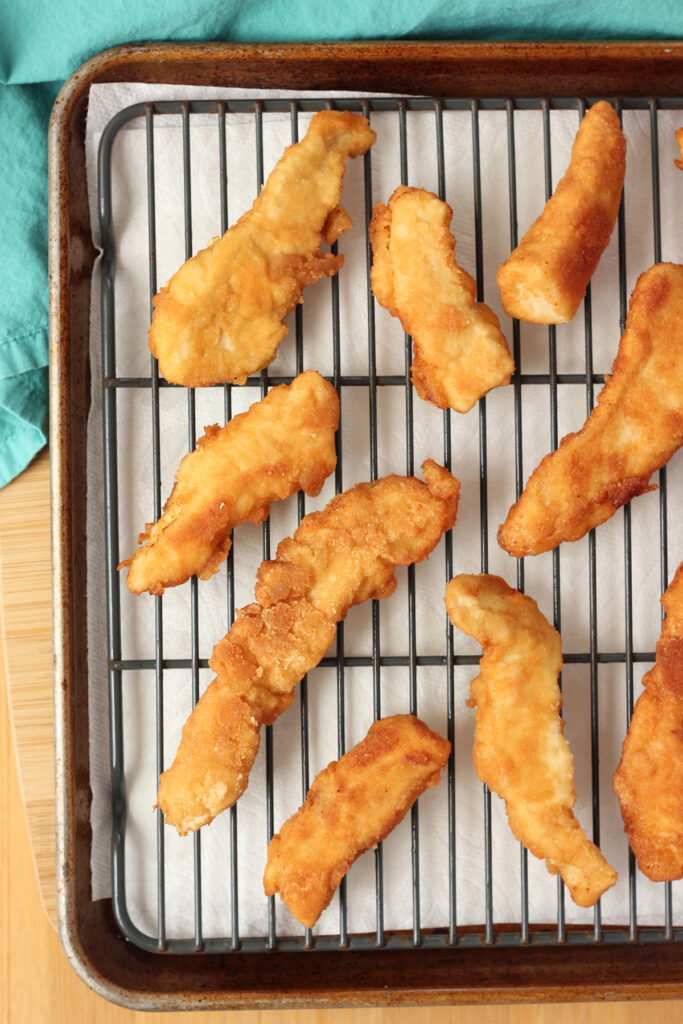
- DRAIN: Remove the chicken to a wire rack that has been placed over paper towels to drain and enjoy!

Helpful Tools
- Tongs: NEVER reach into a pot of hot oil with your fingers. Always use tongs! (affiliate). They are inexpensive and a great way to save you from a severe burn.
- Tall Pot: Can you make this in a shorter skillet (affiliate)? Absolutely! However, I find that using a tall large pot (affiliate) keeps the mess to a minimum.
- Meat Thermometer: I absolutely hate playing the guessing game when it comes to deciding if chicken is cooked fully. That’s why I LOVE my instant read thermometer (affiliate). It gives you relief that you’re on the right track and takes seconds.
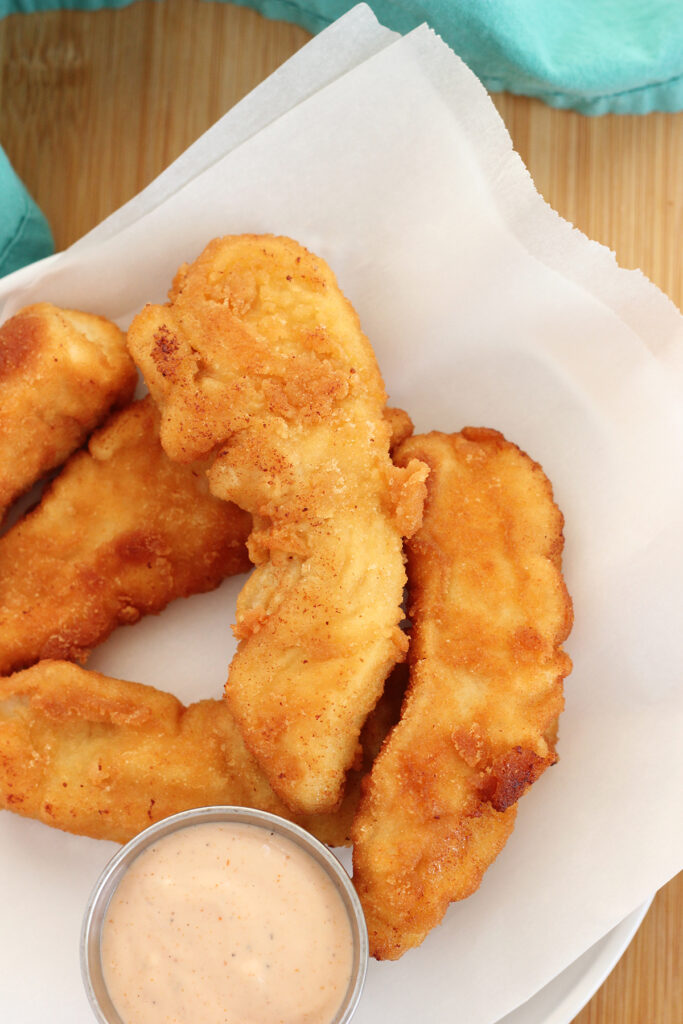
Recipe Notes:
Boneless, skinless chicken breasts or chicken tenders work well for crispy chicken strips.
Yes, you can experiment with other coatings like panko breadcrumbs, crushed cornflakes, or even crushed pretzels for a unique twist.
Double dip! Love that outer crispy coating? Try double dipping each chicken strip in the flour, egg, and cereal!
Absolutely! Preheat your oven to 400°F (200°C) and bake the coated chicken strips on a greased baking sheet for about 20-25 minutes, flipping halfway through.
Yes, you can freeze them. Allow the cooked chicken strips to cool, then place them in a freezer-safe container or bag. They can be stored in the freezer for up to 2 months.
Let them cool completely, then store them in an airtight container in the refrigerator for up to 3 days. Reheat them in the oven or toaster oven to maintain crispiness.

More Quick Chicken Dinners
Still Hungry? Follow One Sweet Appetite on Instagram, Pinterest, and Facebook!

Crispy Fried Chicken Strips
Ingredients
For the Chicken
- 1½ lbs boneless skinless chicken breast cut into strips
- 1 teaspoon seasoning salt
- 1/2 teaspoon garlic powder
- 1/4 teaspoon pepper
- 1/4 teaspoon paprika
For the Coating
- 1 cup all purpose flour
- 3 large eggs
- 4 cups rice crisp cereal
- oil for frying
Instructions
- Pat the dry with a paper towel on both sides. It’s important to get the chicken dry to help the seasoning stick.
- Combine the seasoning salt, garlic powder, pepper and paprika in a small bowl. Mix to combine. Sprinkle evenly over the chicken strips, coating both sides.
- Place the flour into a shallow dish or bowl. In a second bowl whisk the eggs with a few tablespoons of water. Add the blended cereal to the final dish.
- Dip the chicken into the flour and coat fully. Transfer to the egg wash, turning to ensure it covers the entire chicken. Finally, add it to the cereal and toss to get it to cover the entire piece.
- Place on a working tray while you finish the remaining chicken pieces.
- Heat 1 to 1 1/2 inches of oil in a deep pot (this helps keep the mess down while frying) over medium/high heat.
- Once hot (about 650 to 375 degrees F), add the chicken in a single layer, making sure not to crowd the pan, and cook for 3-4 minutes per side or until golden brown and the chicken reaches an internal temperature of 165 F.
- Remove the chicken to a wire rack that has been placed over paper towels to drain and enjoy!
Did You Make This Recipe?
Share it with me on Instagram @1sweetappetite and follow pinterest for more!
Find even more recipes!
Be sure to share it in the comments below and follow me on Pinterest, Facebook and Instagram for even more delicious recipes.