Grilled Cheese Sliders
This post may contain affiliate links.
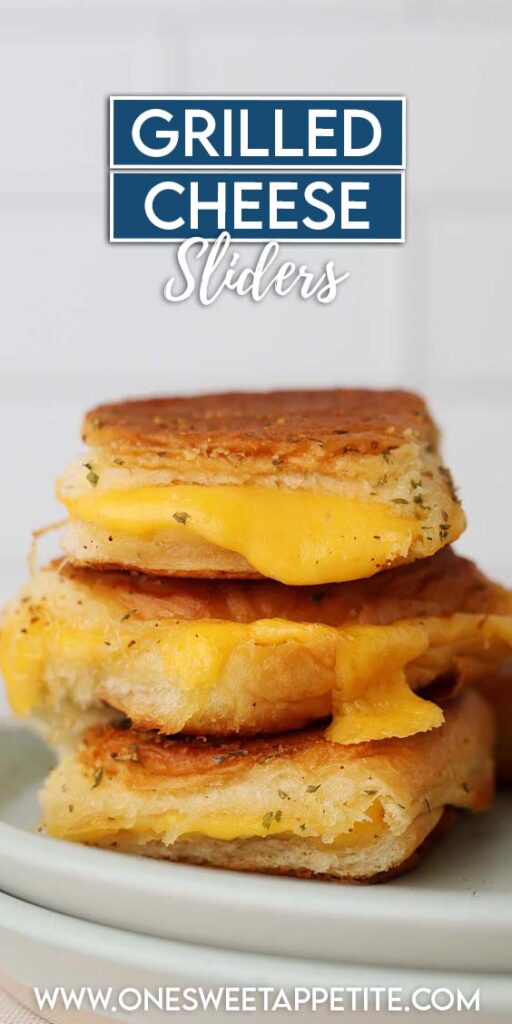
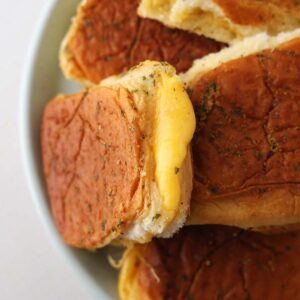
Grilled Cheese Sliders became one of our favorite easy dinners after we made them on a family trip and realized how much easier they were than cooking grilled cheese one sandwich at a time. Ever since, they’ve been my go-to whenever I want something quick, comforting, and guaranteed to disappear.
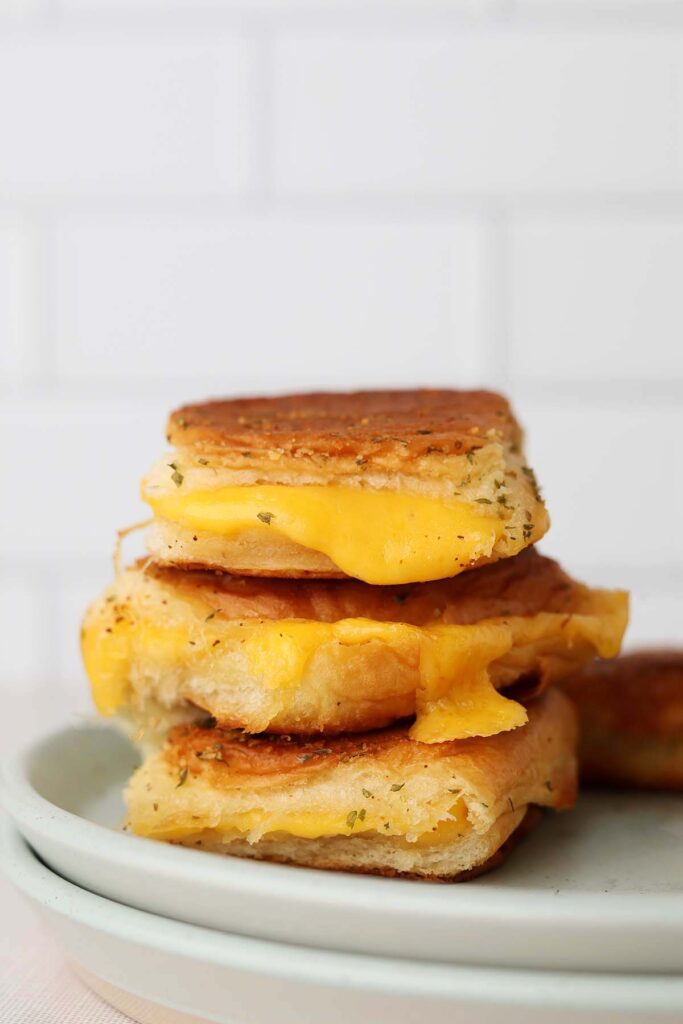
Why These Baked Grilled Cheese Sliders Are Better Than Regular Grilled Cheese
- Quick family dinner: You can assemble the entire batch at once and have dinner ready in about 20 minutes.
- No standing over the stove: The oven melts the cheese and crisps the rolls while you work on the rest of dinner, or do absolutely nothing.
- Crispy, buttery edges: A seasoned Parmesan butter adds the savory, toasted flavor you expect from classic grilled cheese.
- Everyone eats at the same time: No serving one person while the next sandwich is still cooking.
Years ago, we were headed on a family trip where everyone was assigned a dinner to make for the group. I wanted something simple that would still feed a crowd, but I quickly realized that making individual grilled cheese sandwiches for everyone wasn’t going to be practical. After a little trial and error in the kitchen, these Hawaiian roll Grilled Cheese Sliders became the answer.
They have everything I love about classic grilled cheese, buttery, crispy bread and plenty of melty cheese, but they’re baked all at once in the oven. I tested them a few different ways to get the cheese-to-bread ratio just right and to make sure they stayed soft in the middle while still crisping up on top. Whether I’m feeding my family on a busy weeknight or bringing dinner to a group, this is still the recipe I come back to.

Jesseca’s Recipe Review
My teenager requests this dinner on repeat, which is saying something. He’ll even grab the leftovers straight from the fridge the next day, and honestly, I don’t blame him. The garlic Parmesan butter is what takes these from a basic oven baked grilled cheese to something everyone gets excited about.
Tip from Jesseca:
Don’t skip the second sheet pan on top while the sliders bake. It gently presses everything together so the cheese melts evenly into the rolls instead of leaving big air pockets. Once you remove the top pan for the last few minutes, the tops turn perfectly golden while the inside stays soft and cheesy.
Oven Baked Grilled Cheese Ingredients
The real magic isn’t in a long ingredient list, it’s in how they’re layered and baked. A few small details, like using Hawaiian rolls and brushing on the garlic Parmesan butter, make all the difference.
- Hawaiian Rolls: Their soft texture and slightly sweet flavor make them perfect for oven-baked grilled cheese. Keep the rolls connected when slicing them in half so they’re easier to assemble and bake.
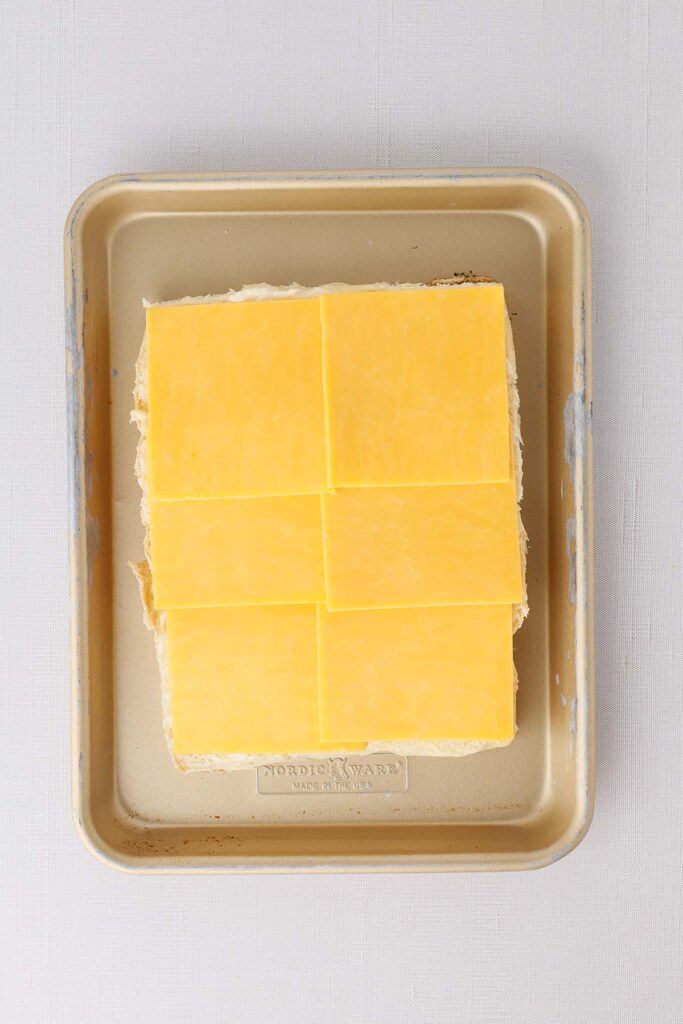
- Cheddar Cheese: Sliced cheddar melts evenly and gives you that classic grilled cheese flavor. I like using medium or sharp cheddar, but any good melting cheese will work.
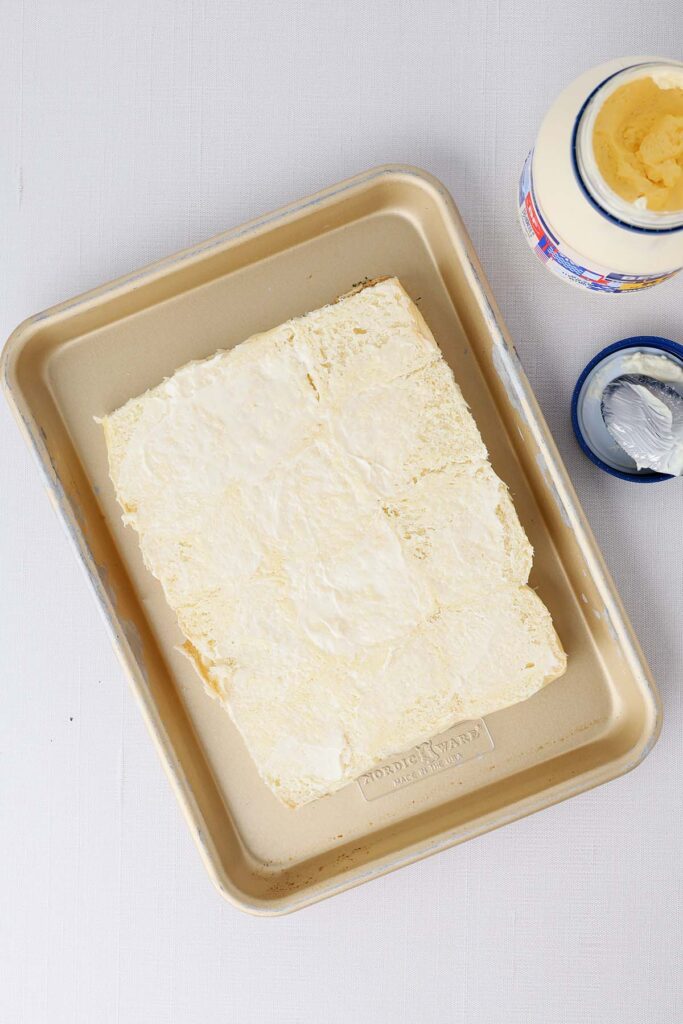
- Mayonnaise: A thin layer inside the rolls adds richness and helps create that classic grilled cheese flavor. Spread it lightly so it complements the cheese without overpowering it.
- Butter: Melted butter helps the rolls turn perfectly crisp and golden while carrying all of the seasonings across the top.
- Parmesan Cheese: Grated Parmesan melts into the butter and creates a savory crust that’s my favorite part of the recipe. Freshly grated works best, but the shelf-stable grated Parmesan is a great shortcut.
- Garlic Powder and Parsley: Adds just enough garlic flavor without competing with the cheese.
Sheet Pan Grilled Cheese Variations
Once you’ve mastered the classic version, it’s easy to customize these Grilled Cheese Sliders with your favorite cheeses and add-ins.
- Three Cheese: Layer cheddar with mozzarella and provolone for an extra gooey, cheesy center.
- Ham and Cheese: Add thin slices of deli ham for an easy lunch or weeknight dinner that’s always a hit.
- Bacon: Sprinkle cooked, crumbled bacon over the cheese before adding the tops of the rolls.
- Pepper Jack: Swap the cheddar for pepper jack if you like a little heat. Add a few pickled jalapeños for even more flavor.
- Tomato Basil: Add thin tomato slices and a few fresh basil leaves after baking for a fresh twist on a classic grilled cheese.
- Everything Bagel: Sprinkle Everything Bagel seasoning over the garlic butter before baking for extra crunch and savory flavor.
- Italian: Layer provolone with pepperoni or salami and serve with warm marinara for dipping.
Why Bake Grilled Cheese Instead of Using a Skillet?
If you’ve only ever made grilled cheese on the stovetop, baking them in the oven is a game changer. You get everything you love about classic grilled cheese with a lot less work.
– Make them all at once. No standing at the stove cooking one sandwich after another.
– Everyone eats together. Every sandwich is hot and ready at the same time.
– Perfectly crisp. The garlic parmesan butter helps the tops and bottoms bake up golden and buttery.
– Less hands-on. Once they are in the oven, you can prep the rest of dinner and set the table.
– Great for families. These mini grilled cheese sandwiches are easy to pull apart and serve, making them perfect for busy weeknights, after-school snacks, or feeding a group.
Once you try oven-baked grilled cheese, it’s hard to go back to making them one at a time in a skillet.
What to Serve with Hawaiian Roll Sliders
These Grilled Cheese Sliders are hearty enough to stand on their own, but they’re even better with a simple side. Whether you’re making them for a quick weeknight dinner or serving them at a party, here are a few of my favorite pairings.
- Tomato Soup: The classic pairing. Dunking these buttery, cheesy sliders into a bowl of tomato soup never gets old.
- Broccoli Cheese Soup: If you can’t get enough cheese, this creamy soup is the perfect match.
- Chili: A bowl of hearty chili turns these sliders into a filling comfort food meal.
- Side Salad: A crisp green salad with your favorite dressing helps balance the richness of the grilled cheese.
- Fresh Fruit: Grapes, apple slices, or berries add a fresh, sweet contrast that’s perfect for lunch or dinner.
- French Fries or Tater Tots: Keep things simple with crispy fries or tots for a family-friendly meal everyone will love.
- Potato Chips: Sometimes the easiest side is the best one. A handful of kettle-cooked chips adds the perfect crunch.
If I’m making these on a busy weeknight, I usually pair them with tomato soup or a simple salad. Both come together quickly and make dinner feel complete without adding much extra work.
Frequently Asked Questions
You can, but I recommend sliced cheese for the best results. Slices create an even layer that melts smoothly from edge to edge, while shredded cheese can leave gaps or melt unevenly. If shredded cheese is what you have, use enough to completely cover the rolls.
The second sheet pan gently presses the sliders as they bake, helping the cheese melt evenly while keeping the rolls from puffing up. It also creates more contact with the pan, giving you crispier tops and bottoms.
Absolutely. Hawaiian rolls are my favorite because they’re soft and slightly sweet, but brioche slider buns, potato rolls, or dinner rolls all work well. Just use rolls that are connected so they’re easy to slice and assemble.
Cheddar is my go-to because it has great flavor and melts beautifully. American, Colby Jack, Monterey Jack, mozzarella, provolone, and pepper jack are all great options, too. You can even combine two cheeses for extra flavor.
Yes, but I don’t recommend it. The mayo adds richness and helps create that classic grilled cheese flavor without making the sliders taste like mayonnaise. If you prefer, you can replace it with softened butter, but the texture will be slightly different.
Storage and Reheating Instructions
If you happen to have leftovers, they’re easy to save for another meal. While these Grilled Cheese Sliders are at their crispiest fresh from the oven, they reheat surprisingly well with the right method.
- Refrigerator. Store leftover sliders in an airtight container in the refrigerator for up to 3 days.
- Reheat in the Oven. Place the sliders on a baking sheet and warm them in a 350°F oven for 8 to 10 minutes, or until the cheese is melted and the rolls are heated through. This is the best way to bring back the crispy, buttery exterior.
- Reheat in the Air Fryer. Air fry at 350°F for 3 to 5 minutes, checking after a few minutes to avoid over-browning.
- Microwave. The microwave works if you’re short on time, but the rolls will be much softer. Heat individual sliders in 15 to 30 second intervals until warmed through.
Want to save this recipe?
Enter your email below & we’ll send it to your inbox. Plus get great new recipes from us every week!
Grilled Cheese Sliders ( Oven Baked on Hawaiian Rolls)
Ingredients
- 3 tablespoons butter (melted)
- 2 teaspoons grated Parmesan cheese
- ¾ teaspoon garlic powder
- ¾ teaspoon dried parsley
- 1 package (12-count Hawaiian rolls)
- 2 tablespoons mayonnaise
- 6 slices cheddar cheese
Instructions
- Preheat the oven to 400°F.
- In a small bowl, stir together the melted butter, Parmesan cheese, garlic powder, and parsley.
- Without separating the rolls, use a serrated knife to slice the entire package of Hawaiian rolls in half horizontally, creating one large top and one large bottom.
- Place the bottom half of the rolls cut-side down on the prepared baking sheet. Brush about half of the garlic Parmesan butter over the bottom side. Flip over so the cut side is up right.
- Spread the mayonnaise evenly over the cut side.
- Arrange the cheddar cheese slices in an even layer, slightly overlapping if needed to cover the rolls completely.
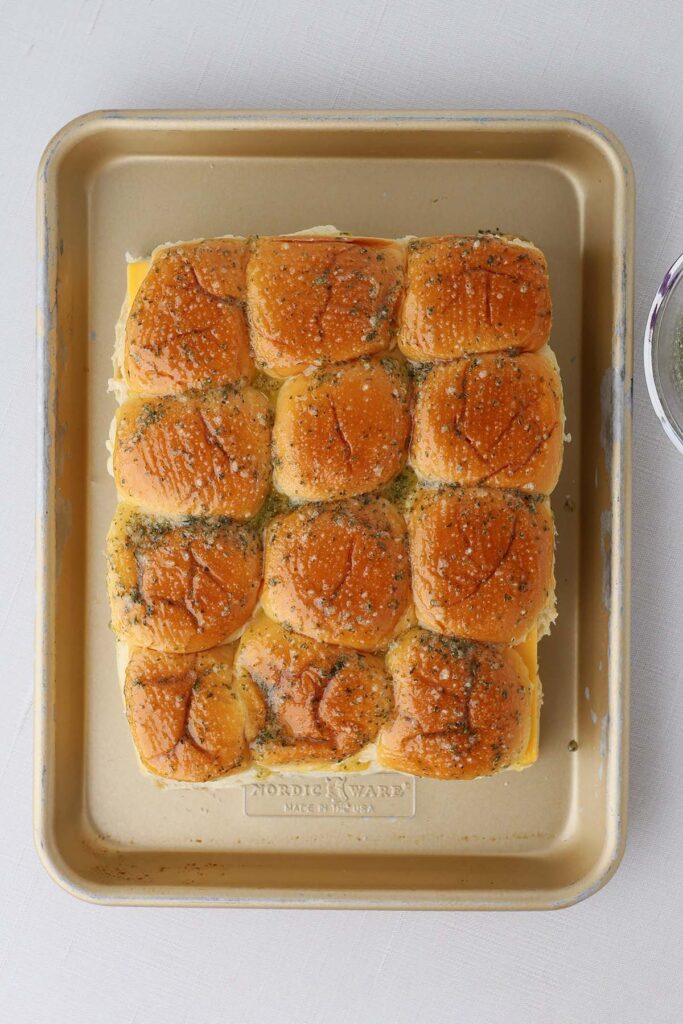
- Place the top half of the rolls over the cheese and brush the remaining garlic Parmesan butter over the tops.
- Place a second baking sheet directly on top of the sliders, gently pressing down.
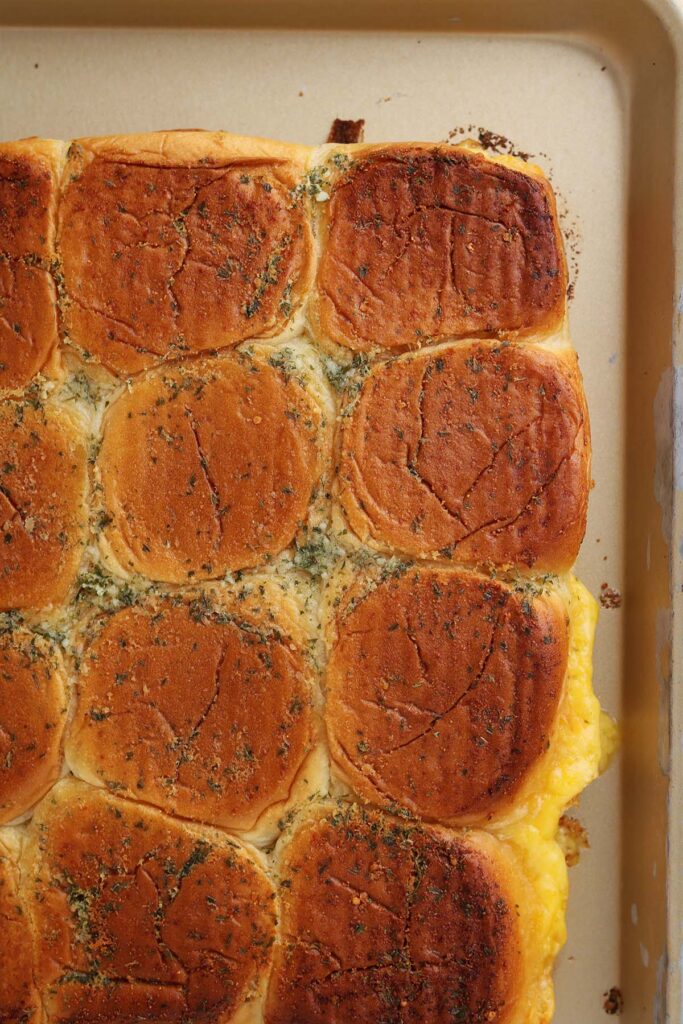
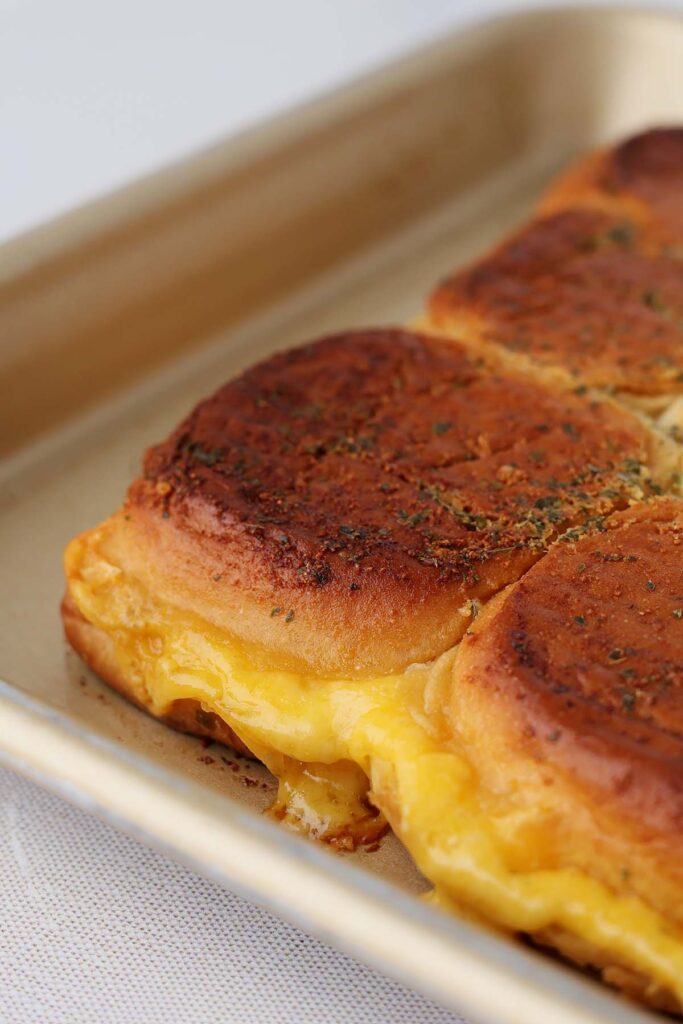
- Bake for 10 minutes. Carefully remove the top baking sheet and continue baking for 5 to 8 minutes, or until the tops are golden brown and the cheese is fully melted.
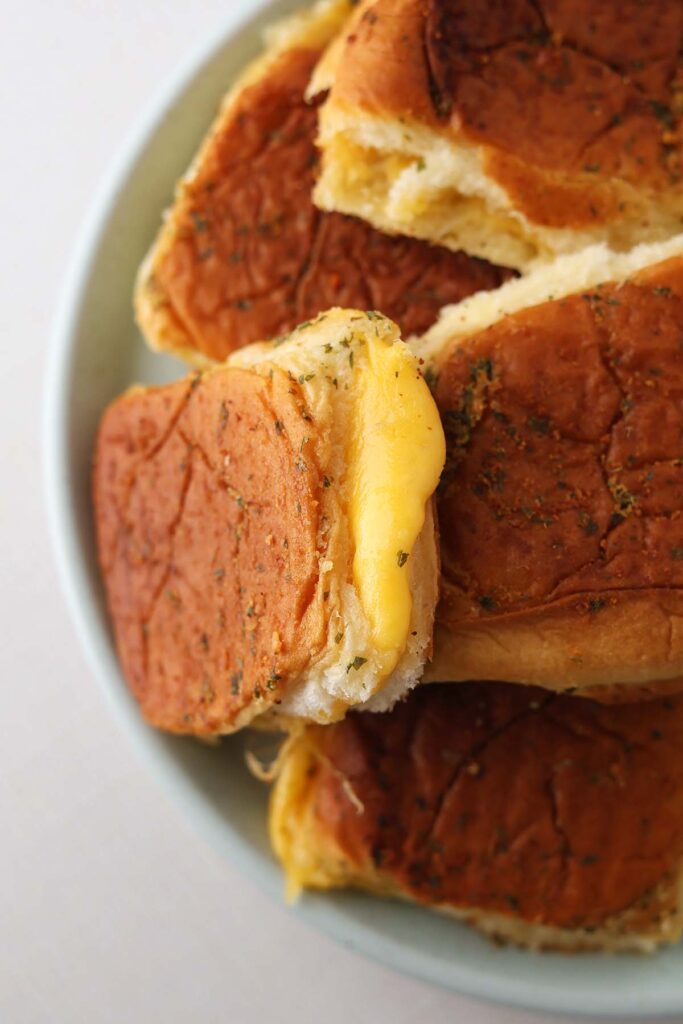
- Let the sliders rest for 2 to 3 minutes before slicing along the roll seams and serving warm.
Notes
- Keeping the rolls connected makes them much easier to slice and assemble.
- The second baking sheet helps the sliders bake evenly and gives them their signature crispy, golden finish.
- Feel free to substitute your favorite melting cheese, such as American, Colby Jack, Monterey Jack, provolone, or pepper jack.
Nutrition
The nutrition facts provided are calculated using a third-party tool and are estimates only. Actual nutritional content may vary based on the ingredients and brands you use, as well as portion sizes. For accurate results, please consult a registered dietitian or nutritionist.