No Bake Oreo Cheesecake
This post may contain affiliate links.
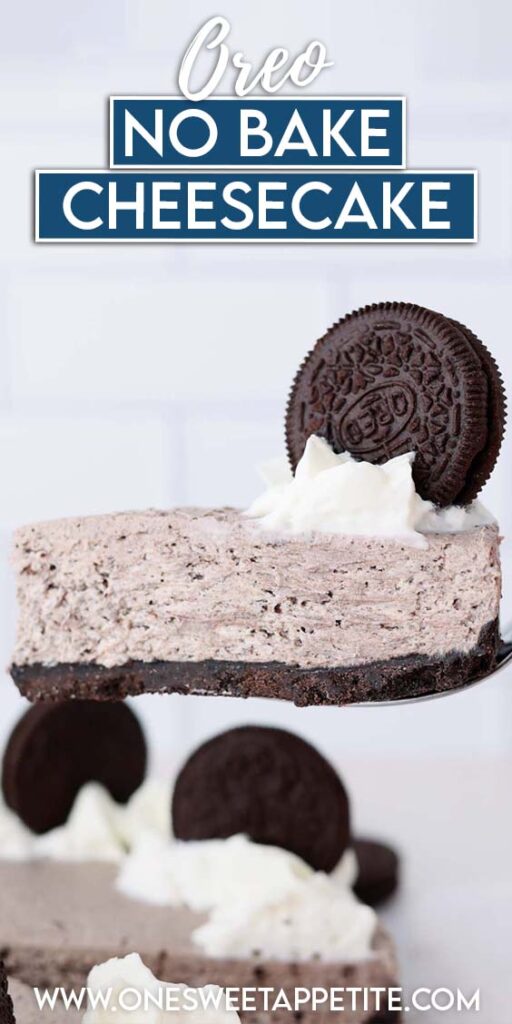
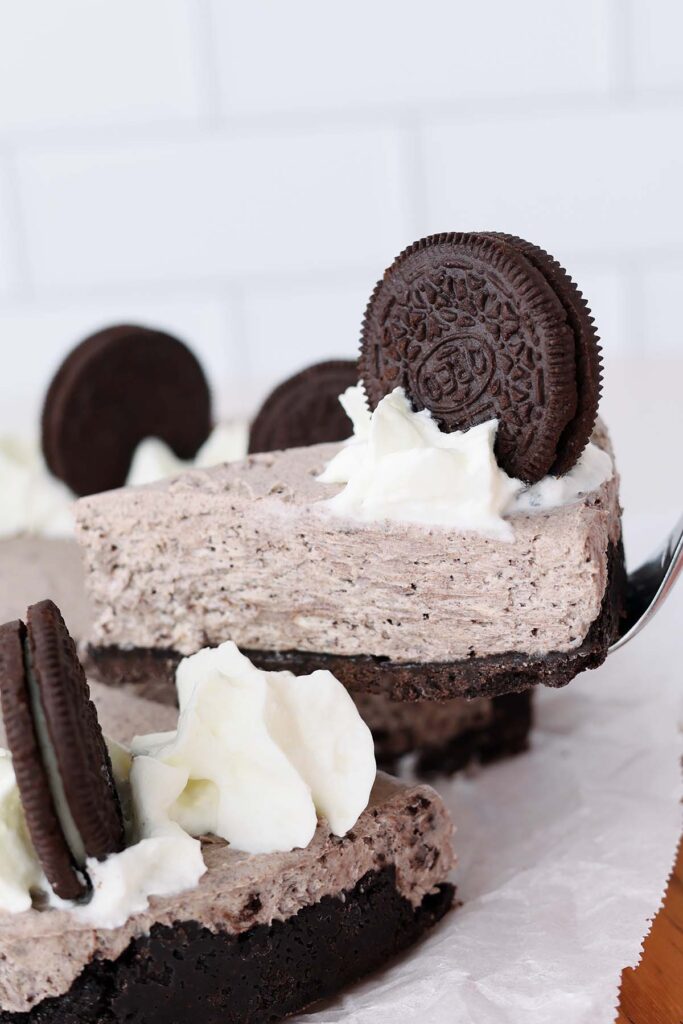
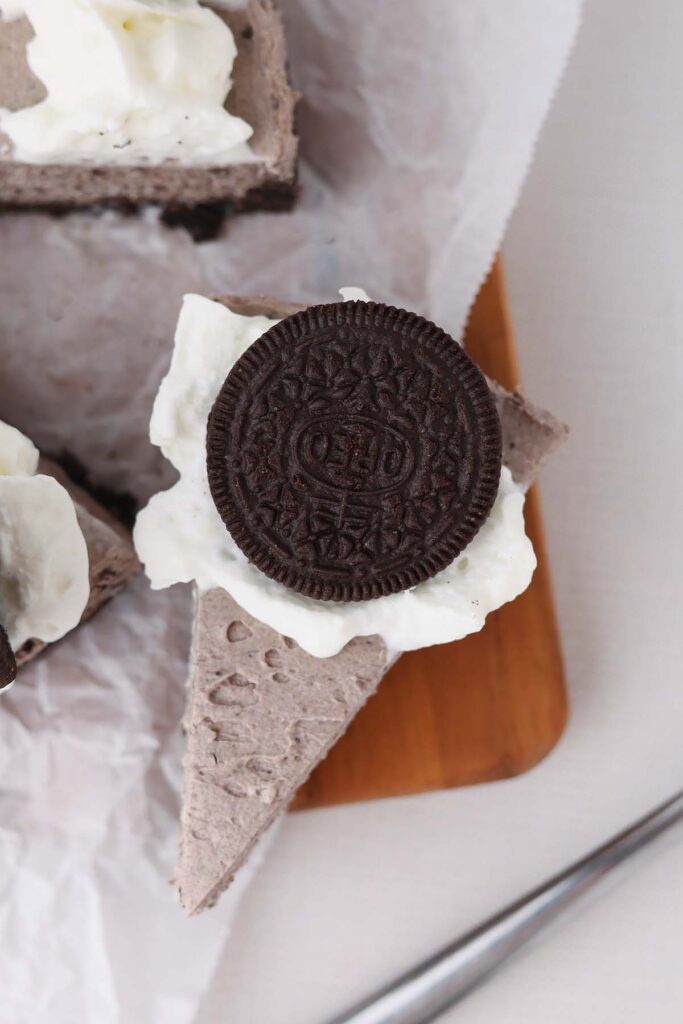
This no bake Oreo cheesecake is rich, creamy, and loaded with enough Oreos that it actually tastes like cookies and cream instead of plain cheesecake with a few cookies mixed in. Once you make this once or twice, you’ll see how simple it really is. It’s one of my favorite make-ahead desserts because it feels bakery-style without ever turning on the oven.
Looking for more fun cookies and cream recipes? Try my Cookies and Cream Cupcakes (fan favorite), Oreo Ice Cream, and Cookies and Cream Cereal Treats!
Why This Recipe Works
- Packed with real Oreo flavor in both the crust and filling
- No baking or complicated steps required
- Creamy filling with chunks of cookies throughout
- Make-ahead friendly and perfect for parties
- Sets firm enough for clean slices after chilling
What I love most about this recipe is that it actually tastes like Oreos. The crust, the filling, the cookie chunks throughout… every bite has that classic cookies-and-cream flavor instead of tasting like plain cheesecake with a few crushed cookies tossed in.
It’s also surprisingly simple once you’ve made it the first time. The filling comes together quickly, the fridge does most of the work, and it always feels a little more impressive than the effort it takes. This is one of those desserts people immediately ask about after the first bite.
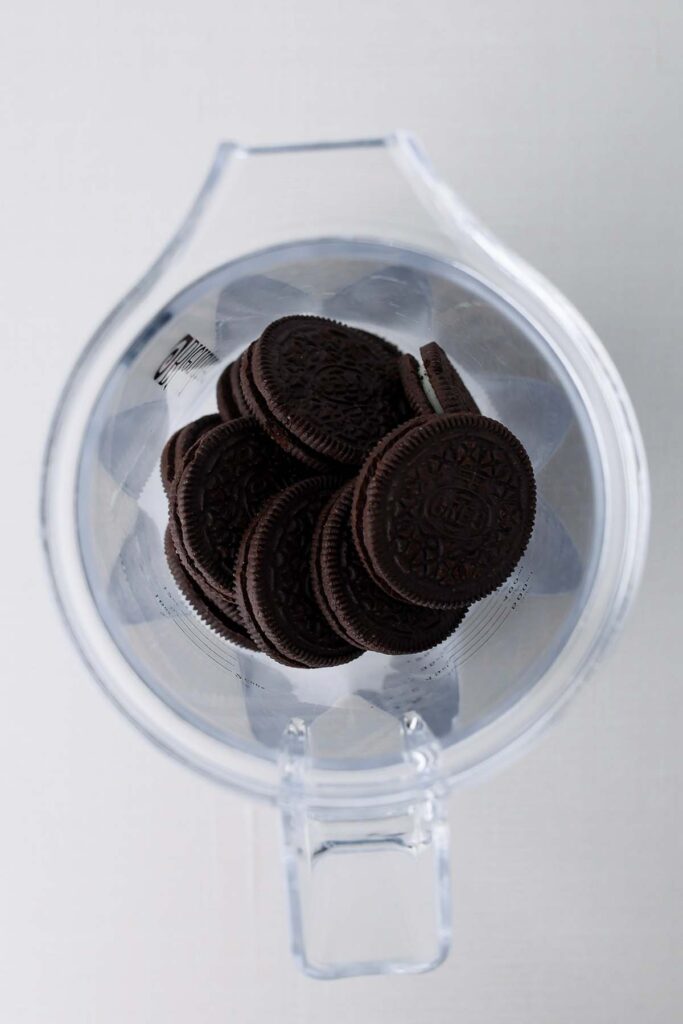
Oreo Cheesecake Recipe No Bake Ingredients
Everything in this recipe is easy to grab at a regular grocery store, and there’s nothing complicated about the process. As long as your cream cheese is softened and you give the cheesecake enough time to chill, you’re set up for success.
- Oreo Cookies: You’ll use Oreos for both the crust and filling. Leave the cream filling inside the cookies since it helps the crust hold together and adds extra flavor. Roughly crush the cookies for the filling so you get bigger chunks throughout the cheesecake.
- Butter: Melted butter binds the crust together. Salted or unsalted both work here, but salted butter adds a nice balance to the sweetness.
- Cream Cheese: Use full-fat brick-style cream cheese for the best texture. Let it soften at room temperature before mixing to help create a smooth filling.
- Sugar: Just a small amount sweetens the cheesecake without overpowering the Oreo flavor.
- Heavy Cream: This helps create the light, fluffy texture. Make sure it’s cold before whipping for the best results.
- Vanilla Extract: Optional, but highly recommended. It rounds out the flavor and makes the cheesecake taste a little more homemade.
- Salt: A tiny pinch helps balance the sweetness and makes the chocolate flavor pop.
- Chocolate Chips + Heavy Cream (Optional Ganache): If you want a more bakery-style finish, the simple ganache topping adds a rich chocolate layer that pairs perfectly with the Oreos.

Jesseca’s Recipe Review
I’ve tried a lot of no bake cheesecake recipes over the years, and this is one of the few that genuinely feels worth making again. The texture is creamy without being too heavy, the Oreo flavor actually comes through, and it manages to feel both nostalgic and a little bakery-style at the same time. My family immediately went back for seconds, which honestly tells me more than anything else.
Tip from Jesseca:
My biggest tip is to save a handful of larger Oreo pieces for the very end instead of fully crushing everything. It gives the cheesecake that classic cookies-and-cream texture and keeps the filling from blending into one soft layer.
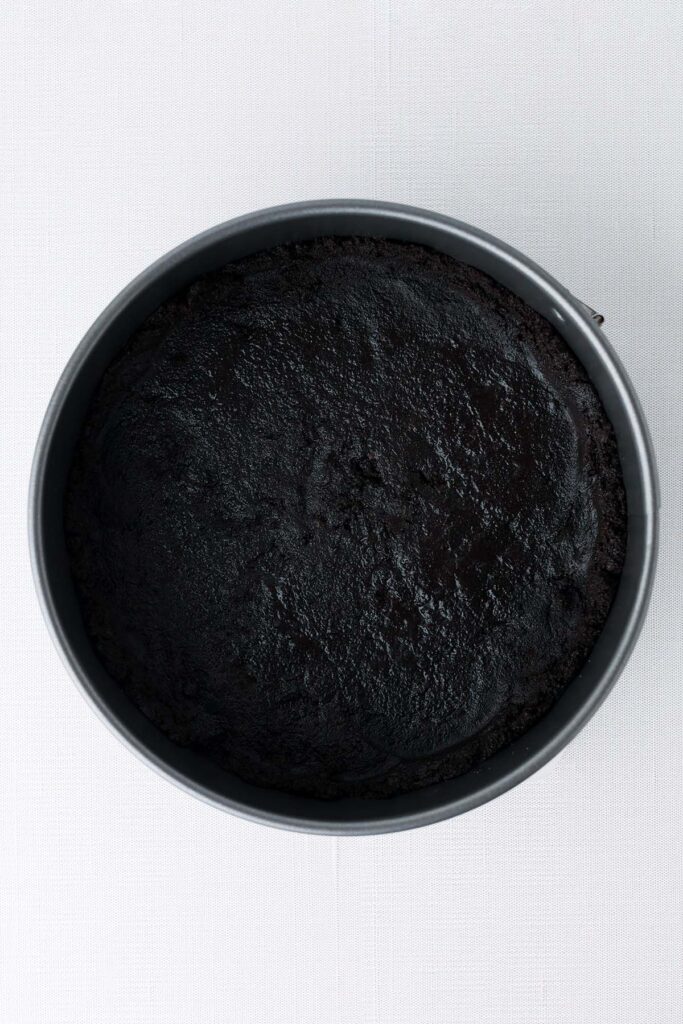
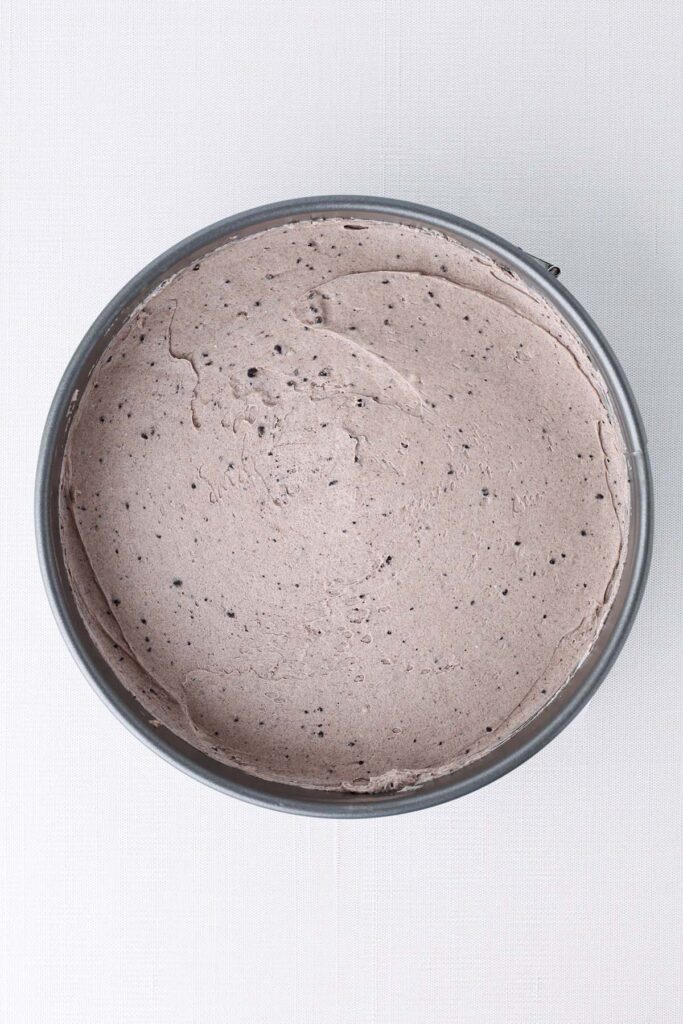
Bakeless Oreo Cheesecake Texture & Flavor Breakdown
This cheesecake is lighter and fluffier than a traditional baked cheesecake, but still holds its shape beautifully after a good chill in the fridge.
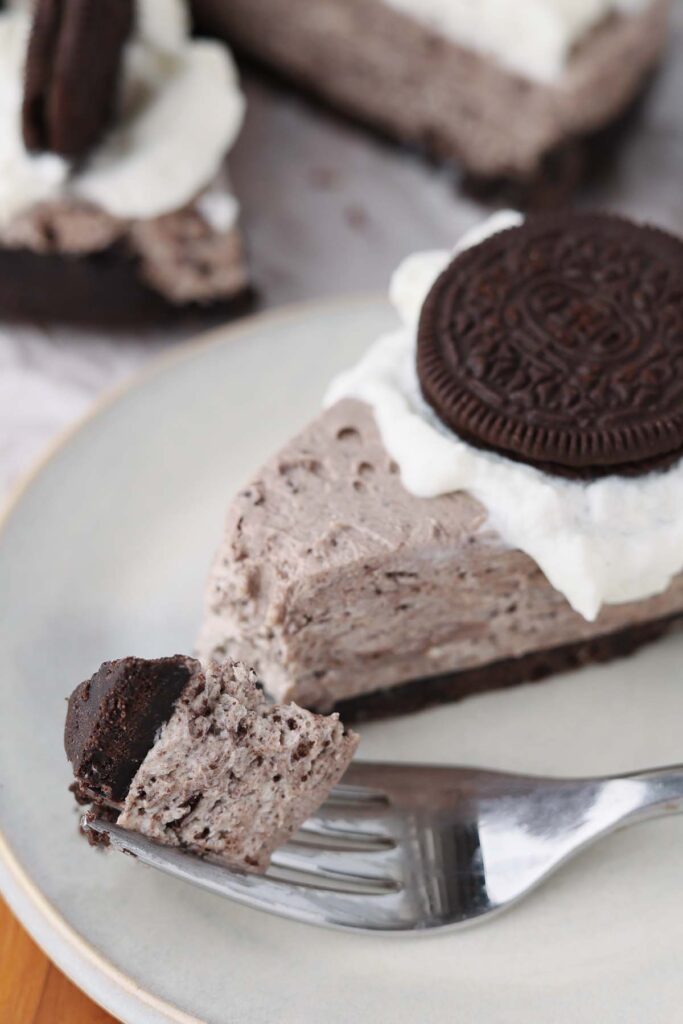
- Texture: Creamy and light with soft Oreo chunks throughout
- Consistency: Somewhere between classic cheesecake and Oreo mousse
- Sweetness: Rich without being overly sweet
- Slices: Firm enough for clean slices after chilling overnight
- Flavor: Strong cookies-and-cream flavor in every bite
The crushed Oreos throughout the filling keep it from tasting too rich or one-note, and the texture feels soft, creamy, and balanced instead of overly dense.
Oreo Cheesecake Variations
Once you’ve made the base recipe, there are plenty of fun ways to switch it up depending on the occasion or what you have on hand.
- Mini Oreo Cheesecakes: Press the crust into cupcake liners and divide the filling evenly for individual cheesecakes that are perfect for parties and holidays.
- 9×13 Party Version: Double the recipe and spread it into a 9×13 pan for easy serving at potlucks, birthdays, or summer gatherings.
- Cookies and Cream Cheesecake Cups: Layer the crust and filling into small cups or jars for an easy make-ahead dessert that’s great for showers and parties.
- Chocolate Oreo Cheesecake: Add a drizzle of hot fudge or chocolate ganache on top for an even more chocolate-heavy version.
- Store Brand Sandwich Cookies: Generic sandwich cookies work fine if that’s what you have available, although classic Oreos tend to give the best flavor and texture.
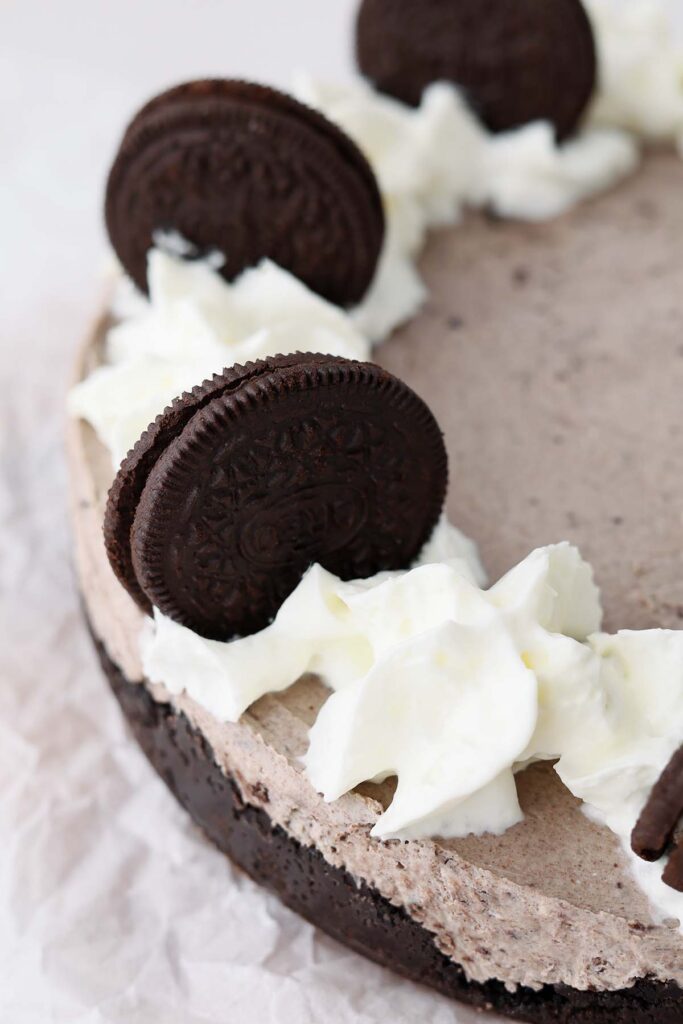
Common Oreo Cheesecake Questions
Plan for at least 6 hours, but overnight is even better. The texture firms up quite a bit as it chills, and the slices come out cleaner the longer it rests.
Yes. If you want a shortcut version, Cool Whip works well here. The cheesecake will taste slightly sweeter and have a softer texture, but it’s still delicious.
Usually it just needs more chill time. If it still feels very loose after several hours, the whipped cream may not have been whipped quite enough before folding it in.
For the crust, fine crumbs work best. For the filling, I like leaving some larger cookie pieces because it gives the cheesecake more texture and makes it feel more like cookies and cream.
Storage & Make-Ahead Tips
Even if you’re making this ahead for a party or holiday, it holds up beautifully and stays delicious for days. I think it tastes even better after it’s had a full night to chill.
- Refrigerator: Store covered in the fridge for up to 4 days. The texture stays creamy and the crust holds up surprisingly well.
- Best Make-Ahead Option: Make the cheesecake the night before serving. This gives it plenty of time to fully set and makes slicing much easier.
- Freezer: You can freeze the whole cheesecake or individual slices for up to 2 months. Wrap tightly in plastic wrap and store in an airtight container to help prevent freezer burn.
- To Serve From Frozen: Let the cheesecake thaw in the refrigerator for a few hours before serving. If you like a firmer, almost ice-cream-cake texture, you can also eat it partially frozen.
Want to save this recipe?
Enter your email below & we’ll send it to your inbox. Plus get great new recipes from us every week!
No Bake Oreo Cheesecake
Ingredients
Oreo Crust
- 24 Oreo cookies
- 5 tablespoons butter (melted)
Oreo Cheesecake Filling
- 2 8oz packages cream cheese, softened
- 2 tablespoons granulated sugar
- 1 teaspoon vanilla extract
- Tiny pinch of salt
- 1 cup heavy whipping cream
- 12 to 15 Oreo cookies (roughly crushed)
Optional Toppings
- Crushed Oreos
- Whipped cream
- Chocolate drizzle or hot fudge
Instructions
- Add 24 Oreos for the crust to a food processor and pulse into fine crumbs. Pour in the melted butter and pulse again until the mixture resembles damp sand.
- Press the crust mixture firmly into the bottom of a 9-inch springform pan. Place in the refrigerator while you prepare the filling.
- In a large mixing bowl, beat the softened cream cheese, sugar, vanilla, and salt until smooth and creamy.
- In a separate bowl, whip the heavy cream until stiff peaks form.
- Fold the whipped cream into the cream cheese mixture until fully combined and fluffy.
- Gently fold in the remaining crushed Oreos, leaving some larger chunks for texture.
- Spread the filling evenly over the prepared crust and smooth the top.
- Cover and refrigerate for at least 6 hours, or overnight for the best texture.
- Before serving, top with additional crushed Oreos, whipped cream, or chocolate drizzle if desired.
Notes
- Full-fat cream cheese gives the best texture and helps the cheesecake set properly.
- Leaving the Oreo filling inside the cookies helps the crust hold together better.
- Overnight chilling gives the cleanest slices and best flavor.
- Store covered in the refrigerator for up to 4 days.
Nutrition
The nutrition facts provided are calculated using a third-party tool and are estimates only. Actual nutritional content may vary based on the ingredients and brands you use, as well as portion sizes. For accurate results, please consult a registered dietitian or nutritionist.