Get your taste buds ready, because today we’re diving into the world of no-bake peanut butter bars! If you’re on the hunt for a treat that’s as easy to make as it is delicious to devour, you’re in for a real delight. Say goodbye to oven-related stress and hello to a peanut-buttery paradise that’s about to become your new favorite dessert.
Want another super simple sweet treat? Try my Box Mix Reese’s Brownie Hack, Homemade Peanut Butter Cups, or Chocolate Peanut Butter Cookies!
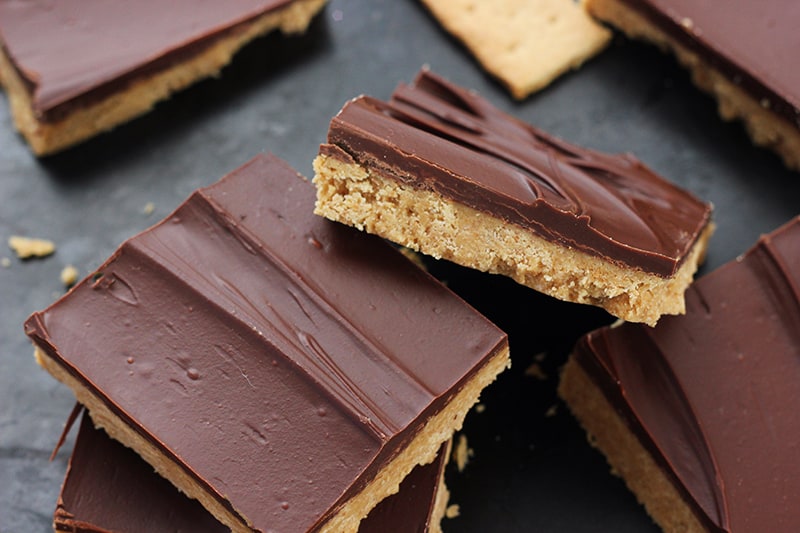
Why You’ll Love This No Bake Treat
- No-Bake: This recipe is ideal for hot summer days or any time you just don’t want to turn on the oven.
- 5-Ingredient dessert recipe.
- Perfect chocolate peanut butter flavor.
I have been reaching for recipes and desserts that take me down memory lane. Easy ideas that bring up all of the feelings of nostalgia. These are the recipes I want to share with my child. I want him to get all of these classics into his memories with mom so he can share them with his kids one day.
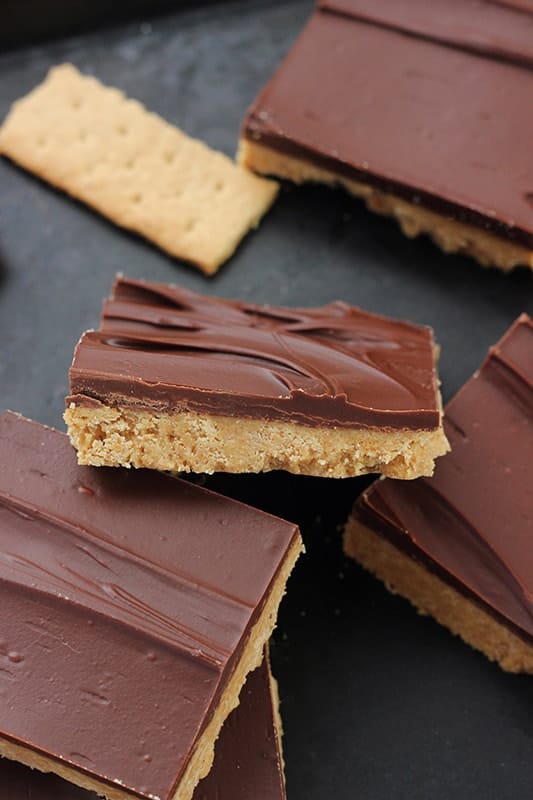
No-bake chocolate Peanut butter bars, lunch lady bars, or school bars… Whatever you call these, they are INCREDIBLE. Minimal ingredients and the taste of Reese’s. All of the magic starts with a no-bake peanut butter crust pressed gently into a pan and then spread with a peanut butter chocolate topping.
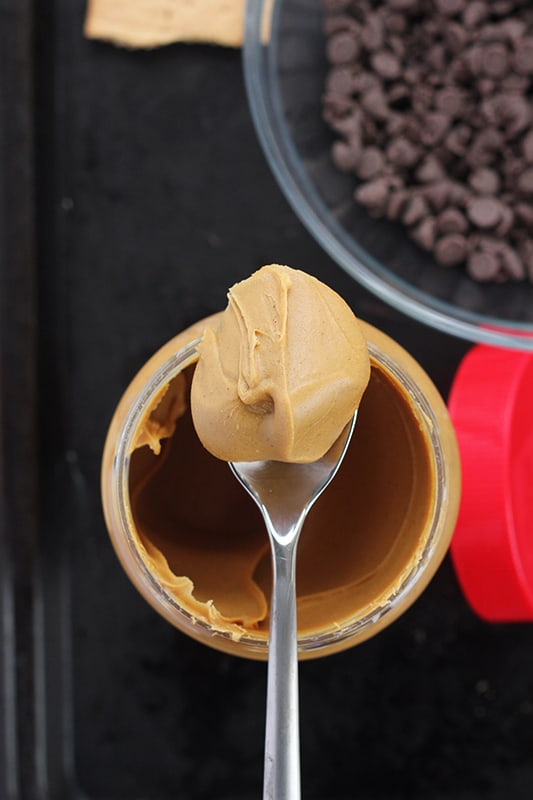
Peanut Butter Squares Ingredients
We’ve also heard these referred to as school peanut butter bars!
- Butter: Butter is what holds the crust together. It is the binding agent that works with the peanut butter to give you a good solid base. It also adds the most incredible buttery flavor that is hard to resist.
- Peanut Butter: The star ingredient! We have made these about a dozen times. I recommend using creamy, and not crunchy, peanut butter for this recipe. We have also tried it with natural peanut butter. It worked ok, but had a slightly different texture.
- Powdered Sugar: Just a tad to sweeten things up. This is also known as confectioners sugar and typically used in frostings.
- Graham Crackers: I used grahams, BUT *surprise twist* you can also use Ritz crackers! My husband is a purist and says this craziness, but I love the buttery salt flavor that’s added by the crackers.
- Chocolate Chips: Semi sweet is preferred if you would like something close to a Reese’s flavor.
Semi sweet chocolate chips vs milk chocolate chips
If you ask my Instagram followers, they are firmly divided on which is better. And people will fight to the death to defend their precious chocolate picks. So what is the difference and which one is best for this recipe?
- Semi Sweet Chocolate Chips– Semi sweet has a high cocoa content which makes it taste closer to a dark chocolate. It is slightly bitter which makes it ideal pairing for desserts that are already plenty sweet (think chocolate chip cookies).
- Milk Chocolate Chips– Milk chocolate has a sweeter flavor that is less rich than its counterpart. It tends to be a little more creamy and loved by many.
For me, I prefer semi sweet for all of my recipes. I’m a dark chocolate fan and feel it compliments everything. That being said, milk chocolate pairs wonderfully with bold flavors, like peanut butter. So you cannot go wrong with either variety.
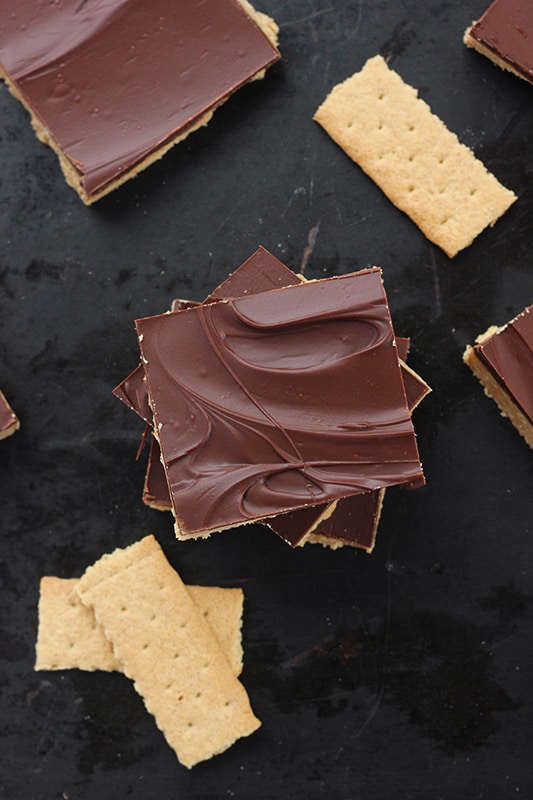
Peanut Butter Bars Recipe
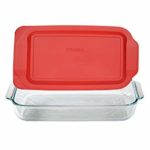
- Prepare a 9×13 pan by misting with cooking spray, butter, or lining with parchment.
- Add the butter and 1 cup of peanut butter into a microwave safe bowl. Heat for one minute, stir, and heat and additional 30 seconds or until fully melted.
- Stir in the graham cracker crumbs and powdered sugar. Transfer to your prepared dish and gently press down until even.
- Chill the crust for 15 minutes.
- Combine the chocolate chips and 1/4 cup peanut butter in a microwave safe bowl. Heat until melted, being sure to stir at every 15-30 second interval.
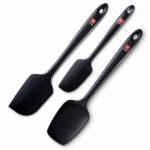
- Pour the melted chocolate over the prepared crust. Use a spatula or spoon to spread over your bars.
- Allow the chocolate to firm, cut, and enjoy!
Helpful Tools And Tips
- Use parchment paper to line your pan to help easily pull the bars out when ready to slice.
- Creamy peanut butter tends to work better than crunchy for this recipe.
- Use a high powered blender (affiliate) or food processor (affiliate) to get a fine crumb texture. This will give you the best crust.
- A handheld mixer (affiliate) will make your crust come together quickly and easily!
- Keep your bars stored in an air tight container (affiliate) to help them keep their freshness.
- Try substituting Ritz crackers for the grahams in this recipe for an entirely new flavor!
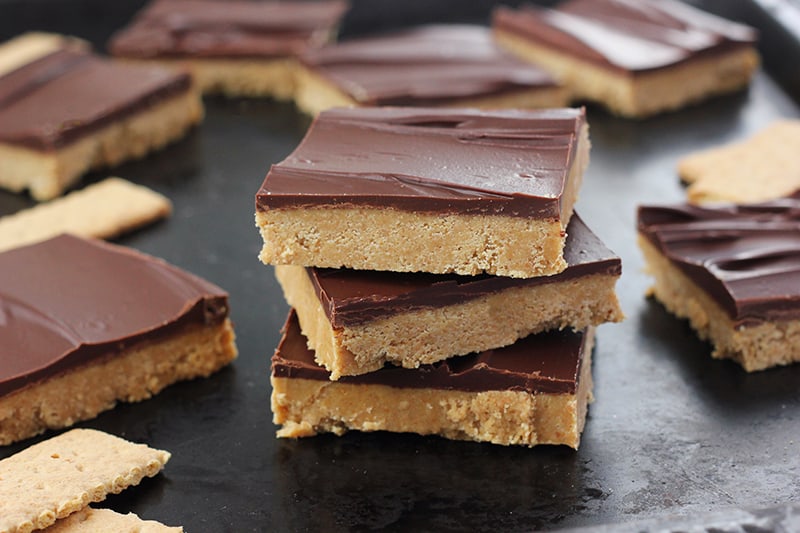
Recipe Notes:
Patience is key here! Pop them in the fridge for at least 2-3 hours to ensure they set perfectly. Trust me, the wait is worth it.
Totally! Just make sure to give it a good stir before using, as natural peanut butter can separate a bit. This will ensure your bars have that amazing peanut flavor.
The sweetness level is just right, thanks to the perfect combo of peanut butter and a touch of sugar. If you prefer things less sweet, you can reduce the powdered sugar a bit and adjust to your taste.
Don’t worry, we’ve got you covered. If your mixture seems dry, try adding a bit more peanut butter or a splash of milk until you reach a consistency that holds together when pressed.
Absolutely! In fact, they make for a fantastic frozen treat. Just slice them up, wrap them individually, and store in the freezer for a quick, cool indulgence.
If you manage to resist eating them all at once, these bars can last in the fridge for up to a week. Just store them in an airtight container to keep them fresh.
More No Bake Desserts To Try
Still Hungry? Follow One Sweet Appetite on Instagram, Pinterest, and Facebook!
Peanut Butter Bars- No-Bake Recipe!
Ingredients
- 1 cup butter
- 1¼ cup creamy peanut butter divided
- 2 cups graham cracker crumbs
- 2 cups powdered sugar
- 1½ cups chocolate chips semi sweet or milk chocolate
Instructions
- Prepare a 9×13 pan by misting with cooking spray, butter, or lining with parchment.
- Add the butter and 1 cup of peanut butter into a microwave safe bowl. Heat for one minute, stir, and heat and additional 30 seconds or until fully melted.
- Stir in the graham cracker crumbs and powdered sugar. Transfer to your prepared dish and gently press down until even.
- Chill the crust for 15 minutes.
- Combine the chocolate chips and 1/4 cup peanut butter in a microwave safe bowl. Heat until melted, being sure to stir at every 15-30 second interval.
- Pour the melted chocolate over the prepared crust. Use a spatula or spoon to spread over your bars.
- Allow the chocolate to firm, cut, and enjoy!
Notes
Nutrition
Equipment
Did You Make This Recipe?
Share it with me on Instagram @1sweetappetite and follow pinterest for more!
More Peanut Butter and Chocolate Recipes:
- Best Peanut Butter Chocolate Breakfast Smoothie
- Two Ingredient Chocolate Peanut Butter Fudge
- Easy Buckeye Cookies
- Chocolate Peanut Butter Cookies
- Gluten Free Peanut Butter Cookies
- Peanut Butter Buckeyes
More Dessert Recipes Under 5 Ingredients:
- Rice Krispie Treats
- Two Ingredient Fudge
- Nutella Mug Cake
- Two Ingredient Microwave Brownie
- Five Minute Strawberry Cake
Reader Interactions
Find even more recipes!
Be sure to share it in the comments below and follow me on Pinterest, Facebook and Instagram for even more delicious recipes.
Comments & Reviews
Maureen Kelly says
In the recipe notes you mention honey, but there is no honey in the recipe. Am I missing something?
Jesseca says
Hi Maureen, that was a typo. My apologies. I’ve updated that tip. Also, thank you for taking the time to read the post! That means a lot.