
Butter Bars
This post may contain affiliate links.
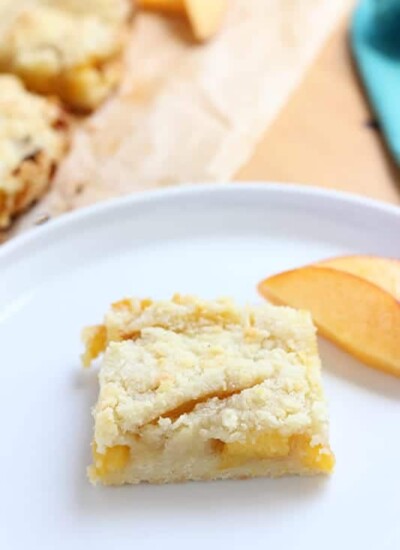
If you love gooey, buttery desserts, these Butter Bars are about to be your new obsession! Made with a simple cake mix base and a rich, creamy filling, they bake up golden, soft, and irresistibly gooey. With just a few ingredients, this easy dessert comes together in no time—perfect for potlucks, holidays, or when that sweet tooth strikes!
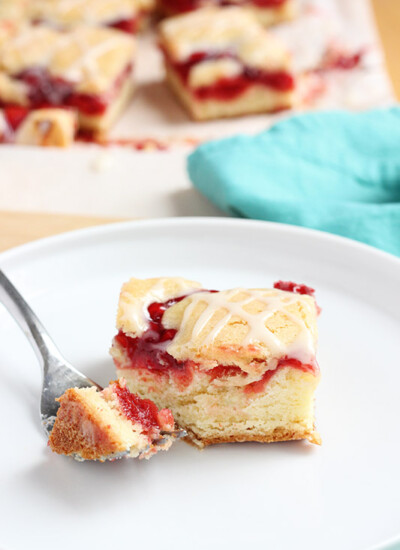
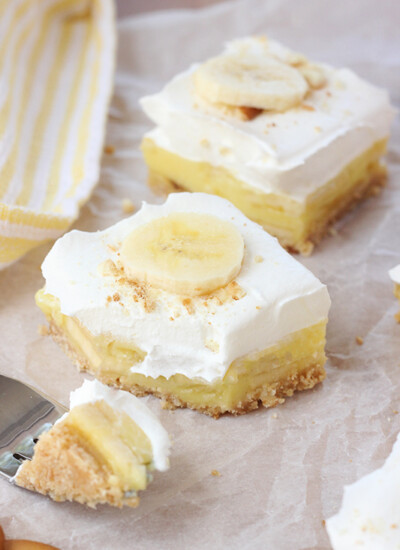
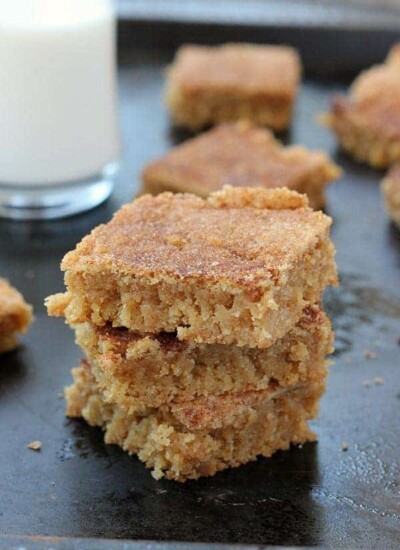
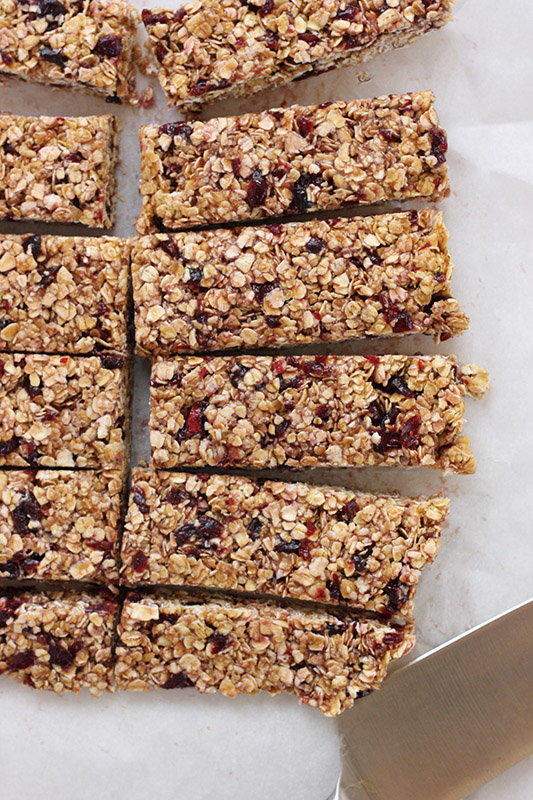
Searching for even more rich and delicious bar recipes? Try my Peanut Butter Bars, Blueberry Cheesecake Bars, and my Sugar Cookie Bars! All crowd pleasers and super simple treats.

Why You’ll Love This Recipe
- Easy dessert with cake mix: Minimal ingredients and no complicated steps!
- Quick dessert for a crowd: Bakes in under an hour and serves plenty!
- Great for potlucks and holidays: A crowd-favorite sweet treat that travels well.
- Perfect holiday dessert: Ideal for Thanksgiving, Christmas, Easter, and more!
I first got this recipe from a friend, who swore it was the best dessert she’d ever made. Turns out, she wasn’t wrong—it came straight from Paula Deen herself! These butter bars are the perfect mix of buttery, rich, and gooey, with a melt-in-your-mouth texture that keeps everyone coming back for more.
We’ve baked these more than a dozen times for parties, and without fail, they’re always the first treat to disappear. The sweet, slightly tangy cream cheese layer pairs perfectly with the buttery, soft cake mix crust, making each bite pure magic. If you love easy desserts that taste like they came from a bakery, this one’s a must-try!

Ingredients You’ll Need
With just six simple ingredients, these ooey gooey butter bars come together effortlessly. Each one plays a key role in creating that perfectly gooey, melt-in-your-mouth texture.
- Cake Mix – A yellow cake mix keeps things easy and gives the bars a soft, sweet base.
- Eggs – Help bind everything together while adding richness.
- Butter – Melted butter creates a buttery, tender crust—don’t skimp!
- Cream Cheese – The secret to that ultra-creamy, gooey filling. Let it soften for easier mixing.
- Vanilla – A little goes a long way in enhancing the flavor.
- Powdered Sugar – Sweetens the filling and helps achieve that signature soft texture.
Using room temperature ingredients will make mixing a breeze, ensuring your bars bake up smooth and luscious. No need for fancy techniques—just mix, pour, and bake!


Substitutions and Variations
Want to switch things up? These ooey gooey butter cake bars are super customizable, so feel free to get creative!
Substitutions:
- Cake Mix: Yellow cake mix is classic, but vanilla, white, or even spice cake mix can add a fun twist.
- Butter: Swap unsalted butter for salted if that’s what you have—just skip any added salt.
- Cream Cheese: Full-fat cream cheese gives the best texture, but Neufchâtel (⅓ less fat cream cheese) works too.
Variations:
- Chocolate Lover’s Twist: Use a devil’s food cake mix for a rich, chocolatey version.
- Lemon Butter Bars: Swap the vanilla for lemon extract and use a lemon cake mix for a bright, citrusy flavor.
- Nutty Crunch: Stir in ½ cup of chopped pecans or walnuts into the filling for extra texture.
- Gooey Caramel Bars: Drizzle salted caramel over the bars before baking for a sweet-salty upgrade.
No matter how you make them, these butter bars always turn out soft, rich, and absolutely irresistible!


Ooey Gooey Cake Bars Recipe
This gooey butter bar couldn’t be easier to make! With a simple cake mix crust and a rich, gooey cream cheese topping, they come together in just a few steps.
- Prep the pan – Preheat your oven to 350°F and lightly grease a 9×13 pan.
- Make the crust – Mix together the cake mix, an egg, and melted butter until crumbly. Press into the bottom of the pan to form the base.
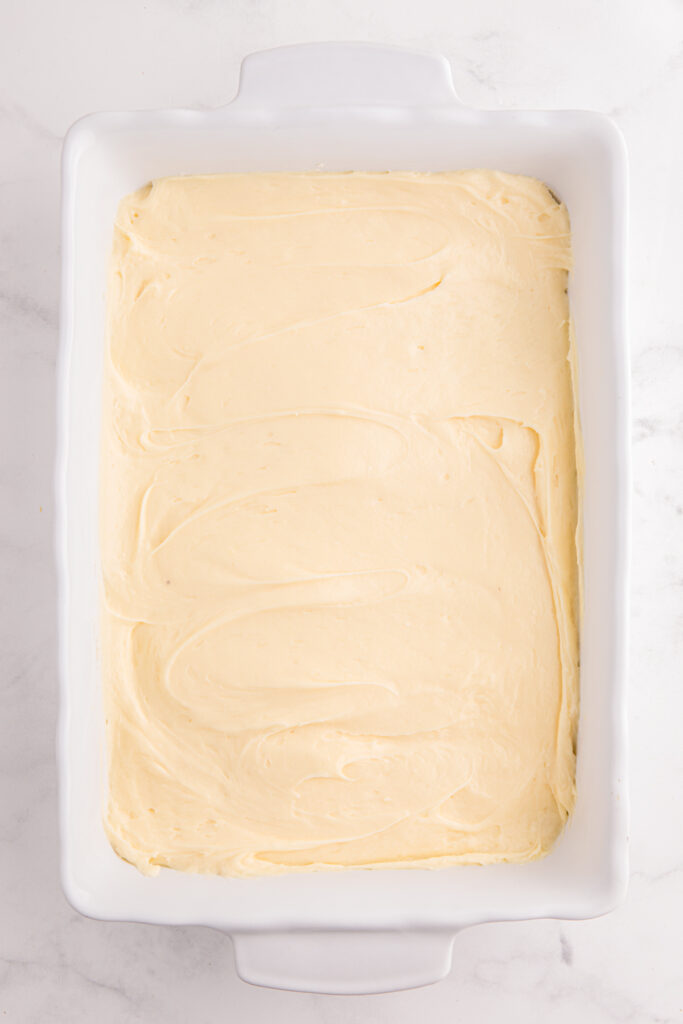
- Prepare the filling – Beat cream cheese until smooth, then mix in the egg, vanilla, and melted butter. Stir in the powdered sugar until fully combined.
- Bake – Spread the cheesecake mixture over the crust and bake for 45 minutes, until golden on top.
- Cool & enjoy – Let the bars cool before slicing. They’ll be soft and gooey in the center—just how they should be!
Letting the bars cool completely before cutting helps them set for the perfect texture. But if you’re impatient (we get it), they’re also amazing warm with a spoon!
Storage and Freezing Instructions
These ooey gooey cake bars store beautifully, making them a great make-ahead dessert!
- Room Temperature: If you plan to eat them within 2 days, store the bars in an airtight container at room temperature.
- Refrigerator: For longer storage, keep them in the fridge for up to 5 days. The bars stay soft and gooey, and the flavors even deepen!
Can You Freeze Butter Bars?
Absolutely! Butter bars freeze well, making them perfect for prepping ahead.
- To Freeze: Let the bars cool completely, then slice and place them in a freezer-safe container with parchment paper between layers.
- To Thaw: Let them sit at room temperature for about 30 minutes or thaw overnight in the fridge.
For that fresh-from-the-oven taste, pop a slice in the microwave for 10-15 seconds before serving. They’ll be just as gooey and delicious as the day you made them!

Expert Recipe Tips:
Use room temperature ingredients – Softened cream cheese and room-temp eggs blend smoother, preventing lumps in the filling.
Press the crust firmly – A measuring cup or spatula helps pack the cake mix base evenly, ensuring a sturdy foundation.
Don’t overbake! – The center should still be slightly soft when you pull it out. It will firm up as it cools, keeping that signature gooey texture.
Line your pan with parchment paper – Makes slicing (and cleanup) so much easier!
Let them cool completely before cutting – This helps them set properly and keeps the layers intact. For the cleanest slices, chill them in the fridge for 30 minutes before serving.

Recipe FAQs
They might be under baked. The center should still be slightly soft but not liquid when you take them out. They’ll firm up as they cool. If they’re still too gooey after cooling, try chilling them in the fridge for an hour.
Absolutely! Yellow cake mix is classic, but vanilla, white, lemon, or even chocolate work great for fun variations.
The edges should be golden brown, and the center should have a slight jiggle but not be wet. If unsure, insert a toothpick an inch from the edge—it should come out mostly clean.
If you plan to eat them within 2 days, they’re fine at room temperature. For longer storage, keep them in the fridge to maintain freshness.
For the neatest cuts, chill the bars for 30 minutes before slicing. Wipe your knife clean between cuts for sharp, bakery-style squares!

More Delicious Bar Recipes
If you’re searching for delicious and easy brownie and bar recipes, you’ve come to the right place! Our collection of bar recipes features a variety of tasty treats that are perfect for any occasion.
Still Hungry? Follow One Sweet Appetite on Instagram, Pinterest, and Facebook!
Want to save this recipe?
Enter your email below & we’ll send it to your inbox. Plus get great new recipes from us every week!

Butter Bars
Ingredients
Cake Base
- 1 (15.25oz) yellow cake mix (dry)
- 1 large egg
- 8 tablespoons butter (melted)
Topping
- 2 (8oz) blocks cream cheese (softened)
- 2 large eggs
- 1 teaspoon vanilla
- 8 tablespoons butter (melted)
- 16 oz powdered sugar
Instructions
- Preheat your oven to 350°F.
- Lightly grease a 9×13 pan with baking spray and set aside.
- In a mixing bowl, combine the dry cake mix, one large egg, and 8 tablespoons (1 stick) of melted butter.
- Stir until the mixture is crumbly—it won’t be like a traditional dough, but that’s okay!
- Press the mixture firmly and evenly into the bottom of the prepared pan. A spatula or the bottom of a measuring cup works great for this step.
Topping
- In a clean mixing bowl, whip the cream cheese for 1 to 2 minutes until completely smooth.
- Add the egg, vanilla extract, and remaining 8 tablespoons (1 stick) of melted butter. Beat for another 2 minutes until creamy and well combined.
- Stir in the powdered sugar and mix until the batter is smooth.
- Pour the cream cheese mixture over the cake base, spreading it out into an even layer.
- Bake for 45 minutes, or until the top is lightly golden and the center is set but still slightly soft.
- Let the bars cool in the pan before slicing. They will continue to firm up as they cool.
- For the cleanest slices, chill them for about 30 minutes before cutting.
Notes
Nutrition
The nutrition facts provided are calculated using a third-party tool and are estimates only. Actual nutritional content may vary based on the ingredients and brands you use, as well as portion sizes. For accurate results, please consult a registered dietitian or nutritionist.


They were so delicious and so much better than the ones. I bought at Walmart. 10 times better.
That is such high praise, Robin. I’m thrilled you enjoyed them and that they beat store bought by a mile. Thank you for taking the time to tell me.
I would like to make these for St. Patrick’s Day and wondered if I could use green food coloring in the topping? It shouldn’t change the taste, right? And if so, how much?
That sounds like such a fun idea for St. Patrick’s Day, Gail! You can absolutely add green food coloring to the topping—it won’t affect the taste at all. I’d recommend starting with a few drops and mixing until you get the shade you like. If you’re using gel food coloring, start with a tiny amount since it’s more concentrated. Can’t wait to hear how they turn out!
Love Kitchen Aid