Brown Butter Rice Krispie Treats
This post may contain affiliate links.
If you’ve never had Brown Butter Rice Krispie Treats, you’re about to meet your new dessert obsession. Imagine the classic, gooey treat leveled up with nutty, caramel-like brown butter that makes you wonder why you ever settled for plain old marshmallow bars. These are ridiculously easy, wildly delicious, and totally worth the five minutes it takes to whip them up.
This is one of my all-time favorite bar recipe! In the mood for even more handheld treats? Try my S’more Brownies, Frosted Sugar Cookie Bars, and Cherry Pie Bars!

Why You’ll Love This Recipe
- Elevated Flavor: Brown butter adds a rich, nutty flavor that’s next-level delicious.
- Easy to Make: Just a few simple ingredients and one pot—no fancy equipment required!
- Quick Dessert Fix: Ready in under 10 minutes, because who has time to wait?
- Seriously Addictive: You’ll definitely go back for seconds.
Brown Butter Rice Crispie Treats are the ultimate dessert for any occasion—holidays, parties, or just because you deserve a treat. They take the classic you know and love and elevate it with a rich, nutty flavor that’s impossible to resist. Gooey, chewy, and ridiculously easy to make, these bars are a guaranteed crowd-pleaser.
The secret is browned butter, which transforms a simple ingredient into something extraordinary. As it melts and caramelizes, the butter develops a toasty, caramel-like flavor that adds incredible depth. It’s a small step that makes a big difference, turning a childhood favorite into a dessert that feels just a little bit fancy.
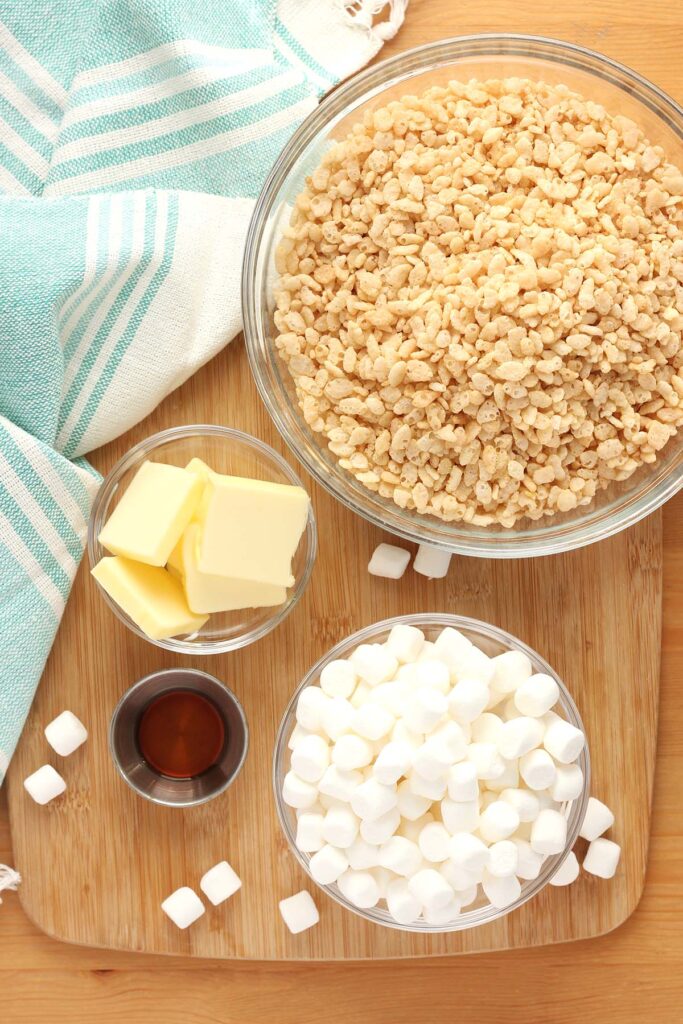
Ingredients You’ll Need
This recipe keeps it simple with just a few key ingredients, but each one plays a big role in making these brown butter rice krispie bars unforgettable. Don’t underestimate the power of high-quality basics—they truly make all the difference!
- Butter: Unsalted is best for controlling the saltiness, but feel free to use salted if that’s what you have on hand. Browning the butter gives these treats their signature nutty, caramel-like flavor.
- Marshmallows: Opt for mini marshmallows—they melt faster and more evenly than large ones. Fresh marshmallows (not the ones hiding in the back of the pantry for a year) will give you that perfect gooey texture.
- Vanilla: Just a splash adds warmth and enhances the buttery flavor. Go for pure vanilla extract if possible—it’s worth it!
- Cereal: Classic crisp rice cereal is the way to go. Choose a trusted brand for the best crunch and consistency.
Tip: For even more flavor, sprinkle a pinch of sea salt over the finished bars. The salty-sweet combo takes them to a whole new level!
Variations and Substitutions
One of the best things about Brown Butter Rice Krispies is how easy they are to customize. A few tweaks can make these your own, whether you’re in the mood for something extra sweet, salty, or indulgent.
- Add-Ins: Stir in chocolate chips, chopped nuts, or sprinkles just before pressing the mixture into the pan. These add a fun twist and extra texture.
- Flavor Boosters: Swap the vanilla for almond or maple extract for a new flavor profile. A sprinkle of cinnamon or nutmeg can also add a cozy, warm touch.
- Mix-Up the Cereal: Try substituting part or all of the rice cereal with something else—cheerios, cocoa cereal, or even a mix of pretzels for a salty crunch.
- Dairy-Free Option: Use plant-based butter and marshmallows to make this treat vegan-friendly without losing its gooey goodness.
Don’t be afraid to experiment! These treats are incredibly forgiving and versatile, so you can mix, match, and swap to your heart’s content.

Brown Butter Rice Krispie Treats Recipe
Making Brown Butter Krispie Treats is as simple as it gets, but the extra step of browning the butter makes all the difference. Follow these quick steps, and you’ll have a pan of gooey, irresistible treats in no time!
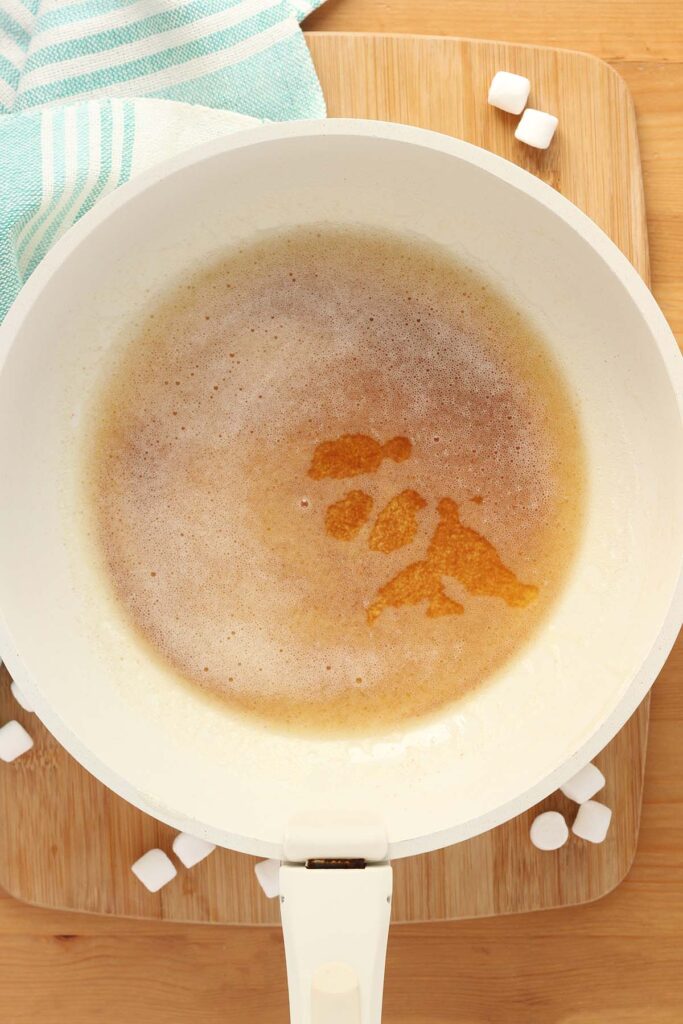
- Brown the butter. Melt butter in a large pot over medium heat, stirring constantly, until it turns golden brown and gives off a nutty aroma. Keep an eye on it—it goes from perfect to burnt quickly!
- Melt the marshmallows. Reduce the heat to low, add the marshmallows, and stir until smooth and melted.
- Mix in the cereal. Remove the pot from heat and gently fold in the cereal until fully coated.
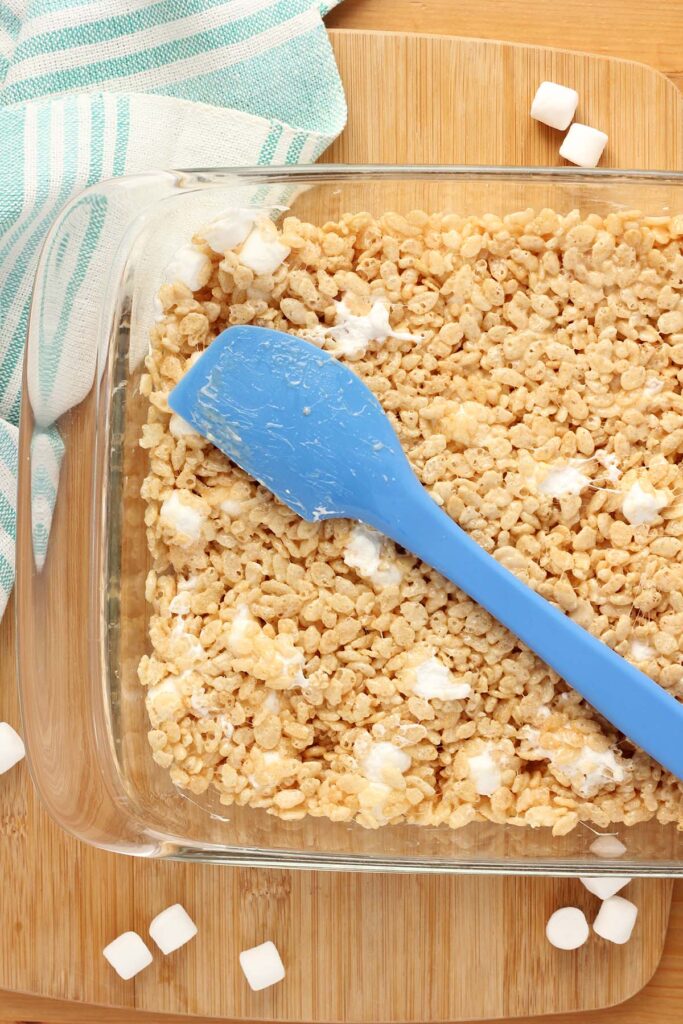
- Press into the pan. Transfer the mixture to a greased or lined pan and press it down evenly with a spatula. Let it cool before cutting into bars.
That’s it! These treats come together in minutes and are sure to be a hit with anyone who tries them.


Storage and Make-Ahead Instructions
Brown Butter Rice Krispie squares are perfect for making ahead and storing for later—if they last that long! Here’s how to keep them fresh and delicious:
- Room Temperature: Store the treats in an airtight container at room temperature for up to 3 days. To keep them soft and chewy, place a sheet of wax or parchment paper between layers.
- Refrigeration: While not necessary, you can refrigerate them if you want a firmer texture. Wrap them tightly to prevent them from drying out. Let them come to room temperature before serving for the best flavor.
- Freezing: Need to make them even further in advance? Wrap individual squares in plastic wrap, place them in a freezer-safe bag or container, and freeze for up to 6 weeks. Thaw at room temperature when ready to enjoy.
Tip: For ultimate freshness, cut the treats just before serving to keep the edges soft and prevent them from drying out. These treats are perfect for parties, lunchboxes, or a quick dessert fix!

Tips for Success:
Keep an Eye on the Butter: When browning the butter, stir constantly and watch closely. It can go from golden and nutty to burnt in seconds. Once you see brown specks and smell that nutty aroma, pull it off the heat immediately.
Use Fresh Marshmallows: Stale marshmallows won’t melt as smoothly and can make your treats dense. Always use a fresh bag for the best gooey texture.
Work Quickly: Once the marshmallow mixture is melted, mix in the cereal right away. The mixture cools quickly and becomes harder to stir.
Don’t Overpack the Pan: When pressing the mixture into the pan, use a light hand. Overpacking can make the treats too dense and tough. A greased spatula or piece of parchment paper makes spreading easier.
Customize Your Flavor: Add a pinch of flaky sea salt on top for a sweet-and-salty twist, or stir in mini chocolate chips, which will melt slightly for a swirled effect.
Clean as You Go: Marshmallow mixture hardens fast, so soak your pot and spatula in warm water immediately after mixing to make cleanup a breeze.
Recipe FAQs
Browning the butter adds a nutty, caramel-like flavor that takes these treats to the next level. While it’s not necessary to make the recipe work, it’s highly recommended for the best flavor.
Absolutely, but mini marshmallows melt faster and more evenly. If you’re using large ones, just chop them into smaller pieces for easier melting.
Lightly grease your hands, a spatula, or a sheet of parchment paper to press the mixture evenly without sticking. Be careful not to press too hard—this keeps the treats light and chewy.
Yes! They stay fresh in an airtight container for up to 3 days at room temperature, or you can freeze them for up to 6 weeks.
Yes! Reserve a handful of mini marshmallows and stir them in just before transferring the mixture to the pan. They’ll give the treats a gooey, textured look.

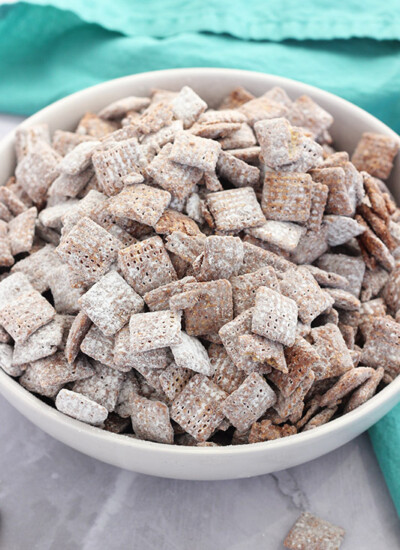
More Cereal Treats

Still Hungry? Follow One Sweet Appetite on Instagram, Pinterest, and Facebook!
Want to save this recipe?
Enter your email below & we’ll send it to your inbox. Plus get great new recipes from us every week!

Brown Butter Rice Krispie Treats
Ingredients
- 6 tablespoons butter
- 4 cups mini marshmallows
- 5 cups rice puff cereal
- 1/2 teaspoon vanilla extract
Instructions
- Grease a 9×13-inch pan or line it with parchment paper for easy cleanup. Set aside.
- Place the butter in a large pot over medium heat. Stir constantly as the butter melts, foams, and turns golden brown. This takes about 5-7 minutes. You’ll know it’s ready when it smells nutty and you see brown specks at the bottom of the pot. Remove from heat immediately to prevent burning.
- Reduce the heat to low and return the pot to the stove. Add the marshmallows and stir continuously until they are completely melted and smooth. Turn off the heat.
- Stir in the vanilla extract for an extra boost of flavor.
- Gradually add the rice cereal, folding it into the marshmallow mixture with a spatula. Work quickly to ensure the cereal is evenly coated.
- Transfer the mixture into the prepared pan. Use a greased spatula or the back of a spoon to press it down evenly. Don’t press too hard—you want them to stay light and chewy.
- Let the treats cool at room temperature for at least 30 minutes before cutting into squares. Enjoy!
Nutrition
The nutrition facts provided are calculated using a third-party tool and are estimates only. Actual nutritional content may vary based on the ingredients and brands you use, as well as portion sizes. For accurate results, please consult a registered dietitian or nutritionist.