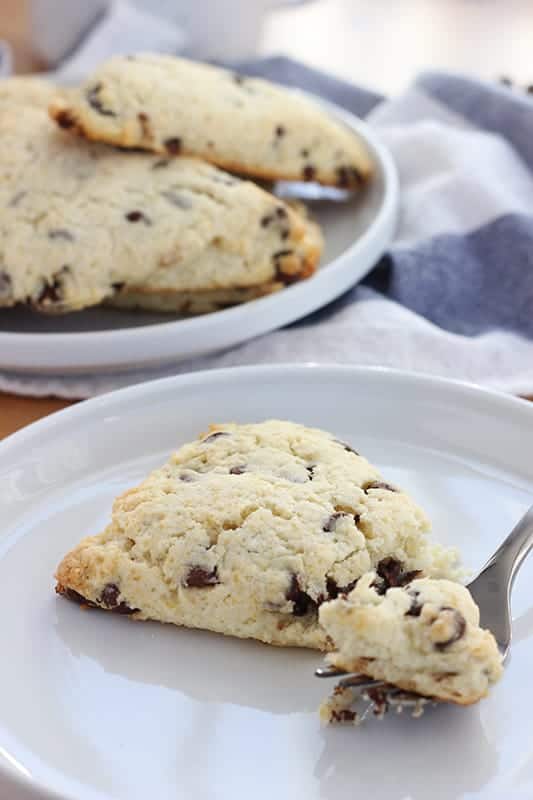
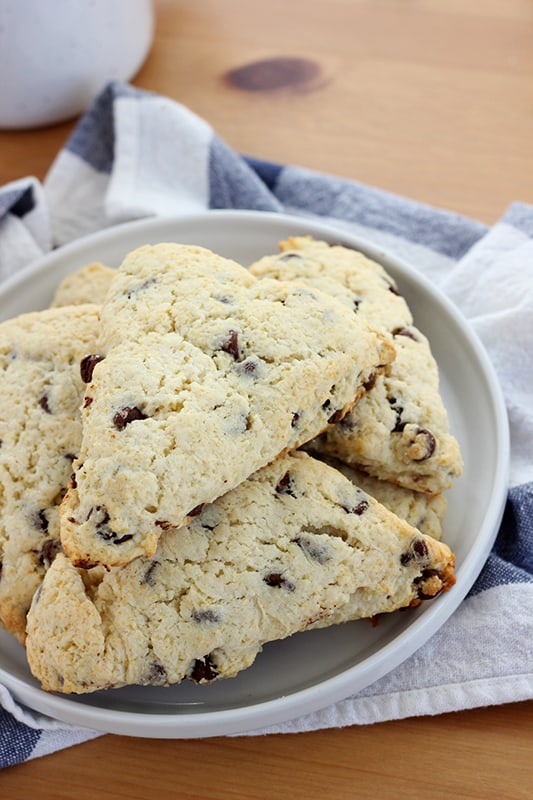
These easy to make chocolate chip scones aren’t overly sweet, and come together quickly, making them the best morning treat! Perfect when paired with a tall glass of milk or cup of coffee.
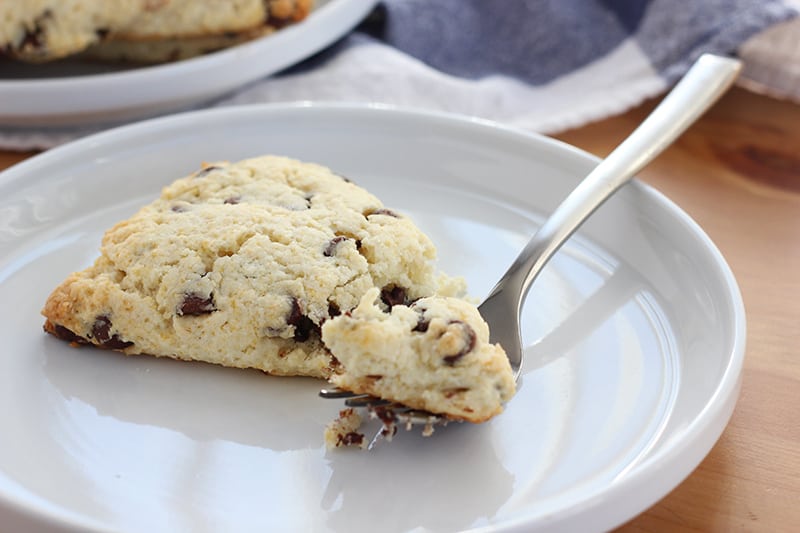
I made these for a wedding brunch once. Years ago. We were all asked to bring a pastry of some kind to share, and I was nervous.
My go-to, Costco croissants, were already called for which meant I had to come up with something new, and I was not much of a baker at the time. I brought out all of my cookbooks and started flipping through. Lucky for me, a notepad my grandma once gave me with her favorite baked goods had a drop scone recipe that sounded fairly simple!
This recipe is so incredibly easy to make. It calls for only a handful of ingredients and can be ready for the oven in under 10 minutes!
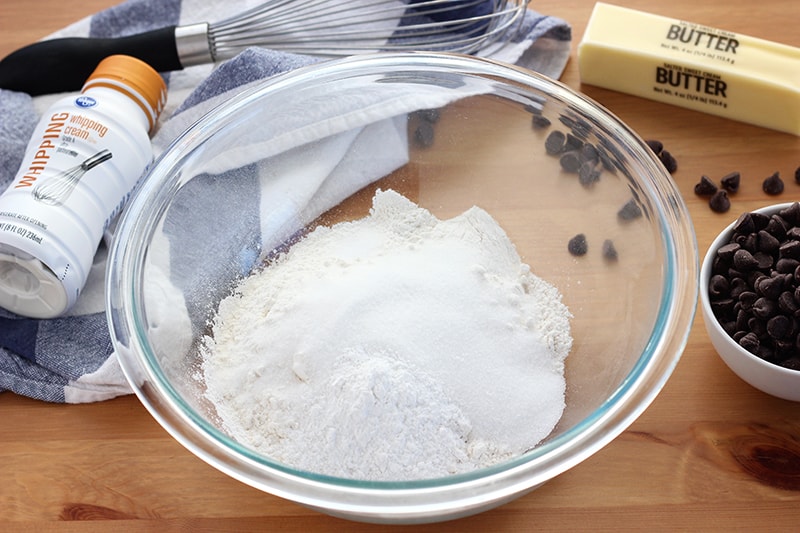
What You Need:
- All-purpose flour: We use all-purpose for this recipe, but I have had family members make this recipe with half whole wheat or coconut flour. All have turned out wonderfully.
- Sugar: Granulated sugar is what I recommend for this recipe. The molasses flavor of brown does not work as well with these scones, so stick with the classic.
- Baking powder: This leavener is what creates the chemical reaction giving these a slight puff. Be sure to check the expiration date of your baking powder to be sure it is fresh which will give you the best results.
- Salt: Table salt is fine for this pastry.
- Chocolate chips: Here is where you can get creative. I like to use semi sweet chocolate chips, my son really enjoys milk chocolate, and my husband likes a mixture of the two. No matter which direction you take, you will love the slight sweetness the chocolate brings.
- Cream: If you do not have any cream on hand, you can use a replacement of whole milk and melted butter.
- Vanilla Extract: Be sure to use pure vanilla and not imitation. You could also try vanilla bean or vanilla bean paste for a more robust flavor.
- Butter: Because everything tastes better with butter!
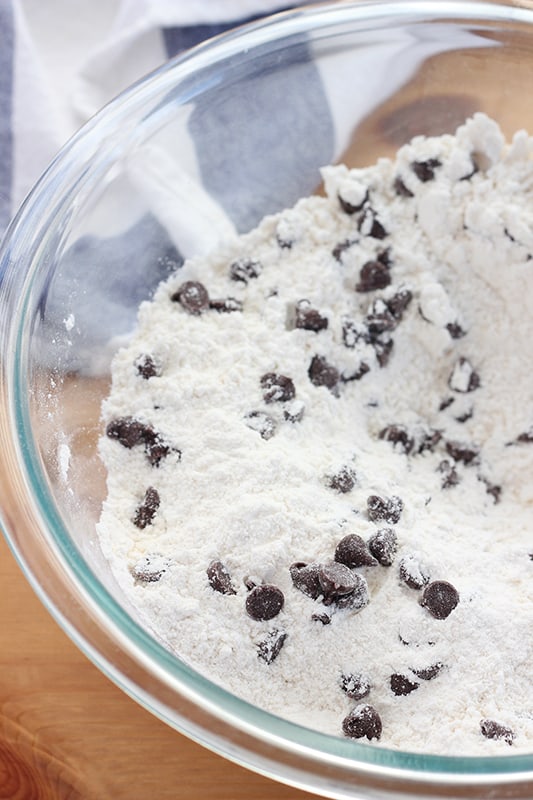
Step by Step Instructions:
Did I mention this recipe is so very basic and easy to pull together? Even the worst bakers can whip these up in no time! This truly is the best easy cream scone!
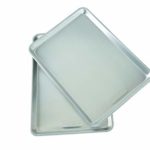
- Preheat the oven to 375 degrees. Line a baking tray with parchment or a silicone baking mat.
- Whisk together the dry ingredients; flour, sugar, baking powder, salt.
- Add the chocolate chips and gently stir until evenly distributed into the flour mixture.
- Melt half of the butter. Stir that into the batter along with the cream and vanilla.
- From here you can either drip spoonfuls of the dough onto your prepared tray, or you can gently pat the dough onto a floured surface into a circle that is 1 inch thick. Slice into triangles and place on your prepared tray.
- Melt the remaining butter. Brush onto the scones and sprinkle with the remaining 1 tablespoon of sugar.
- Bake the scones 14 – 16 minutes, or until slightly browned.
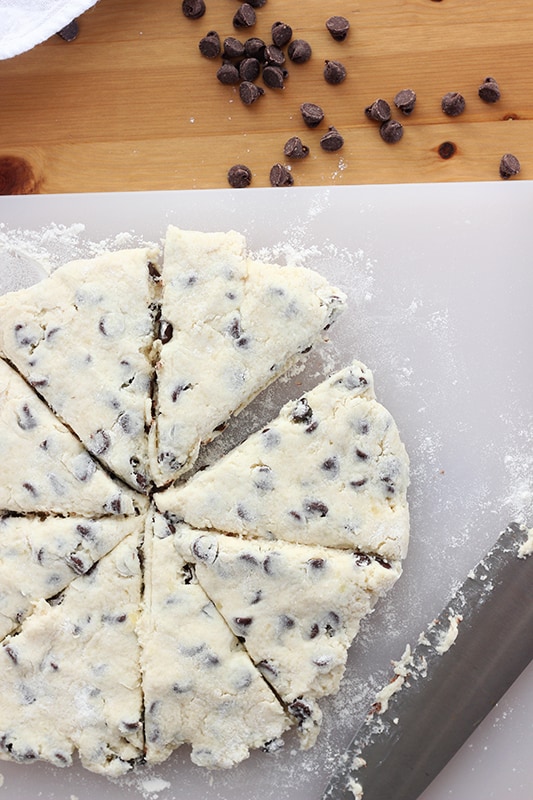
Since we are a family of three, we often do not eat all of the scones in this recipe at once. Luckily, it is freezer friendly! I included freezer instructions below so you can freeze your scones too! Frozen scones last 2 to 3 months in the freezer, if stored properly.
How to freeze scones:
- Follow the instructions in the recipe all the way through placing the scones onto your prepared tray (no need to preheat the oven).
- Place the tray with the prepared scone dough into the freezer and flash freeze for 20 minutes.
- The scones should be partially frozen, or at least cold enough to handle. If not, let them freeze an additional 10 minutes.
- Wrap each scone dough in plastic wrap and place in a freezer safe zip top bag.
- When you are ready to bake, remove from the freezer and place onto a prepared baking sheet. Add an additional minute or two to the baking time.
Helpful tips and products for this recipe:
This really is a no-fuss recipe that is hard to mess up, but I have included the following helpful tips and products that might make the experience even simpler.
- Dry ingredient measuring cups (affiliate) vs wet ingredient measuring cups: (affiliate) Did you know there are two different varieties of measuring cups? One is specifically made for dry ingredients like flour and sugar while the other is ideal for wet ingredients like milk or cream.
- With this recipe, be sure to use both for their intended purpose. I also suggest spooning the flour into the measuring cup and leveling off the top. This gives you a less packed down product helping to keep your scones from drying out.
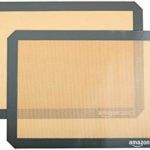
- Use a silicone baking mat (affiliate) or parchment paper: I have said this before, and I will say it many many times again… If you bake at all, invest in a silicone baking mat! It will make your baking experience a breeze and will save you money on parchment paper. That being said, parchment is also a great route to go! These two products keep you from the need to grease your pan and allows the scones to be removed from the baking sheet with ease.
- In a hurry? Scoop out the dough! My go-to cookie scoop (affiliate) is extra large which makes this incredibly useful when making a drop scone! Bonus, they all turn out uniform in size!
I hope you love the products I recommend! Just so you know, One Sweet Appetite may collect a share of sales or other compensation from the links on this page.
Like this recipe? You will love my:
- Perfect Chocolate Chip Cookies
- Orange Sweet Rolls
- Almond Biscotti
- Flat and Crisp Chocolate Chip Cookies

Easy Chocolate Chip Scones
Ingredients
- 1½ cups all-purpose flour
- 1/4 cup plus 1 tablespoon sugar divided
- 2 teaspoons baking powder
- 1/4 teaspoon salt
- 1 cup chocolate chips
- 1 cup heavy cream
- 1 teaspoon vanilla extract
- 4 tablespoons butter divided and melted
Instructions
- 1. Preheat the oven to 375 degrees. Line a baking tray with parchment or a silicone baking mat.
- 2. Whisk together the dry ingredients; flour, 1/4 cup sugar, baking powder, salt.
- 3. Add the chocolate chips and gently stir until evenly distributed into the flour mixture.
- 4. Melt half of the butter. Stir that into the batter along with the cream and vanilla.
- 5. From here you can either drip spoonfuls of the dough onto your prepared tray, or you can gently pat the dough onto a floured surface into a circle that is 1 inch thick. Slice into triangles and place on your prepared tray.
- 6. Melt the remaining butter. Brush onto the scones and sprinkle with the remaining 1 tablespoon of sugar.
- 7. Bake the scones 14 – 16 minutes, or until slightly browned.
Notes
How to freeze scones:
1. Follow the instructions in the recipe all the way through placing the scones onto your prepared tray (no need to preheat the oven). 2. Place the tray with the prepared scone dough into the freezer and flash freeze for 20 minutes. 3. The scones should be partially frozen, or at least cold enough to handle. If not, let them freeze an additional 10 minutes. 4. Wrap each scone dough in plastic wrap and place in a freezer safe zip top bag. 5. When you are ready to bake, remove from the freezer and place onto a prepared baking sheet. Add an additional minute or two to the baking time.Nutrition
Did You Make This Recipe?
Share it with me on Instagram @1sweetappetite and follow pinterest for more!
Pin for later:

Still hungry? Follow One Sweet Appetite on Facebook, Instagram and Pinterest for more great recipe ideas!
Find even more recipes!
Be sure to share it in the comments below and follow me on Pinterest, Facebook and Instagram for even more delicious recipes.