Christmas Tree Rice Krispie Treats
This post may contain affiliate links.
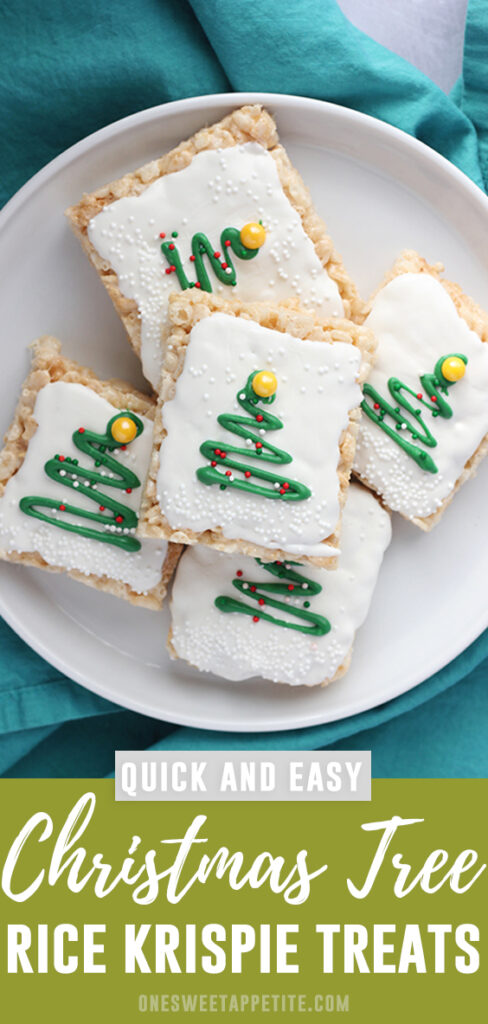
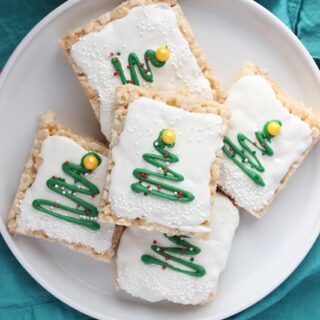
These easy Christmas Tree Rice Krispie Treats use only a handful of ingredients and are the perfect dessert recipe! Quick to make and fuss-free!
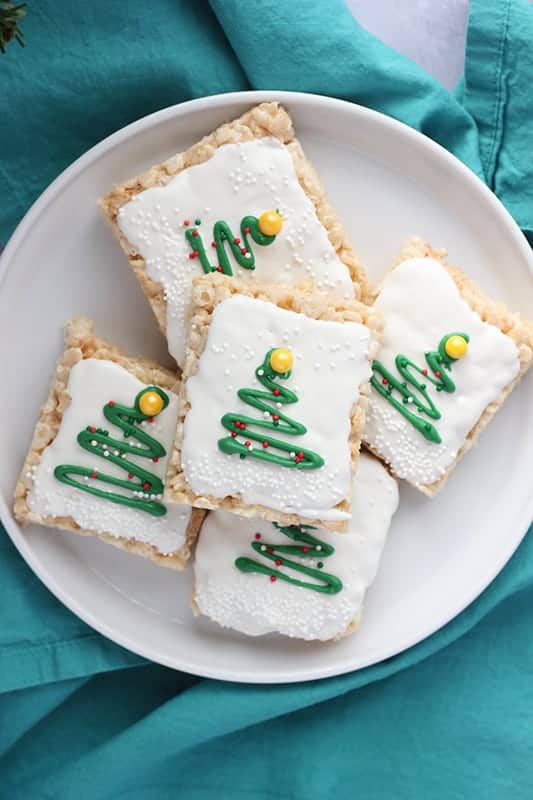
Are these Christmas tree rice krispie treats the most adorable holiday dessert?? Good news is they are SO STINKEN EASY to make. Since thinking up the idea, I have made these over five times and they disappear insanely fast.
Even my kid, who is extremely selective on what kind of recipes he helps with, jumps at the opportunity to make little squiggle trees. This is such a great holiday family activity.
Recipe Features:
- Quick and Easy: Start to finish, this recipe takes roughly 20 minutes. Maybe a little longer if you have tiny hands helping.
- Minimal Ingredients: Only 4 base ingredients, plus any sprinkles you decide on!
- Easy to Customize: I used chocolate as the topping the first time around and frosting the second. Both work extremely well!
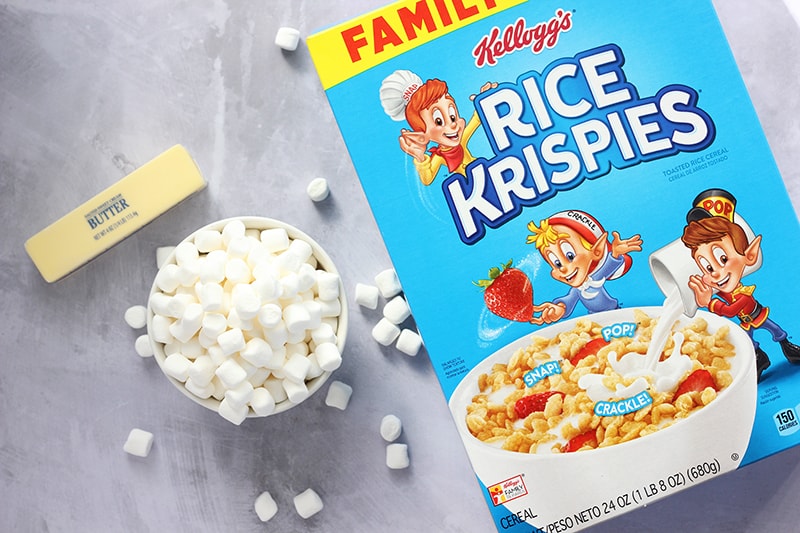
What You’ll Need:
Above I mentioned that this rice krispie treats variations take minimal ingredients. I was serious. The base number of ingredients you need comes to a whopping FOUR.
- Salted Butter
- Mini Marshmallows
- Rice Puff Cereal
- Candy Melts OR Frosting
Technically, you do not need to use salted butter. You can definitely opt for unsalted. We feel like the salted helps enhance the flavor of the treats. For a full list of ingredients and measurements see the recipe card below.
Searching for a festive treat that has a little chocolate? Check out my Brownie Bite Santa Hats!
Step By Step Instructions:
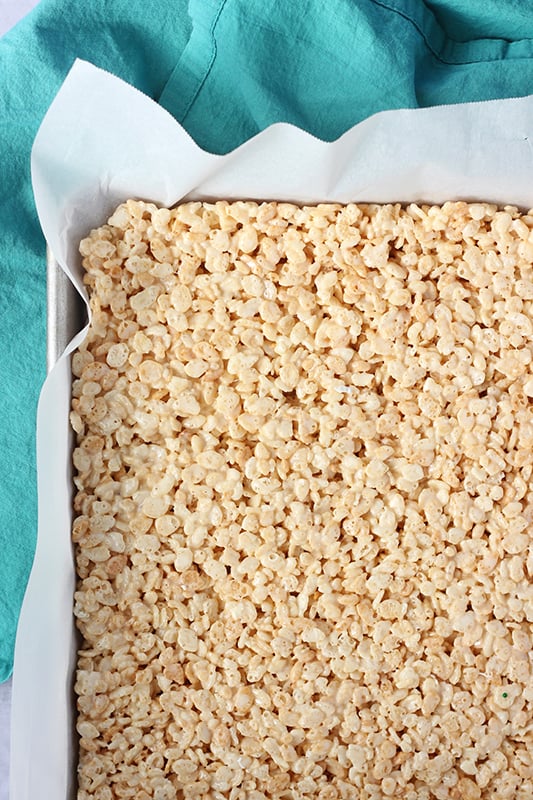
All of the magic starts with the best rice krispie treat recipe. The only difference is that we will press it into a lined half sheet pan (affiliate) vs a 9×13. This gives you a great work surface to decorate!
- Prepare a half sheet pan (affiliate) by layering with parchment (affiliate) and misting with baking spray or coconut oil.
- Melt the butter in a large pot (affiliate).
- Stir in the marshmallows and stir with a silicone spatula (affiliate) until melted.
- Working quickly, add the cereal and stir to combine fully with the melted marshmallow mixture. Transfer to your prepared dish. Gently press into an even layer.
- Allow the bars to sit for 5 to 10 minutes.
- While the treats are cooling, melt the candy melts or color your frosting.
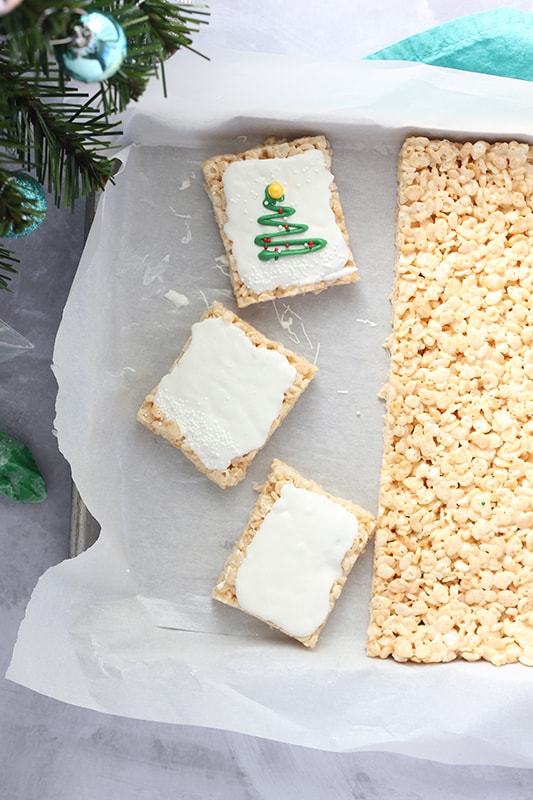
- Slice (affiliate) the treats into rectangles or use a round cutter (affiliate) to create circles.
- Spread white frosting or chocolate onto each treat, using an angled spatula or spoon to smooth the surface.
- Place green frosting or melted chocolate into a sandwich zip top bag. Snip a small corner from the bag making it a mini piping bag.
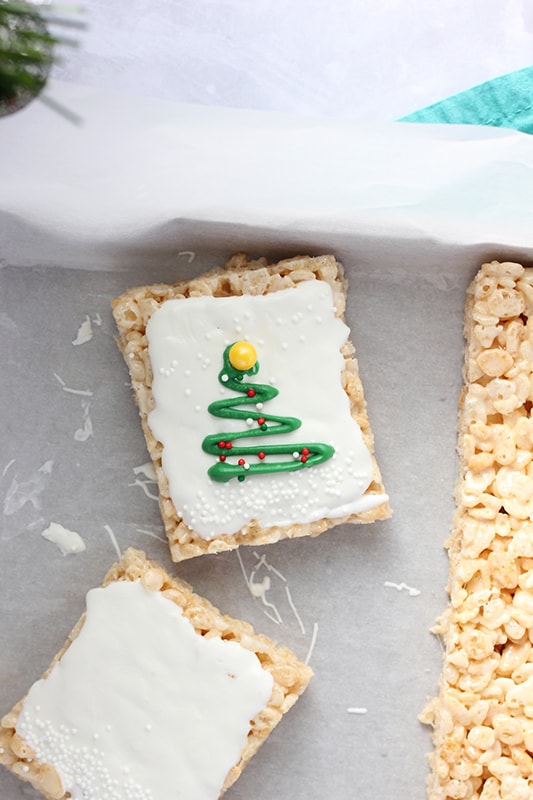
- Gently squeeze and create the squiggle trees on top of the white frosting in the center of your treats.
- Add holiday sprinkles (affiliate) for a fun festive finishing touch.
Tips and FAQ’s:
This recipe is no-fuss and super simple. Here are a few of the most common questions I get:
- Always butter the dish before you press down the cereal treats. This will help ensure you can get them out when you are ready to eat them.
- Butter your fingers to help keep the marshmallows from sticking as you press them down. You could also butter a piece of wax paper and use that to press the treats as well!
- GENTLY press the treats down. You only want them lightly pressed into the pan. Pressing too hard will result in less gooey and more crunchy bars.
- Keep the bars stored in a covered container on the counter for the best shelf life.
How to make rice krispie treats in the microwave:
No stove? No problem! While I suggest sticking with the stove top method… You can always make this treat using your microwave.
- Place the butter and marshmallows in a large microwave safe bowl.
- Heat for 2 to 3 minutes, stirring every 1 minute, until melted.
- Working quickly, add the cereal and stir to combine fully with the melted marshmallow mixture. Transfer to your prepared dish. Gently press into an even layer.
- Allow the bars to sit for 5 to 10 minutes. Slice and serve!
Related Recipes:
- 25 of the Best Christmas Cookies
- 15 Must-Make Christmas Brunch Recipes
- Holiday Spiced Hot Chocolate
- Eggnog Dip
- Copycat Cranberry Bliss Bars
Want to save this recipe?
Enter your email below & we’ll send it to your inbox. Plus get great new recipes from us every week!
Christmas Tree Rice Krispie Treats
Ingredients
- 6 tablespoons Salted Butter
- 10 oz Mini Marshmallows
- 6 cups Rice Puff Cereal (like Rice Krispies)
- 1 cup frosting (divided and colored white and green OR white and green candy melts)
Instructions
- 1. Prepare a half sheet pan by layering with parchment and misting with baking spray or coconut oil.
- 2. Melt the butter in a large pot.
- 3. Stir in the marshmallows and stir with a silicone spatula until melted.
- 4. Working quickly, add the cereal and stir to combine fully with the melted marshmallow mixture. Transfer to your prepared dish. Gently press into an even layer.
- 5. Allow the bars to sit for 5 to 10 minutes.
- 6. While the treats are cooling, melt the candy melts or color your frosting.
- 7. Slice the treats into rectangles or use a round cutter to create circles.
- 8. Spread white frosting or chocolate onto each treat, using an angled spatula or spoon to smooth the surface.
- 9. Place green frosting or melted chocolate into a sandwich zip top bag. Snip a small corner from the bag making it a mini piping bag.
- 10. Gently squeeze and create the squiggle trees on top of the white frosting in the center of your treats.
- 11. Add holiday sprinkles for a fun festive finishing touch.
Notes
- Always butter the dish before you press down the cereal treats. This will help ensure you can get them out when you are ready to eat them.
- Butter your fingers to help keep the marshmallows from sticking as you press them down. You could also butter a piece of wax paper and use that to press the treats as well!
- GENTLY press the treats down. You only want them lightly pressed into the pan. Pressing too hard will result in less gooey and more crunchy bars.
- Keep the bars stored in a covered container on the counter for the best shelf life.
Nutrition
The nutrition facts provided are calculated using a third-party tool and are estimates only. Actual nutritional content may vary based on the ingredients and brands you use, as well as portion sizes. For accurate results, please consult a registered dietitian or nutritionist.