
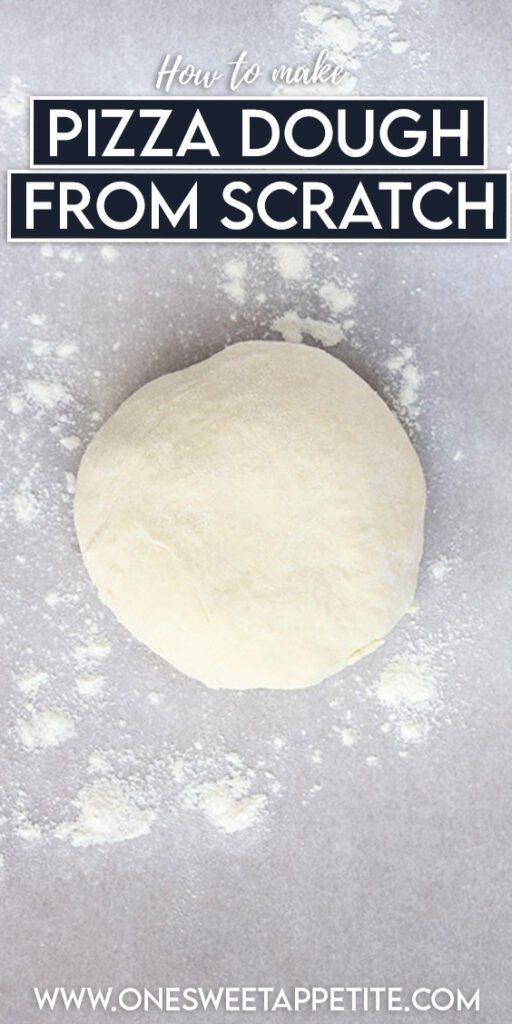
Pizza Dough Recipe
This post may contain affiliate links.
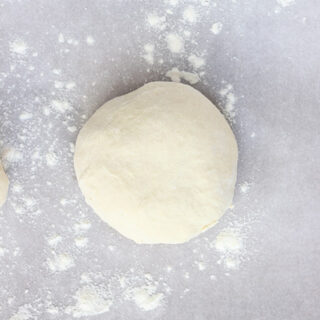
This easy Pizza Dough recipe is perfect for beginners. Soft, homemade pizza crust with a list of simple ingredients that you most likely already have on hand. One-Bowl and only a few minutes of kneading.
Want to make it a meal? My Pizza Dough Garlic Knots and Chopped Italian Salad make the perfect sides!
What Makes This The Best Pizza Dough
- Family favorite meal. Homemade pizza lets everyone customize toppings, which makes it a crowd-pleaser.
- Quick prep, slow rise. The dough comes together quickly, and the refrigerator does the rest of the work.
- Make-ahead recipe. Chilling the dough for 6–8 hours means you can prep it earlier in the day.
- Homemade pizza night. Fresh dough creates better flavor and texture than store-bought crust.
Pizza night at home just hits different. There’s something low pressure and cozy about stirring together a simple dough earlier in the day, tucking it into the fridge, and knowing dinner is basically handled. By the time you’re ready to bake, the dough has relaxed, developed flavor, and stretches easily into thin rounds that bake up crisp on the bottom and chewy in the center.
I’ve fine tuned this recipe to be dependable and straightforward, focusing on texture, flavor, and ease of use so it works in a real home kitchen. The ratios are carefully balanced so the dough is soft without being sticky, sturdy enough for toppings, and forgiving if you’re new to working with yeast. It’s the kind of base recipe you can come back to again and again, whether you’re keeping it classic with cheese or loading it up with whatever needs to be used from the fridge.
Before You Start Cooking
The beauty of these pizza dough ingredients is that each one plays a specific role in texture, flavor, and structure. When you use fresh basics and measure carefully, you set yourself up for a crust that’s chewy, crisp, and full of flavor.
- Warm Water – Aim for warm, not hot. If it feels comfortably warm on your wrist, it’s perfect. Too hot can kill the yeast, too cool will slow activation.
- Active Dry Yeast – Check the expiration date before using. If it doesn’t foam after 5 to 10 minutes in warm water with sugar, it’s time to replace it.
- Sugar – Just a small amount helps feed the yeast and jumpstart activation. You can swap with honey if that’s what you have on hand.
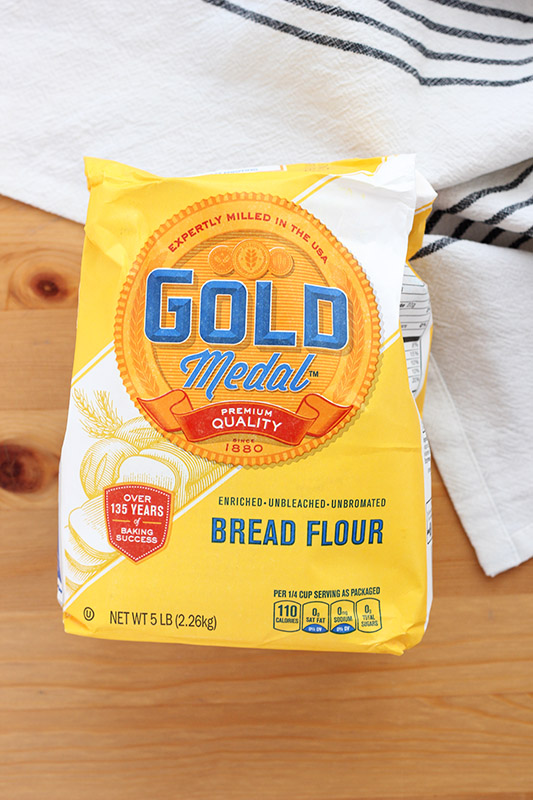
- Bread Flour – Bread flour gives you that chewy, classic crust thanks to its higher protein content. All purpose flour can work in a pinch, but the texture will be slightly softer.
- Salt – Don’t skip it. Salt strengthens the dough and balances flavor. Fine sea salt or kosher salt both work well.
- Avocado Oil or Olive Oil – Oil adds tenderness and subtle flavor. Use a mild olive oil for a more traditional taste or avocado oil for a neutral option.
- Cornmeal – Dust your work surface lightly to prevent sticking and add texture to the bottom of the crust. Parchment paper can also help if you’re nervous about transferring the dough.
With a few basic items and a little time, you’ll have everything you need to create a homemade crust that feels impressive but is completely doable.
Try this New York style pizza!

Jesseca’s Recipe Review
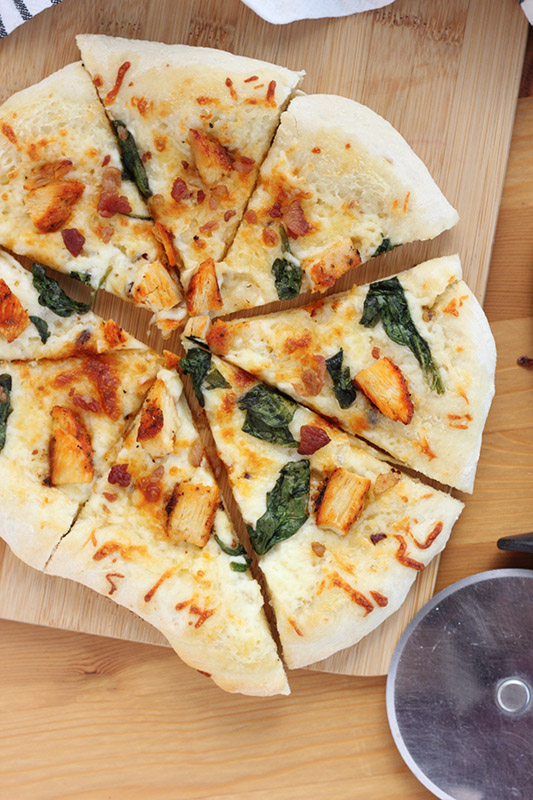
I love that the dough is easy to handle and stretches without fighting back, which makes the whole process feel relaxed instead of stressful. Once it hits a hot oven, the crust turns beautifully golden with crisp edges and that chewy center that makes you pause after the first bite and think, yep, this is it.
Tip from Jesseca:
Let the dough rest for a full 30 minutes at room temperature before stretching. If it starts to shrink back, give it another 5 minutes to relax. It makes shaping so much easier and gives you a thinner, more even crust.

Flexible Ideas for This Simple Pizza Dough Recipe
One of the best things about this dough is how flexible it is. Once you have the base down, you can tweak it to fit what you have on hand, what’s in season, or what your family prefers without making it complicated.
- Olive Oil or Avocado Oil. Use whichever you prefer. Olive oil gives a subtle classic flavor, while avocado oil keeps things neutral.
- Whole Wheat Blend. Replace up to half of the bread flour with whole wheat flour for a nuttier flavor and slightly heartier texture. You may need an extra tablespoon or two of water.
- Thick Crust or Pan Pizza. Press the dough into a well oiled cast iron skillet or sheet pan and let it rest 10 to 15 minutes before topping. This creates a thicker, softer crust with crisp edges.
- Seasonal Topping Ideas. Keep it fresh with seasonal ingredients. In summer, try fresh tomatoes and basil. In fall, add caramelized onions and sausage. In winter, go simple with classic cheese and pepperoni for pure comfort food.
This recipe is meant to work for you. Don’t feel locked into one exact approach. Small adjustments still give you great results, and that’s what makes homemade pizza night something you’ll want to repeat.
Best Flour For Pizza Dough
The flour you choose affects the texture, chew, and structure of your crust. The good news is you have solid options depending on what you’re going for and what’s already in your pantry.
- Bread Flour. Best for a chewy, classic pizzeria-style crust. The higher protein builds strong gluten for better stretch and structure.
- All Purpose Flour. A great everyday option. The crust will be slightly softer but still sturdy and flavorful.
- Whole Wheat Flour. Swap in up to 50 percent for a nuttier flavor and heartier texture. You may need a little extra water to keep the dough soft.
- 00 Flour. Finely milled and ideal for very high heat ovens. It creates a tender, airy crust, though most home ovens do just as well with bread flour.
If you want the safest, most consistent choice for home baking, bread flour is hard to beat. But truly, this dough is forgiving, so use what you have and you’ll still end up with a delicious homemade crust.
Tips and FAQs for Making Pizza Dough at Home
It’s usually too cold or needs more rest. Let it sit for 5 to 10 more minutes and try again. Relaxed dough is easier to shape.
The dough should look smooth and feel elastic. It should pull away from the sides of the bowl and bounce back slightly when pressed.
As hot as your oven will go. A higher temperature gives you better rise, crisp edges, and a golden bottom.
Yes. Press the dough into a lightly oiled pan and let it rest for 10 to 15 minutes before adding toppings. It will bake up thicker and softer in the center.
Storage and Freezer Instructions
This dough is perfect for planning ahead. A little prep now makes future pizza nights effortless.
Refrigerator Storage
- After dividing, keep the dough balls in lightly oiled, covered containers.
- Store in the refrigerator for up to 3 days.
- The flavor actually improves slightly after the first 24 hours.
Freezing Instructions
- For best results, freeze the dough after the refrigerator rise.
- Lightly coat each dough ball in oil and wrap tightly in plastic wrap.
- Place wrapped dough into a freezer bag and freeze for up to 3 months.
- Thaw overnight in the refrigerator.
- Let sit at room temperature for 30 to 45 minutes before stretching.
With simple storage steps, you can keep dough ready in the fridge or freezer and enjoy homemade pizza whenever the craving hits.
Want to save this recipe?
Enter your email below & we’ll send it to your inbox. Plus get great new recipes from us every week!
Easy Homemade Pizza Dough Recipe
Ingredients
- 395 grams warm water (not hot)
- 6 grams active dry yeast
- 1 teaspoon sugar
- 650 grams bread flour
- 12 grams salt
- 35 grams avocado oil (or olive oil)
- Cornmeal (for dusting)
Instructions
- In the bowl of a stand mixer, sprinkle the yeast over the warm water. Add the sugar and let sit for 5 to 10 minutes until puffy and activated.
- Add 1 cup of the flour and mix with a dough hook until combined. Add the remaining flour and the salt. Mix on low speed.
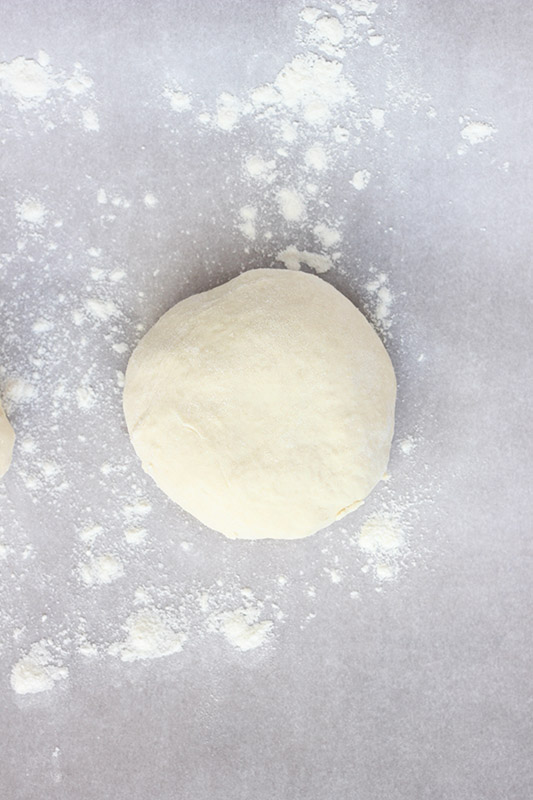
- Pour in the oil and knead for 4 to 5 minutes, or until the dough is smooth, elastic, and pulls away from the sides of the bowl.
- Divide the dough into 4 equal pieces. Place each piece into a lightly oiled container. Cover and refrigerate for 6 to 8 hours.
- Remove the dough from the refrigerator 30 minutes before baking to allow it to come to room temperature.
- Preheat your oven to the hottest temperature available. For best results, use a preheated pizza stone or cast iron pan.
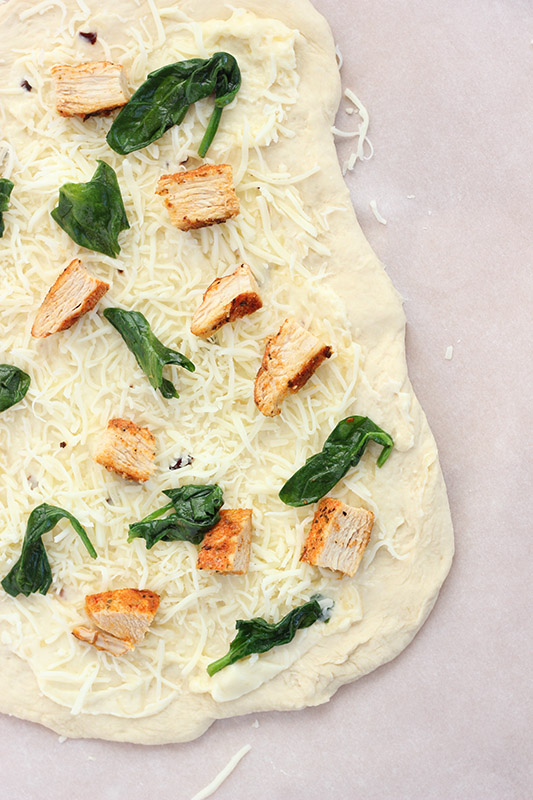
- Working with one dough ball at a time, sprinkle cornmeal onto your work surface. Gently press and stretch the dough into a thin circle. Press a fork across the bottom to prevent large air bubbles.
- Add sauce and toppings. Bake for 10 to 13 minutes, or until the bottom and edges are crisp and golden.
Notes
- Use a kitchen scale. This recipe is written in grams for a reason. Scooping flour with cups can throw off the hydration and give you a dry crust.
- Your water should feel warm, not hot. Think bathwater. Too hot and you kill the yeast. Too cool and it won’t activate properly.
Nutrition
The nutrition facts provided are calculated using a third-party tool and are estimates only. Actual nutritional content may vary based on the ingredients and brands you use, as well as portion sizes. For accurate results, please consult a registered dietitian or nutritionist.

its very good idea to lean cook by image