Smores Dip
This post may contain affiliate links.
S’mores are pure nostalgia. Gooey chocolate, toasted marshmallows, and that first bite that instantly feels like summer. This s’mores dip takes everything people love about the classic treat and makes it easy to enjoy indoors, no fire pit required. It’s quick to make, great for sharing, and simple to customize with your favorite chocolate or dippers.
Try even more of my campfire treat ideas like my S’more Brownies, S’more Cookies, and my S’more Cupcakes!
What Makes This Baked S’mores Dip Worth It
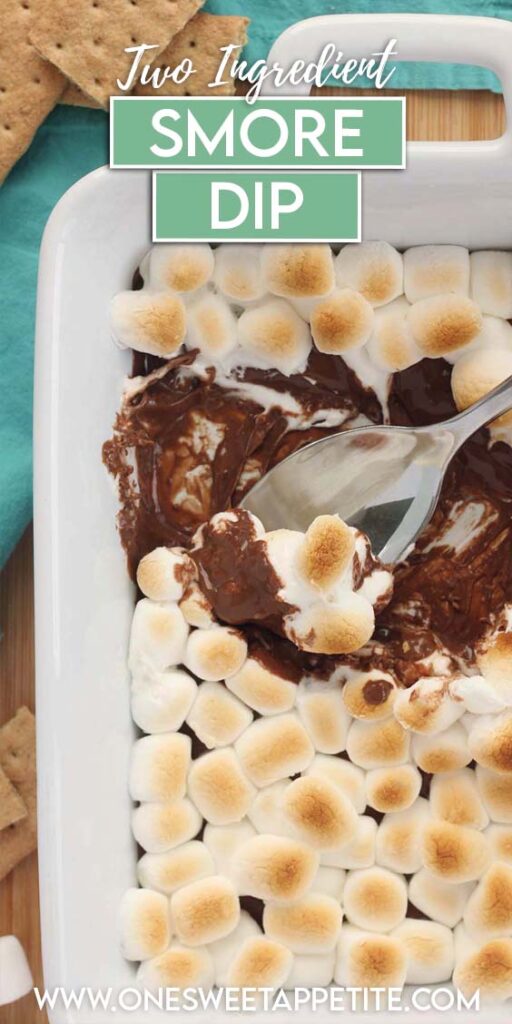
- Gooey, not stiff. The chocolate melts into a smooth, scoopable layer that stays soft while you’re dipping.
- Golden on top, melty underneath. The marshmallows toast just enough to give you that classic s’mores bite without drying out.
- Easy to pull off indoors. No fire pit, no special tools, no timing stress.
There’s something incredibly nostalgic about a classic s’more. Sitting around a campfire, carefully toasting a marshmallow, and watching the chocolate melt into gooey perfection when everything comes together. It’s simple, familiar, and hard to beat. This s’mores dip delivers that same flavor and texture without needing a fire or leaving the house.
After testing this a few different ways, it became clear that the key is a low, steady bake that lets the chocolate melt evenly while the marshmallows turn soft and lightly toasted on top. The result is warm, scoopable, and exactly what you want when you dip in a graham cracker. It’s an easy dessert that still feels special and works just as well for a casual night in as it does for sharing.
Before You Start Baking
This sweet dip is as simple as it gets. Only need 3 ingredients stand between you and gooey, chocolatey bliss. Here’s what you’ll need (plus a few tips to make it even better):
- Chocolate Bars – Classic milk chocolate melts beautifully, but feel free to mix in semi-sweet or dark for a richer flavor. Break them into pieces for even melting.
- Marshmallows – Regular-size marshmallows give you that dramatic golden top, but mini marshmallows will melt faster and more evenly.
- Graham Crackers (or more!) – Stick with the classic or switch it up with pretzels, strawberries, vanilla wafers, or even cookies for dipping.
That’s it! With just three pantry staples, you’re a few minutes away from dessert greatness.

Jesseca’s Recipe Review
This is my shortcut to instant dessert success. It’s ridiculously easy, always a crowd-pleaser, and totally delivers that nostalgic campfire vibe, no fire pit required. It’s my go-to when I need something sweet now and don’t feel like baking.
Tip from Jesseca:
For perfectly toasted marshmallows, switch your oven to broil for the last 1–2 minutes, but don’t walk away! They toast fast and can burn in a blink.
Ways to Change It Up
Once you’ve made the classic version, this s’mores dip is easy to adapt using ingredients you probably already have. Small swaps go a long way, and none of these require changing the baking time or method.
- Peanut butter chocolate s’mores dip: Add a thin layer of peanut butter or a handful of peanut butter chips over the chocolate before baking. It melts right in and adds richness without overpowering the marshmallow topping.
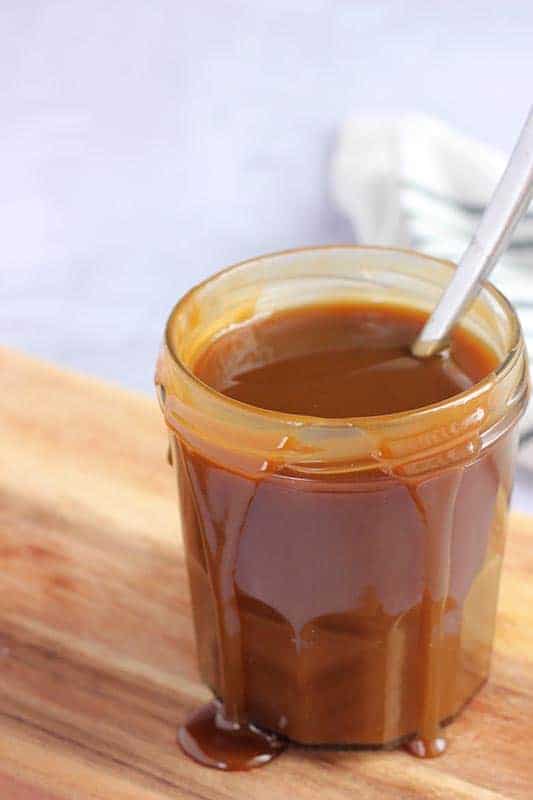
- Salted caramel swirl: Drizzle caramel sauce over the chocolate layer, then sprinkle lightly with flaky salt before adding the marshmallows. The salt keeps it from tasting overly sweet.
- Dark or white chocolate mashups: Use dark chocolate for a less sweet dip, or mix white and milk chocolate for a softer, creamier flavor. A combination of bars and chips works well here.
- Boozy version for adults: A light drizzle of Bailey’s or dark rum over the chocolate before baking adds warmth and depth. Keep it subtle so it doesn’t thin the dip too much.
- Single-serve option: Divide everything into small ramekins and bake until melted and lightly toasted. Perfect when you don’t want leftovers or are serving a smaller group.
These variations make the dip easy to tailor for different tastes, occasions, or portions without turning it into a new recipe entirely.
Skillet vs Baking Dish: What Works Best with a S’more Dip Recipe
Both options work well, but each has its strengths depending on how you plan to serve the dip.
- Mini ramekins (affiliate): Best for individual servings or small batches. They bake quickly and reduce leftovers.
- Cast iron skillet: (affiliate) Holds heat longer, which keeps the dip warm and gooey on the table. This is a good choice for parties or when people will be dipping over time.
- Baking dish or pie plate: (affiliate) Heats evenly and is easier to portion for smaller gatherings. Glass or ceramic dishes also make it easier to see when the chocolate is fully melted.


Recipe FAQs
Yes! Chocolate chips work just fine. Use about 1½ to 2 cups. They may not melt as smoothly as bars, but the flavor’s still spot-on.
You can, but the marshmallows won’t get that golden, toasted top. Microwave in 20-second bursts until the chocolate is melted and the marshmallows are puffed.
Serve it immediately while warm. If it starts to firm up, reheat it in the oven or microwave to bring back the gooey texture.
An 8×8-inch pan or a small cast iron skillet works best. You can size up or down depending on how many people you’re serving.
Try pretzels, strawberries, cookies, vanilla wafers, or apple slices. Basically, if it dips—it works!
Make-Ahead, Storage, and Reheating Tips
S’mores dip recipe is best served warm, but you do have a few flexible options.
- Make-ahead: You can assemble the dip ahead of time and refrigerate it unbaked. Bring it to room temperature before baking so it heats evenly.
- Storage: Leftovers can be covered and refrigerated for up to two days. The texture will firm up once chilled, which is normal.
- Reheating: Warm in the oven at a low temperature until the chocolate softens again. Avoid the microwave if possible, as it can cause the marshmallows to toughen and the chocolate to heat unevenly.

Want to save this recipe?
Enter your email below & we’ll send it to your inbox. Plus get great new recipes from us every week!

S’more Dip
Ingredients
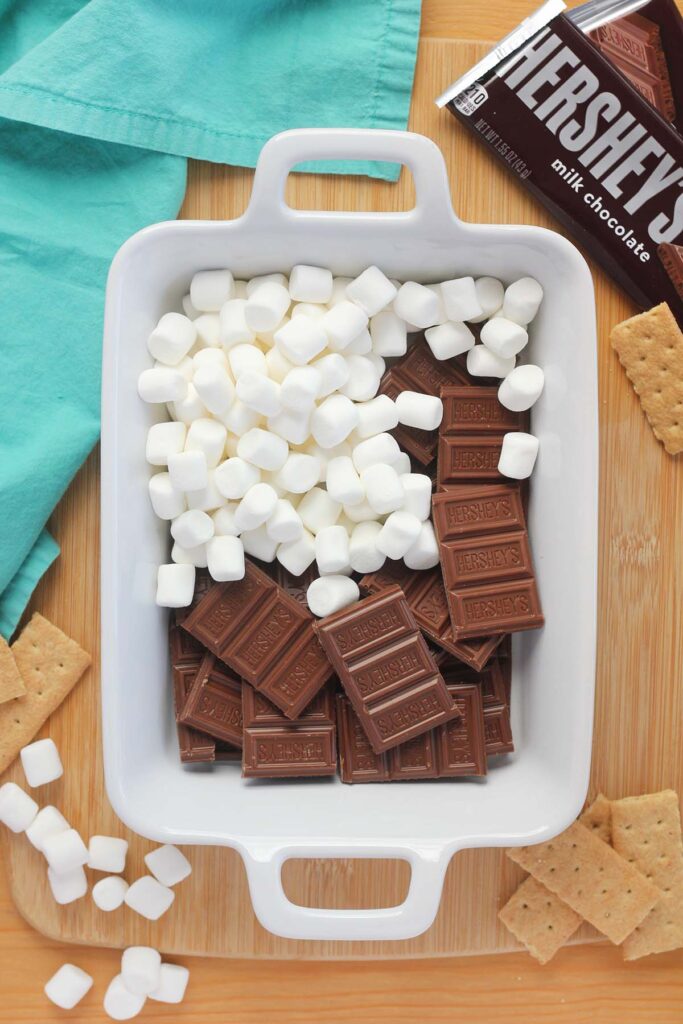
- 2-3 chocolate bars
- 1½-2 cups mini marshmallows
- graham crackers or fruit for dipping
Instructions
- Preheat the oven to 350°F (175°C). Use the middle rack so your marshmallows toast evenly without burning too quickly.
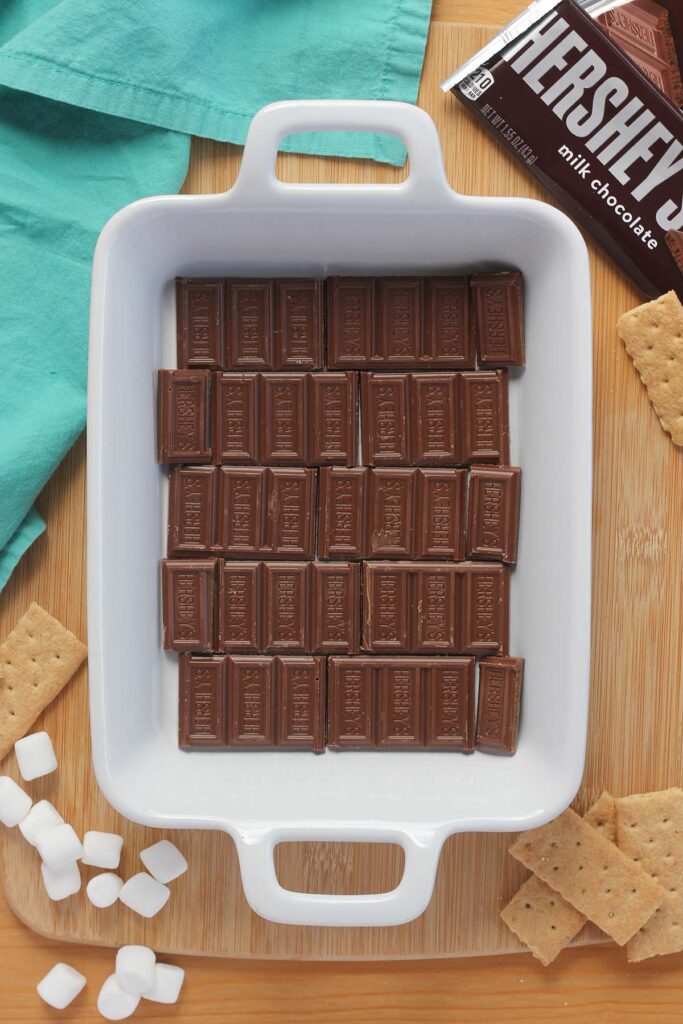
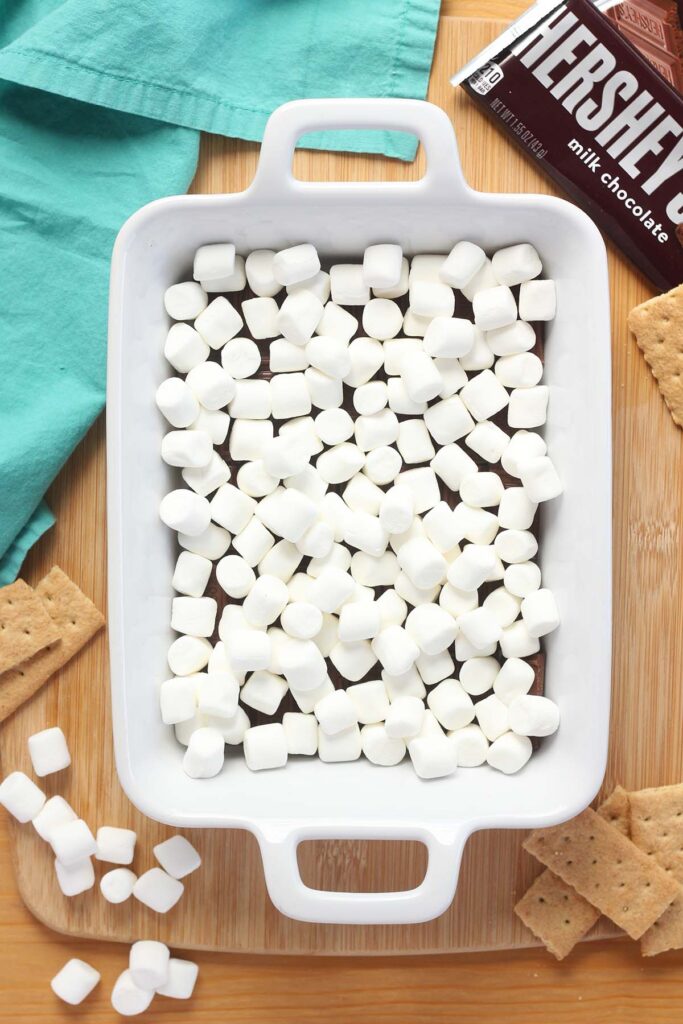
- Break chocolate bars into smaller pieces and layer them evenly in the bottom of an oven-safe baking dish (an 8×8-inch pan or pie dish works great).
- Cover the chocolate completely with marshmallows. You can use regular or mini marshmallows—just make sure they’re in an even layer.
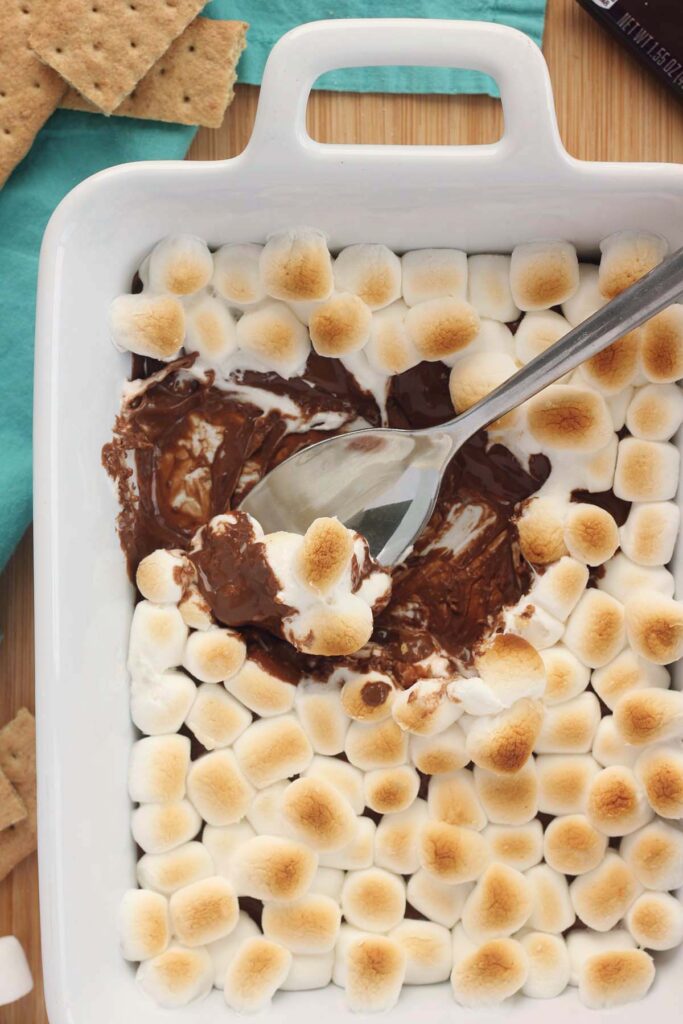
- Place the dish in the oven and bake for 5–10 minutes, keeping a close eye after the 5-minute mark. It’s done when the chocolate is melted and the marshmallows are puffed and golden brown.
- Remove from the oven and let it sit for 1–2 minutes before digging in. Serve immediately with graham crackers or your favorite dippers.
The nutrition facts provided are calculated using a third-party tool and are estimates only. Actual nutritional content may vary based on the ingredients and brands you use, as well as portion sizes. For accurate results, please consult a registered dietitian or nutritionist.