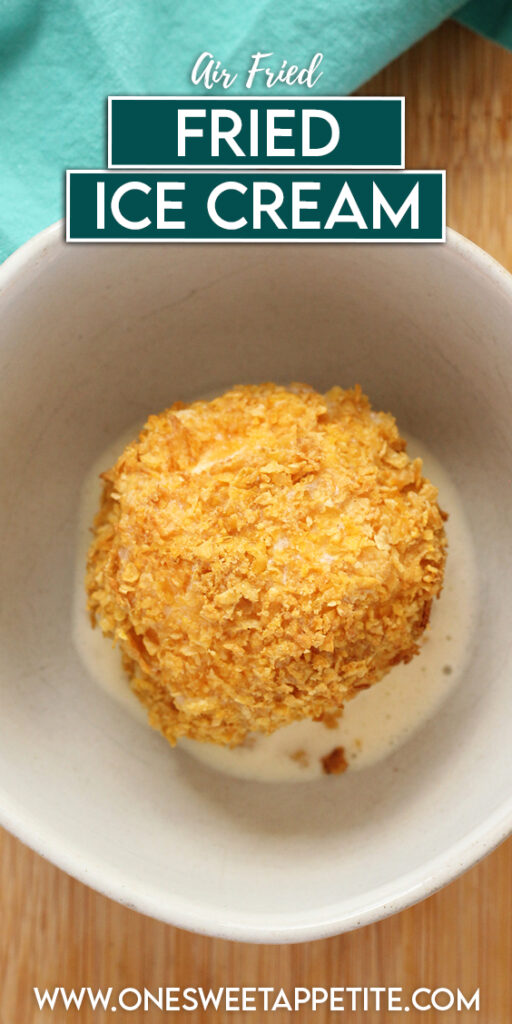
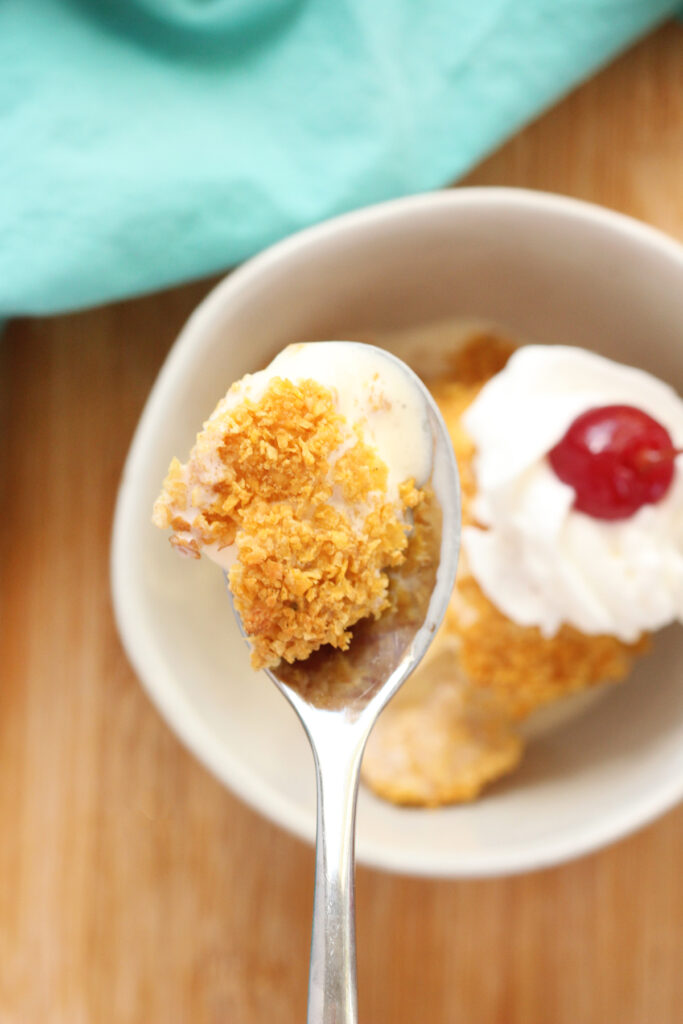
Fried Ice Cream
This post may contain affiliate links.
Let’s talk fried ice cream, but not your usual deep-fried affair. I’ve got a killer recipe that lets you choose: go traditional with oil or keep it crisp and less guilty in an air fryer. Perfect for impressing guests or just treating yourself, this dessert is a game-changer. Who knew you could whip up something this indulgent right at home? Spoiler: You totally can, and it’s easier than you think!
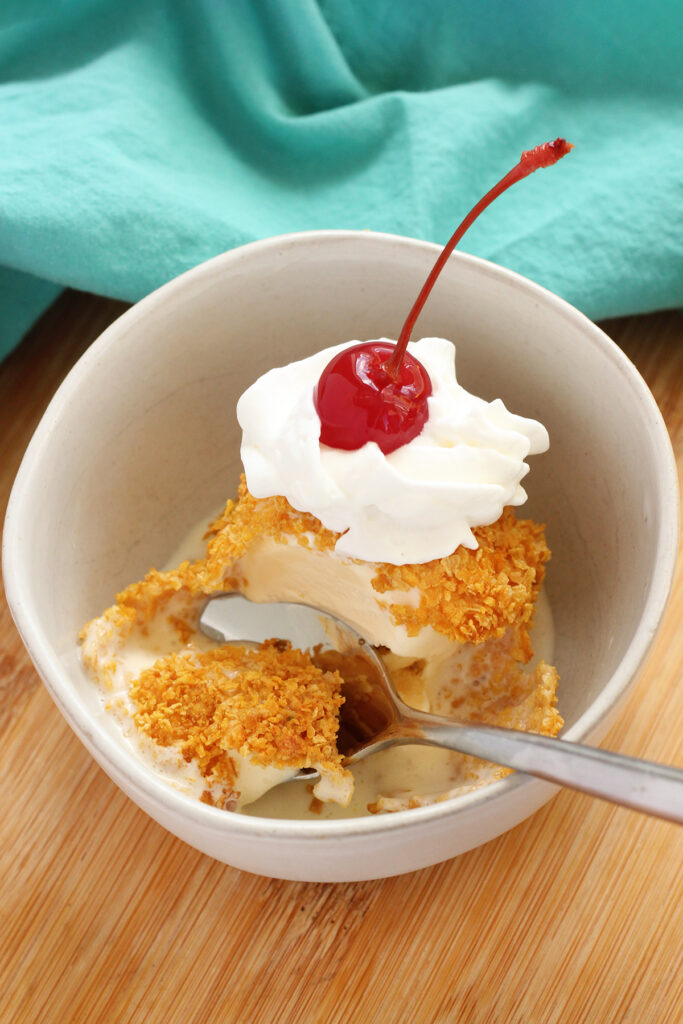
Serve this with a drizzle of caramel sauce, chocolate syrup, or a dollop of whipped cream for the perfect finishing touch!
Why You’ll Love This Air Fryer Recipe
- Easy Cleanup: Air fryers are a dream when it comes to cleaning. Say goodbye to splattered oil and hello to a quick wipe-down.
- Safety First: No hot oil means less risk of burns or accidents in the kitchen. Especially great if you’re cooking with kids.
- Convenience: Air fryers heat up fast and have consistent temperatures, making it easier to get that perfect golden shell.
Let’s recreate one of my favorite childhood treats- fried ice cream. This recipe is seriously so delicious and perfect for any and all occasions, especially Cinco De Mayo. It’s one I grew up loving and making with my grandma every year and have mastered.
The difference between mine and hers? I make mine in the air fryer! It’s less messy, you still get that beautiful golden brown finish, and it is DELICIOUS. The combination of vanilla ice cream, cinnamon, and crunchy cereal topping is unbeatable. Although, I did include the classic fried version for you too!
Ingredients You Need
This land firmly in the 5 Ingredients or less category! You only need a handful of items which makes it a go-to when you want a really delicious treat!
- Ice Cream: Vanilla ice cream gives you the absolute perfect base, but not all ice cream is equal. Pick a good quality option. We like Tillamook and surprisingly the Great Value or Kroger brand.
- Egg whites: These are used to hold the cereal topping in place.
- Cereal: You have so much wiggle room here. I like the classic crunch you get with Corn Flakes, but you can up the flavor by using Cinnamon Toast Crunch, crushed graham crackers, or even rice krispies!
- Cinnamon: It’s sweet, but not sugary-sweet. Instead, it offers a subtle spiciness that contrasts beautifully with the creaminess of the ice cream.
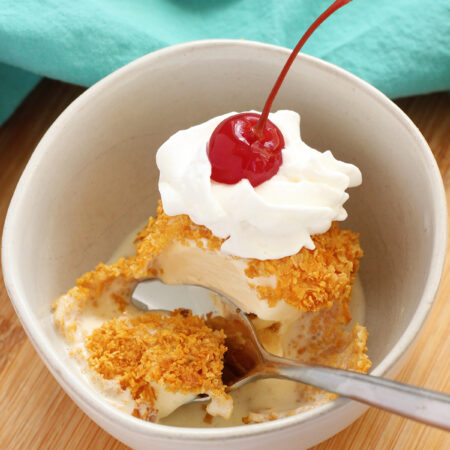
- Toppings: Optional, but adding hot fudge, a caramel drizzle, whipped cream, maraschino cherries, chopped nuts, or even a little toasted coconut takes this from good to great!

How To Make Fried Ice Cream
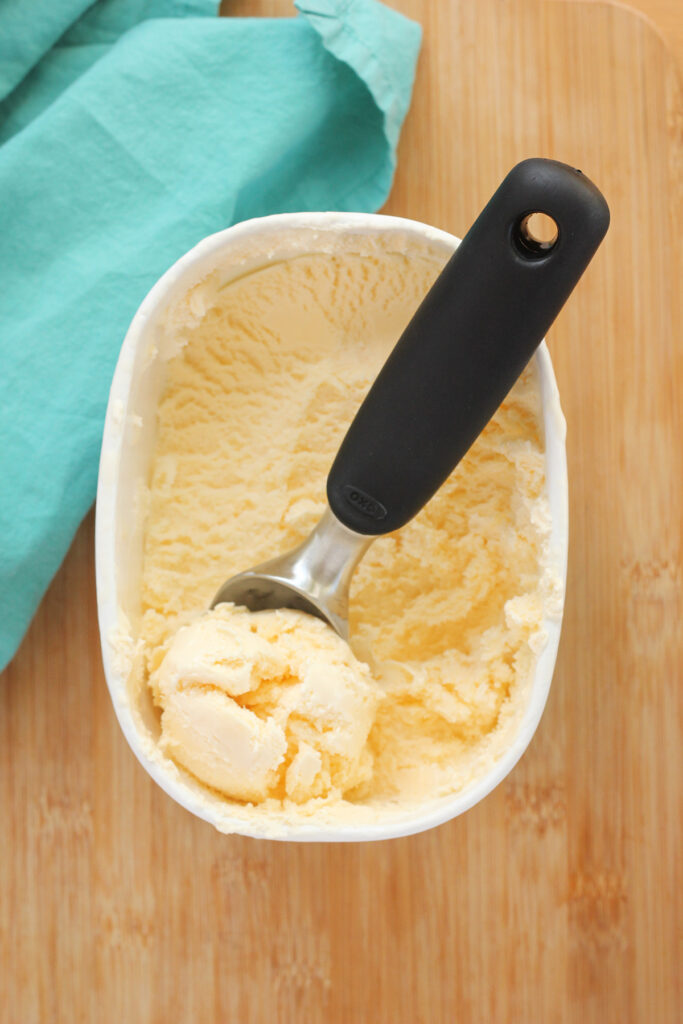
- Scoop It Up: Begin by scooping the vanilla ice cream into round, baseball sized balls. Use a standard ice cream scooper for this – it’s just like making ice cream cones!
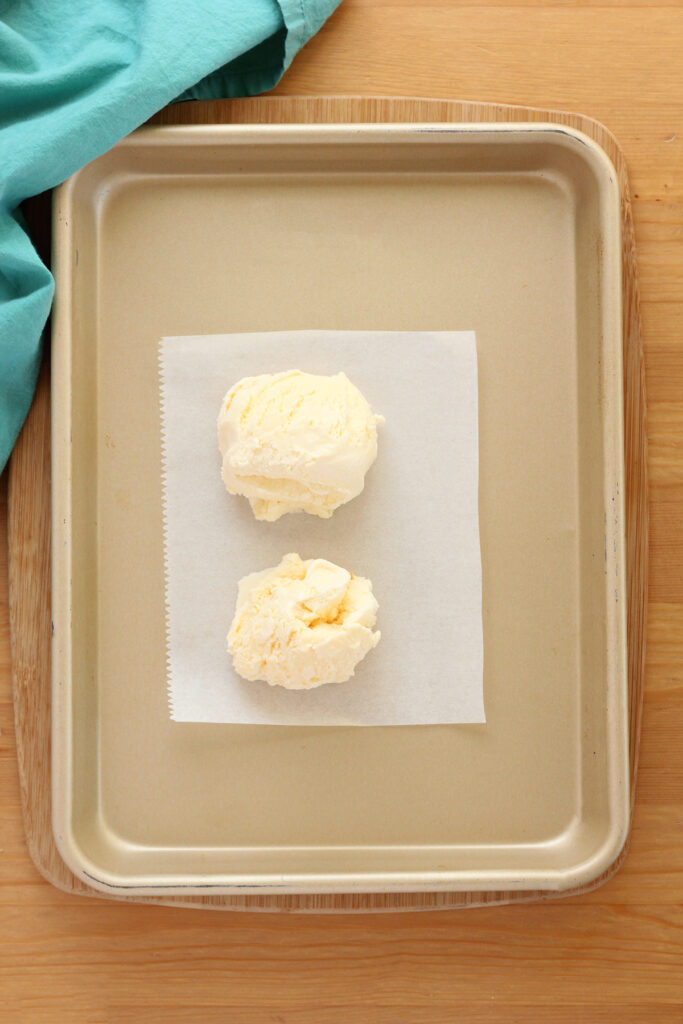
- Chill Out: Place the ice cream scoops on a baking sheet (make sure it fits in your freezer!). Then, place in the freezer to harden for about an hour. This step is crucial for keeping them solid during the frying process.
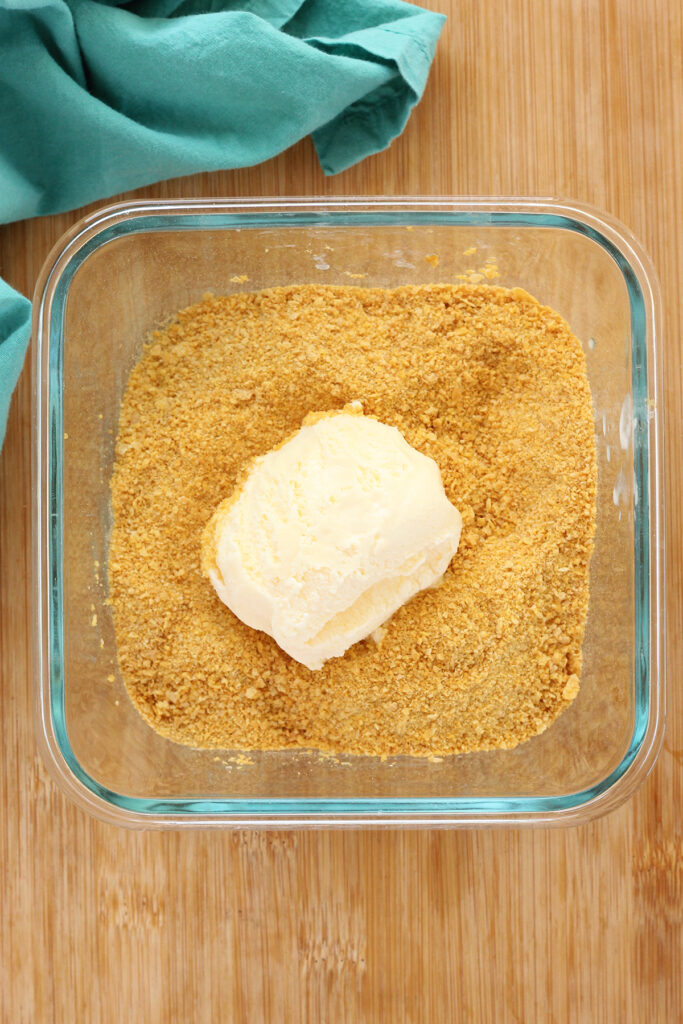
- Crumby Mix: While the ice cream is chilling, place the cornflakes and cinnamon into a blender and pulse until you get a crumbly mix. Think of it as making a crunchy coat for your ice cream.
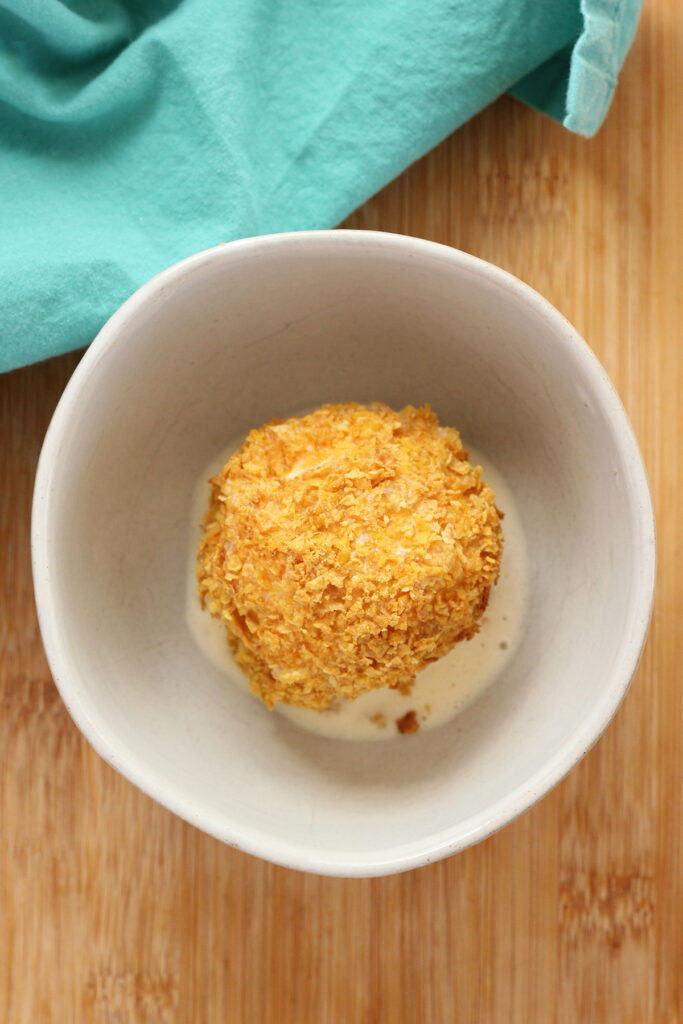
- Double Dip: Once the ice cream is solid, take each ice cream ball from the tray and dip in egg whites followed by a roll in the cornflake mix. Make sure to coat well.
- Freeze Again: Once covered in the mix, the ice cream balls need another freezing session. Pop them back into the freezer for at least an hour, but ideally leaving them overnight really firms them up for the best texture post-air frying.
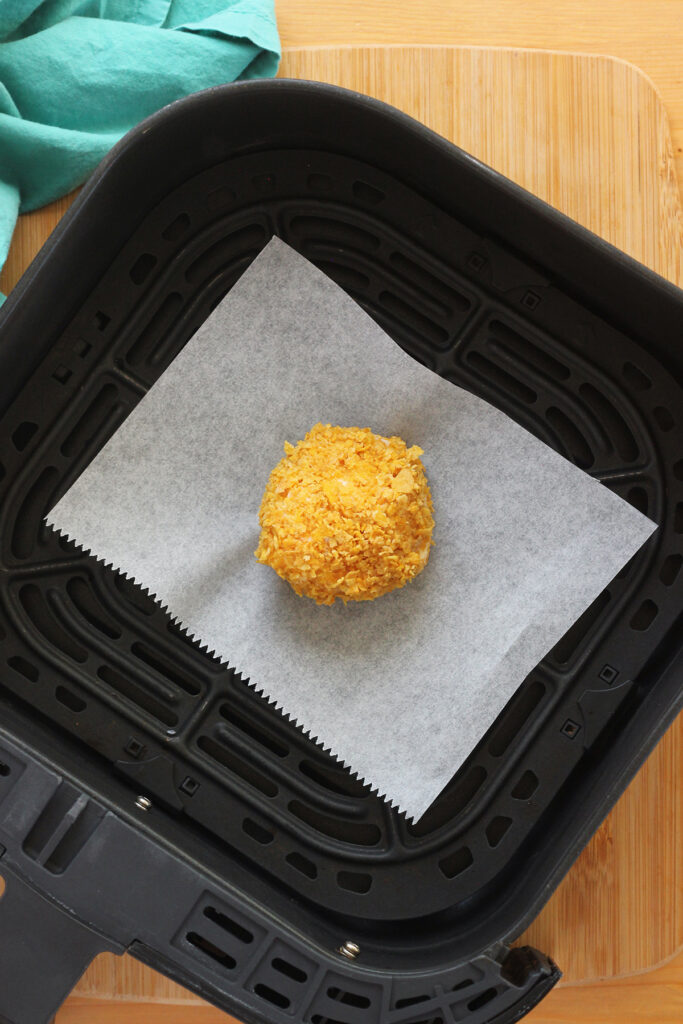
- Air Frying: Preheat the air fryer to 400 degrees. Place the ice cream balls, no more than two at a time, on a small piece of parchment paper (cut to size to prevent burning). Then, air fry them for just 2 minutes. Watch them closely; they cook fast!
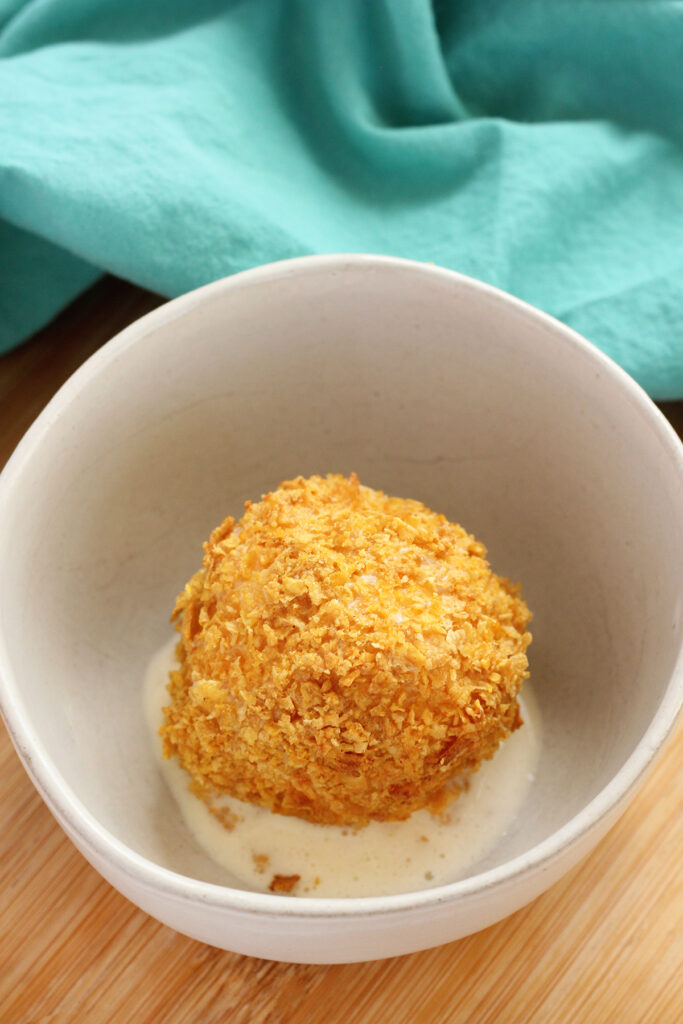
And voilà! You’ve just made a culinary marvel. Enjoy your crispy, warm-coated, yet cold-centered fried ice cream! Perfect for impressing friends or treating yourself. Remember, practice makes perfect.
Helpful Tools
For whipping up some delicious fried ice cream, having the right tools on hand can turn your kitchen into a dessert-making haven! Here’s a list of handy helpers:
- Ice Cream Scoop: To get perfectly rounded balls of ice cream. Size matters here – not too big, not too small.
- Baking Sheet: Essential for freezing the ice cream balls before frying. Line it with parchment paper for easy removal.
- Air Fryer or Deep Fryer: Depending on your method, a good quality air fryer for a healthier version, or a deep fryer for the classic approach.
- Tongs or Slotted Spoon: For safely placing in and retrieving the ice cream from the fryer. It’s all about keeping those fingers burn-free!
Deep Fried Ice Cream
No air fryer? No problem! You can actually deep fry this ice cream and here’s how: Follow the instructions through the second chill of the ice cream balls then move to the steps below.
- Choose Your Pot: Use a deep, heavy-bottomed pot or a deep fryer.
- Fill ‘Er Up: Pour in a neutral oil (like vegetable, canola, or peanut oil) to a depth of about 2 to 3 inches. You need enough oil so the ice cream balls can float without touching the bottom.
- Heat It Right: Heat the oil to around 375°F (190°C). This temperature is key to ensuring the ice cream doesn’t melt inside before the coating gets crispy.
- Fry Away: Fry each ice cream ball for 10 seconds per side, or until the cereal coating is golden brown. Serve immediately.
Expert Recipe Tips:
Here are some expert tips to elevate your recipe from “pretty good” to “mind-blowingly amazing”:
- The Freezer is Your Friend: Make sure your ice cream balls are super frozen – like, Arctic-level frozen. This helps them maintain their shape when they hit the hot oil or air fryer.
- Double Dip for Extra Crunch: A double layer of coating ensures a crispy outer shell and better insulation for the ice cream. Dip in egg, then cereal crumbs, freeze, and repeat!
- Serve Immediately: Fried ice cream waits for no one! Serve it as soon as it’s done for that perfect contrast of hot and cold.
- Personalize Your Toppings: Go beyond the recipe and get creative with toppings. Think outside the box – maybe some salted caramel or even a dash of chili powder for a surprise element.
Recipe FAQs
Yes. You can prep the ice cream balls and freeze them. Just hold off on frying or air frying until you’re ready to serve for that perfect crispness.
At least 1 hour, but overnight is best. You want the ice cream rock solid to prevent melting during air frying.
Absolutely! Crushed cookies, nuts, or even pretzels can be used for a unique twist.
Double coat the ice cream: dip in egg and crumbs, freeze, and then dip again just before frying.
Yes, preheating helps to cook the ice cream evenly and quickly, which is crucial for keeping the inside frozen.
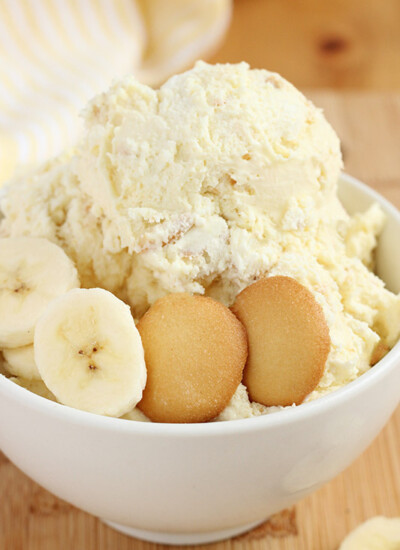
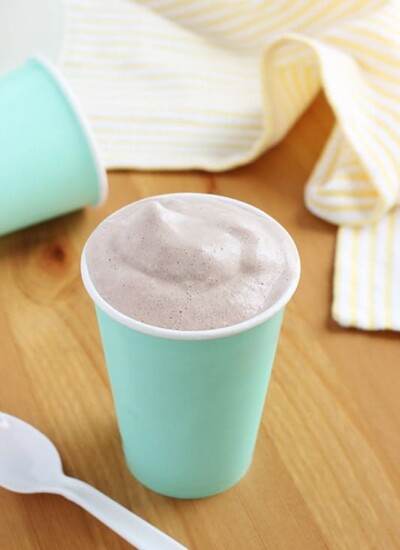
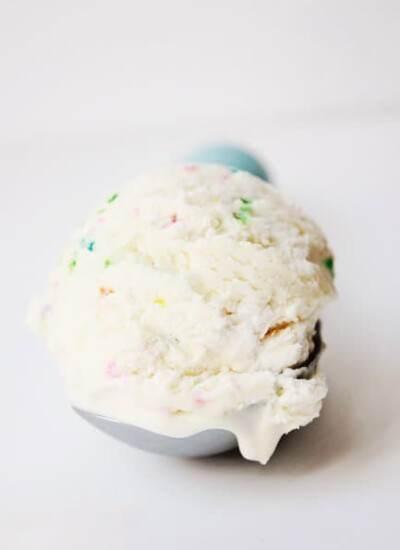
More Amazing Frozen Treats

Still Hungry? Follow One Sweet Appetite on Instagram, Pinterest, and Facebook!
Want to save this recipe?
Enter your email below & we’ll send it to your inbox. Plus get great new recipes from us every week!
Cereal Fried Ice Cream
Ingredients
- 2 cups vanilla ice cream
- 2 cups corn flakes (or your favorite cereal)
- 1 teaspoon cinnamon
- 2 large egg whites (whisked until foamy)
Instructions
- Begin by scooping the vanilla ice cream into round, baseball sized balls. Use a standard ice cream scooper for this – it’s just like making ice cream cones!
- Place the ice cream scoops on a baking sheet and place in the freezer to harden for about an hour.
- While the ice cream is chilling, place the cornflakes and cinnamon into a blender and pulse until you get a crumbly mix. Transfer to a shallow bowl.
- Once the ice cream is solid, take each ice cream ball from the tray and dip in egg whites followed by a roll in the cornflake mix. Make sure to coat well.
- Pop them back into the freezer for at least an hour, but ideally leaving them overnight really firms them up for the best texture post-air frying.
- Preheat the air fryer to 400 degrees.
- Place the ice cream balls, no more than two at a time, on a small piece of parchment paper (cut to size to prevent burning). Then, air fry them for just 2 minutes. Watch them closely; they cook fast!
- Serve immediately with your favorite toppings
Notes
- Follow Through Step 5.
- Use a deep, heavy-bottomed pot or a deep fryer.
- Pour in a neutral oil (like vegetable, canola, or peanut oil) to a depth of about 2 to 3 inches. You need enough oil so the ice cream balls can float without touching the bottom.
- Heat the oil to around 375°F (190°C). This temperature is key to ensuring the ice cream doesn’t melt inside before the coating gets crispy.
- Fry each ice cream ball for 10 seconds per side, or until the cereal coating is golden brown. Serve immediately.
Nutrition
The nutrition facts provided are calculated using a third-party tool and are estimates only. Actual nutritional content may vary based on the ingredients and brands you use, as well as portion sizes. For accurate results, please consult a registered dietitian or nutritionist.
Related Recipes:
Like this recipe? You will love my:
- Strawberries and Cream Milkshake
- Homemade Vanilla Ice Cream
- No Churn Strawberry Cheesecake Ice Cream
- Cinnamon Honey Ice Cream
Pin for later: