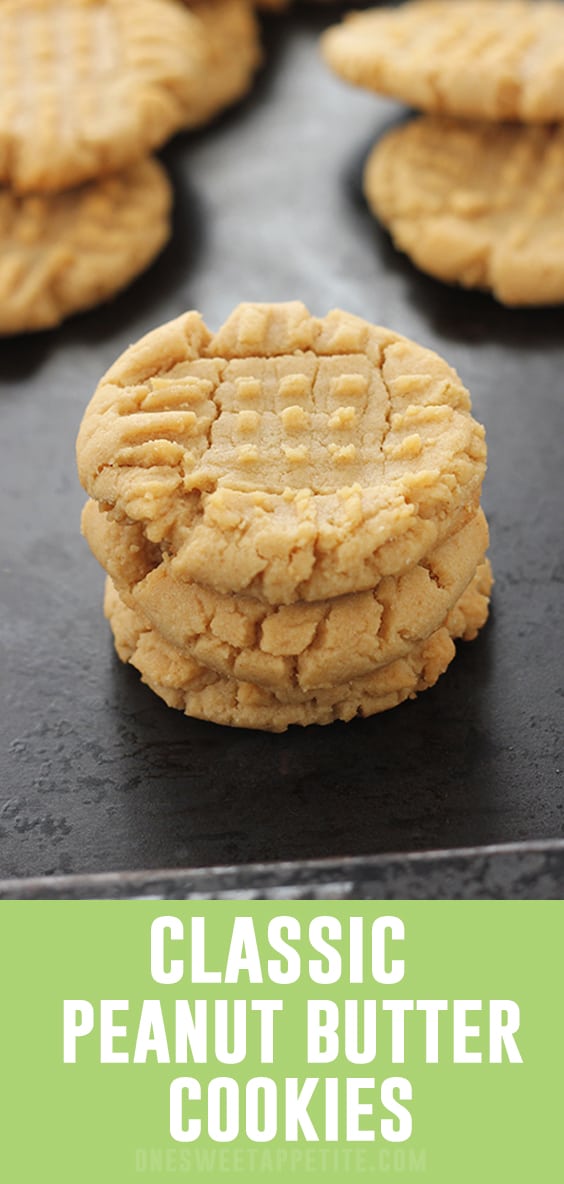
Peanut Butter Cookies
This post may contain affiliate links.
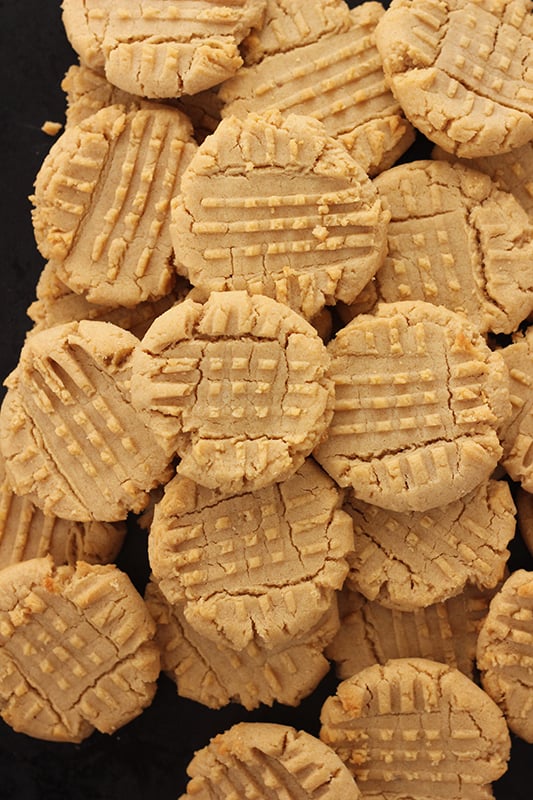
These homemade Peanut Butter Cookies are easy and delicious! Made with creamy peanut butter giving you the perfect soft and chewy finish!
Love cookies? Me too! Be sure to try some of my other tried and true favorites like my Classic M&M Cookies, Soft Gingerbread Cookies, Salted Brownie Cookies, and my Cherry Shortbread Cookies!
RECIPE FEATURES
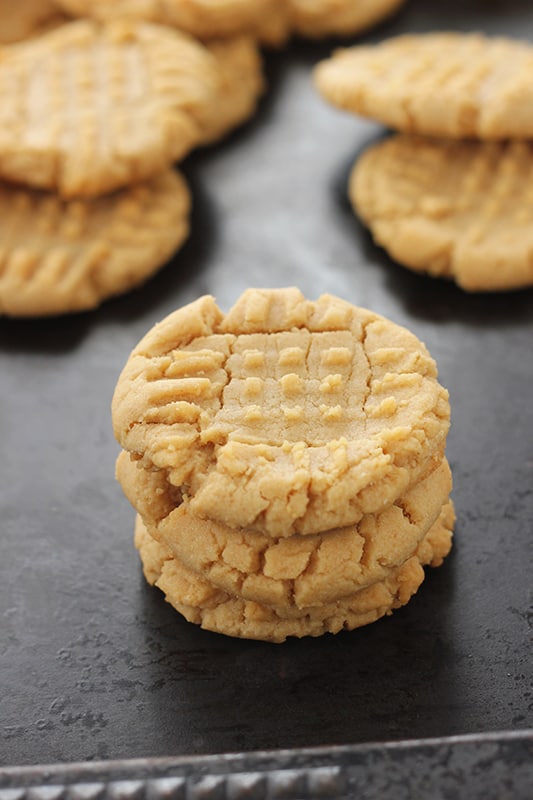
- Easy Cookie Recipe: These cookies come together so quickly and give you a thick soft cookie that is incredibly delicious.
- Freezer Friendly: Like many of my cookie recipes, this one is perfect for the freezer. Make a double batch and save some for later!
- Bold Peanut Butter Flavor: These are perfect for all of my peanut butter loving fans!
I made peanut butter cookies for you. And they are INSANELY delicious. They are soft, chewy, and addictive. Perfect with a tall class of cold milk, as a late night snack, or a special treat. Above all else, they are super simple to make!
I tried so many recipes before this one made its way to my collection. It is sort of a combination of several. I took all of the things I loved about each and combined them to make the ultimate peanut butter cookie recipe.
PEANUT BUTTER COOKIE INGREDIENTS
The ingredient list for this peanut butter cookie dough is fairly simple and actually follows a lot of my cookie recipes, in terms of base ingredients. Here is what you will need:
- All-purpose flour: I’ve tested this with several varieties and find that all-purpose flour works the best. It gives you these beautiful thick cookies that have the perfect texture.
- Baking powder and Baking Soda: Two different leavening agents work together to help give a little lift to the dough. Always double check the expiration date before you add these to your cookies.
- Butter: Make sure to use unsalted butter. Peanut butter is already rather salty, so an unsalted fat will help with moisture without overpowering the flavor.
- Peanut Butter: Everything really does start with a quality peanut butter. It is the star of the show so you will want to make sure you pick a good one. Use a no-stir version. We tried both varieties and had better success with Jif or Skippy. While I used creamy, you could easily substitute crunchy for a different texture!
- Sugars: I really love a combination of granulated sugar mixed with brown sugar. Something about a little added molasses takes these cookies from good to great.
- Eggs: Your binding agent. Eggs help hold everything together while also adding a little lift to the dough as it bakes.
- Vanilla: Just a touch of extract brings all of the flavors together.
EASY PEANUT BUTTER COOKIES
Did I mention this dough DOES NOT need to be chilled? It goes directly from the mixer to your oven saving you even more time!
- PREP: Preheat the oven to 375 degrees and line two cookie trays with either parchment paper or a silicone baking mat. Set these aside for later.
- DRY: Whisk the four, baking powder, baking soda, and salt in a medium sized mixing bowl or large measuring cup. Set aside while we move on to the next step.
- CREAM: Combine the butter, peanut butter, and both sugars inside the bowl of a stand mixer fitted with the paddle attachment. Beat at low/medium speed until the sugars have incorporated into the butter and become fluffy, about 1 minute.
- DOUGH: Scrape the sides of the mixing bowl and stir in the eggs with the vanilla extract. Stir 30 more seconds and then scrape the sides of the bowl. Slowly mix in the dry ingredients until your dough forms.
- SCOOP: Using a spoon, or a cookie scoop, create 1 inch dough balls. Place onto the prepared baking trays, leaving 2 inches between each cookie.
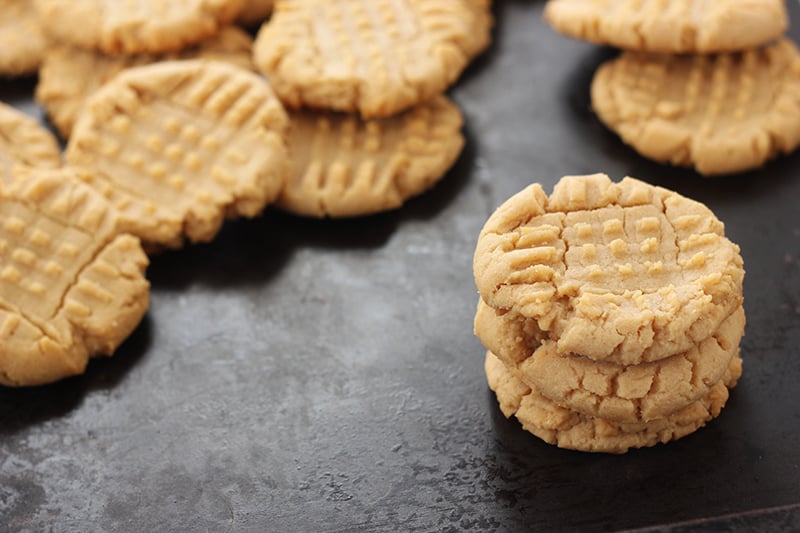
- PRESS: Gently press the top of each cookie with a fork, creating those classic peanut butter cookie marks.
- BAKE: Bake the cookies for 10 minuets, or just until the bottoms start to lightly brown and curl from the edge of the pan.
HELPFUL TOOLS
- Baking Trays: I am a big fan of my Nordic Ware pans (affiliate). I have both the half sheet and full pan sizes and they are amazingly easy to clean.
- Silicone Baking Mats: Parchment paper is king in my kitchen, but only when both of my silicone baking mats (affiliate) are dirty. They are SO great for so many things and worth the $13 for a set of 3.
- Cookie Scoop: You can use a measuring spoon. However, a 1 tablespoon cookie scoop (affiliate) is so handy and makes the process extra speedy.
Recipe Notes:
This cookie dough is typically more dense. Slightly flattening and creating a criss cross line on the top helps them to bake evenly.
1. Use room temperature ingredients. I stress this in almost all of my cookie posts. Making sure your butter and eggs are at room temp ensures that they incorporate into your recipe giving you a smooth and beautiful dough.
2. SLOW mixing is key. Keep your mixer on 1 or 2 speed setting. Being gentle with the dough is the secret to keeping them soft and chewy.
3. Use a cookie scoop for even cookie sizes! Also, it is soooo much easier to get them all onto your tray. I really like this cookie scoop.
4. Remove the cookies from the tray as soon as they come out of the oven. The hot pan can keep cooking your cookies. Make sure you remove them to a cooling rack as soon as possible.
Yes! You can freeze these cookies as unbaked dough or as fully baked and cooled cookies. I have a full tutorial on how to freeze cookie dough that will help you decide which is best for you.
Want to save this recipe?
Enter your email below & we’ll send it to your inbox. Plus get great new recipes from us every week!
Classic Peanut Butter Cookie Recipe
Ingredients
- 3 cups all purpose flour
- 1 teaspoon baking powder
- 1/2 teaspoon salt
- 1½ teaspoons baking soda
- 1 cup butter (soft)
- 1½ cups good quality creamy peanut butter
- 1 cup granulated sugar
- 1 cup brown sugar
- 2 large eggs
- 2 teaspoons vanilla extract
Instructions
- Preheat your oven to 375 degrees, Line two cookie trays with parchment paper.
- Combine the flour, baking powder, salt, and baking soda in a large bowl. Whisk gently to combine and set aside.
- Mix the butter and peanut butter until fully combined in the bowl of an electric mixer.
- Add both sugars. Mix on low until fluffy.
- Stir in the eggs and vanilla extract until incorporated into the dough. Slowly add the dry ingredients.
- Use a spoon or cookie scoop to create 1″ dough balls. Place 2 inches apart on your prepared cookie sheets. Gently press down with your fork creating those classic peanut butter cookie marks.
- Bake 10 minutes or just until the bottoms start to lightly brown.
Nutrition
The nutrition facts provided are calculated using a third-party tool and are estimates only. Actual nutritional content may vary based on the ingredients and brands you use, as well as portion sizes. For accurate results, please consult a registered dietitian or nutritionist.